
User Guide
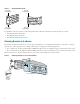
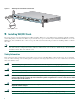
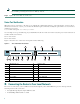
Table Of Contents
- Cisco 1760 Modular Access Router Cabling and Installation
- 1 Cisco One-Year Limited Hardware Warranty Terms
- 2 Overview
- 3 Parts List
- 4 Mounting the Router in a Rack
- 5 Installing WIC/VIC Cards
- 6 Connecting the Router to Your Local Network
- 7 Connect Power and Verify Installation
- 8 Connect a PC to the Router Console Port
- 9 Perform Initial Configuration
- 10 Use the CLI to Configure VoIP
- 11 Obtaining Documentation
- 12 Documentation Feedback
- 13 Cisco Product Security Overview
- 14 Obtaining Technical Assistance
- 15 Obtaining Additional Publications and Information
10
Warning
This product relies on the building’s installation for short-circuit (overcurrent) protection. Ensure that a fuse or
circuit breaker no larger than 120VAC, 15A U.S. (240VAC, 16A international) is used on the phase conductors (all
current-carrying conductors).
Warning
This equipment needs to be grounded. Use a green-and-yellow 14 AWG ground wire to connect the host to earth
ground during normal use.
Warning
When installing the unit, always make the ground connection first and disconnect it last.
Warning
Never defeat the ground conductor or operate the equipment in the absence of a suitably installed ground
conductor. Contact the appropriate electrical inspection authority or an electrician if you are uncertain that
suitable grounding is available.
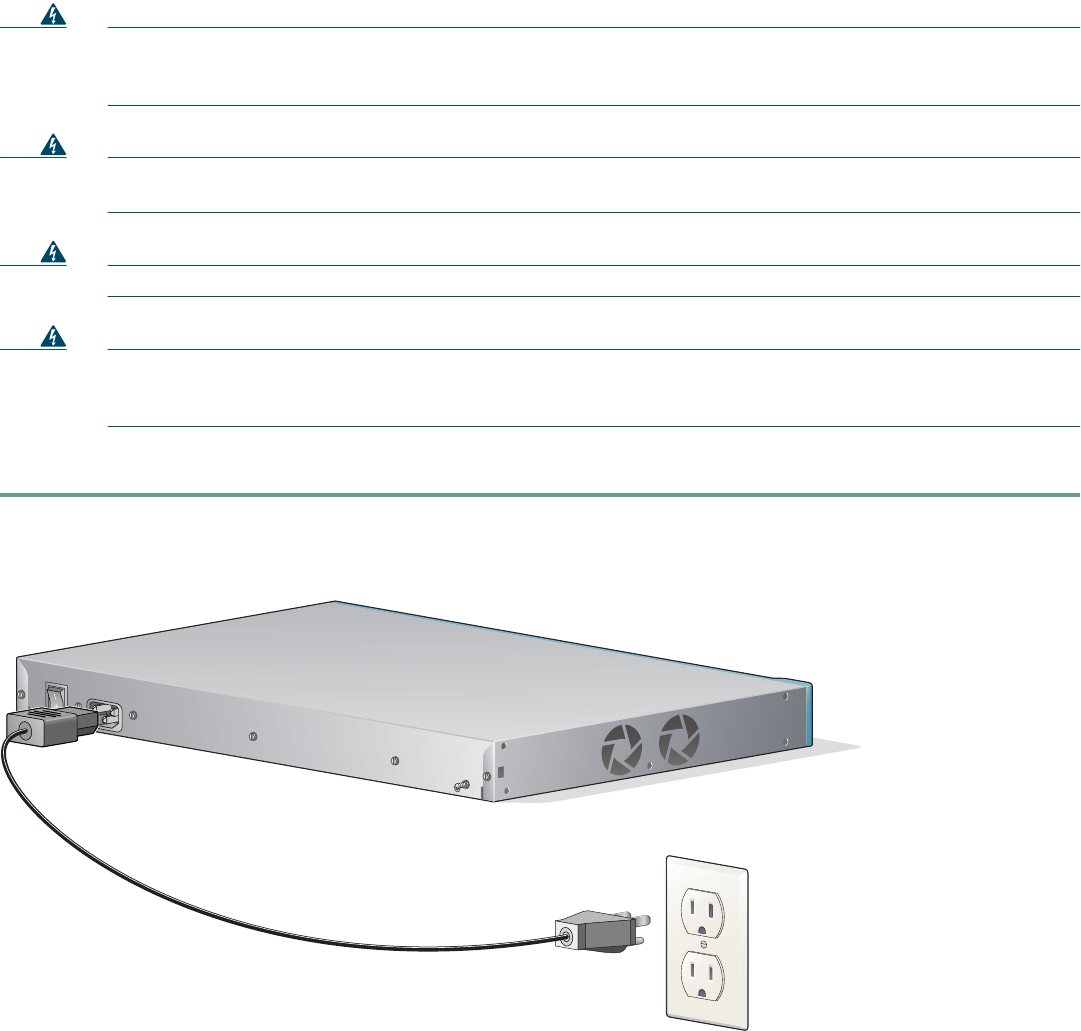
Follow these steps to connect power to the router and to turn the router on:
Step 1 Connect the separate power cord to the power socket on the rear panel, as shown in Figure 9.
Figure 9 Connecting the Power Supply
Step 2 Connect the other end of the separate power cord to a power outlet.
Step 3 Turn the power switch to on ( | ).
Step 4 Verify that you have correctly installed the router by checking the following LEDs:
• PWR—On when power is being supplied to the router.
• LINK—On when the router is correctly connected to the local Ethernet LAN through the 10/100-Mbps Ethernet
port.
• ETH ACT—Blinking when there is network traffic on the local Ethernet LAN.
• SLOT OK—On when a WIC is correctly installed in the slot.
• PVDM 0/1 OK—On when a packet voice data module (PVDM) is correctly installed in its slot and is recognized
by the system.
100-240V~
1.5 MAX/1.5A MAX
50-60 Hz
60948