
Manual


Dakota Ultrasonics
78
4) Use the UP and DOWN arrow keys to scroll through the list menu items
until the group name containing the probe zero data is highlighted.
5) Press the ENTER key to load the zero data group into memory.
Note: The user will always use this group for the zero verification
procedure, as it contains the original settings and measurement data of the
probe zero calibration standards.
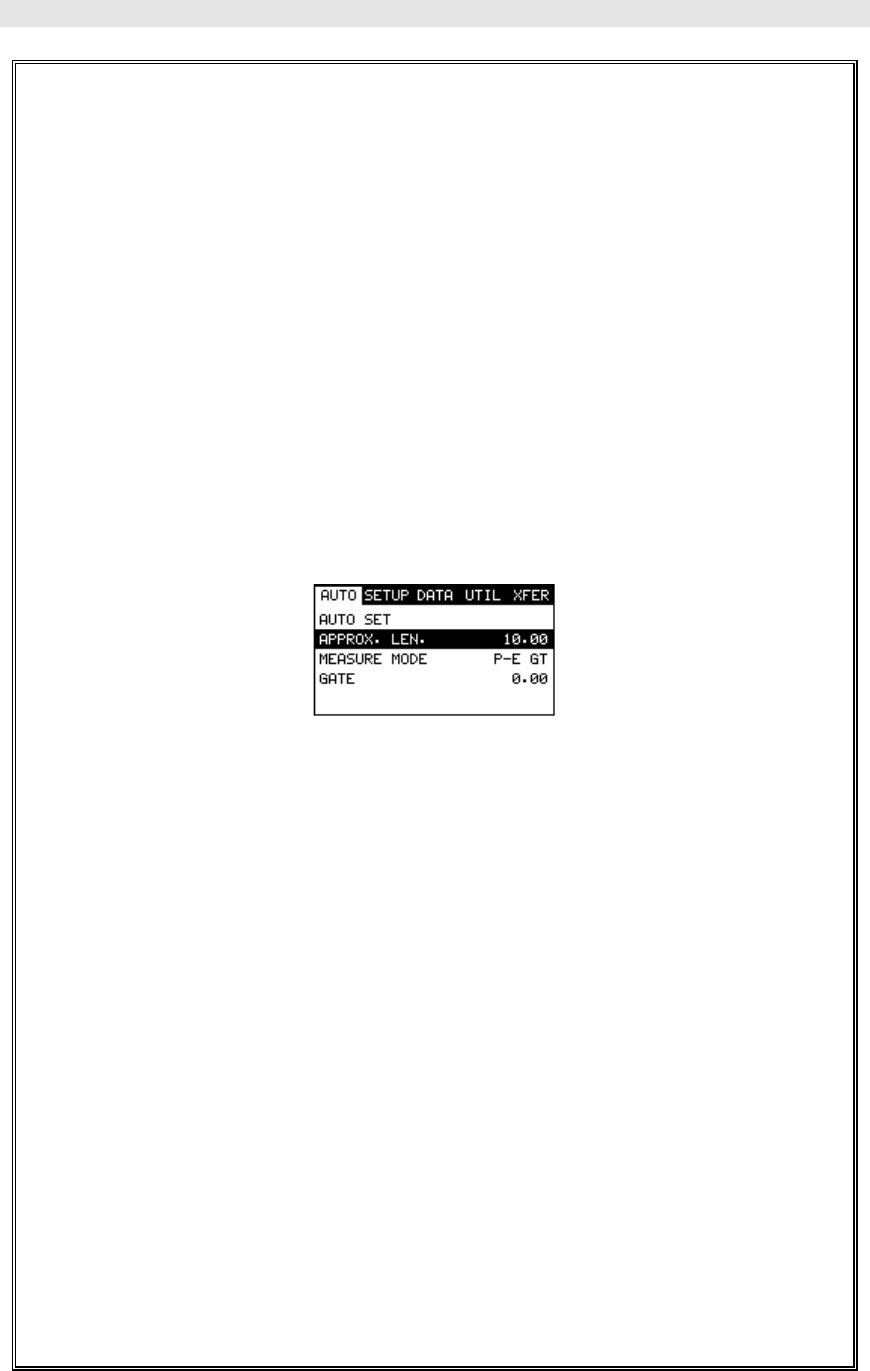
6) With the menu items still active from the previous section, press the
MENU key multiple times to tab right and the ESC key multiple times to
tab left until the AUTO menu is highlighted and displaying the submenu
items.
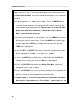
7) Use the UP and DOWN arrow keys to scroll through the sub menu items
until APPROX LEN is highlighted.
Note: This is the approximate physical length of the first calibration
standard. This tells the MINI-MAX where to turn on the receiver and look
for an echo. The area scanned will be +/- 5% from the approximate length.
8) Press the ENTER key to display the Digits Edit Box.
9) Press the UP and DOWN arrow keys to scroll the highlighted value.
10) Press the LEFT and RIGHT arrow keys to scroll the digit locations.
11) Repeat steps 12 & 13 until the APPROX LEN value is correctly
displayed.
12) Press the OK key to set the Approximate Length and return to the
menu screen, or ESC to cancel entering the Approximate Length.