
User's Manual
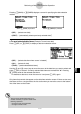
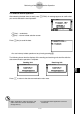
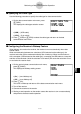
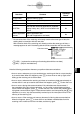
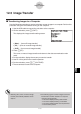
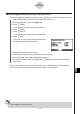

Table Of Contents
- Quick-Start
- Precautions when Using this Product
- Contents
- Getting Acquainted— Read This First!
- Chapter 1 Basic Operation
- Chapter 2 Manual Calculations
- Chapter 3 List Function
- Chapter 4 Equation Calculations
- Chapter 5 Graphing
- 5-1 Sample Graphs
- 5-2 Controlling What Appears on a Graph Screen
- 5-3 Drawing a Graph
- 5-4 Storing a Graph in Picture Memory
- 5-5 Drawing Two Graphs on the Same Screen
- 5-6 Manual Graphing
- 5-7 Using Tables
- 5-8 Dynamic Graphing
- 5-9 Graphing a Recursion Formula
- 5-10 Changing the Appearance of a Graph
- 5-11 Function Analysis
- Chapter 6 Statistical Graphs and Calculations
- Chapter 7 Financial Calculation (TVM)
- Chapter 8 Programming
- Chapter 9 Spreadsheet
- Chapter 10 eActivity
- Chapter 11 System Settings Menu
- Chapter 12 Data Communications
- Appendix
20070201
12-5 Image Transfer
k Transferring Images to a Computer
Use the following procedure to capture calculator screen images to a computer. Perform this
procedure using FA-124 software running on the computer.
1. Use the USB cable to connect the calculator to the computer.
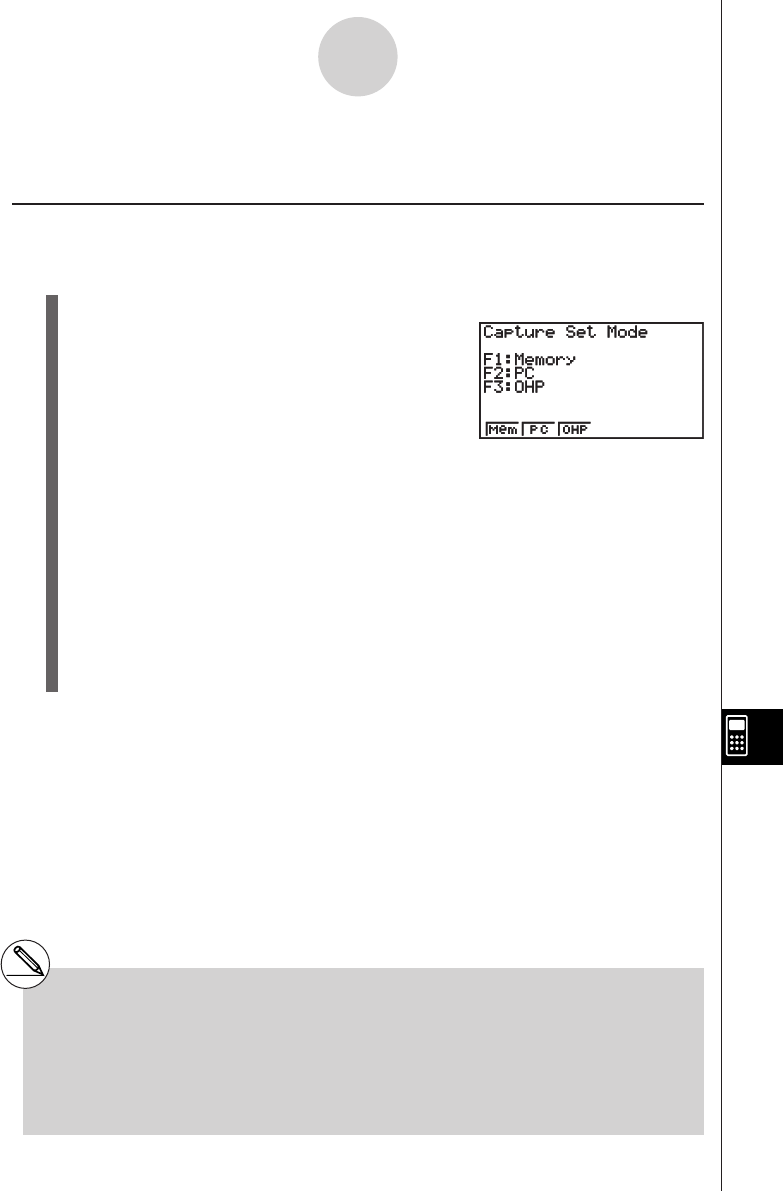
2. On the calculator, press 6 (CAPT).
This displays the image transfer setting screen.
• { Mem } ... {turns off image transfer}
• { PC } ... {turns on manual image transfer}
• { OHP } ... {turns on auto image transfer}
3. Press 2 (PC).
This turns on manual image transfer and returns to the data communication main
menu.
4. On the calculator, display the screen you want to transfer.
5. Use FA-124 to perform the transfer operation.
6. On the calculator, press ! h (CAPTURE).
7. The screen data is sent to the computer.
12-5-1
Image Transfer
# Selecting “PC” (turns on manual image
transfer) automatically disables screen
capture.
# The following types of screen images cannot be
transferred to another calculator or computer
using auto image transfer.
- The screen displayed during data transfer
- The screen displayed during a calculation
- The screen displayed after reset is performed
- The low battery screen