
User's Manual
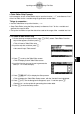
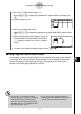
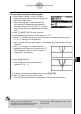
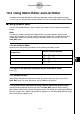
Table Of Contents
- Quick-Start
- Precautions when Using this Product
- Contents
- Getting Acquainted— Read This First!
- Chapter 1 Basic Operation
- Chapter 2 Manual Calculations
- Chapter 3 List Function
- Chapter 4 Equation Calculations
- Chapter 5 Graphing
- 5-1 Sample Graphs
- 5-2 Controlling What Appears on a Graph Screen
- 5-3 Drawing a Graph
- 5-4 Storing a Graph in Picture Memory
- 5-5 Drawing Two Graphs on the Same Screen
- 5-6 Manual Graphing
- 5-7 Using Tables
- 5-8 Dynamic Graphing
- 5-9 Graphing a Recursion Formula
- 5-10 Changing the Appearance of a Graph
- 5-11 Function Analysis
- Chapter 6 Statistical Graphs and Calculations
- Chapter 7 Financial Calculation (TVM)
- Chapter 8 Programming
- Chapter 9 Spreadsheet
- Chapter 10 eActivity
- Chapter 11 System Settings Menu
- Chapter 12 Data Communications
- Appendix
20070201
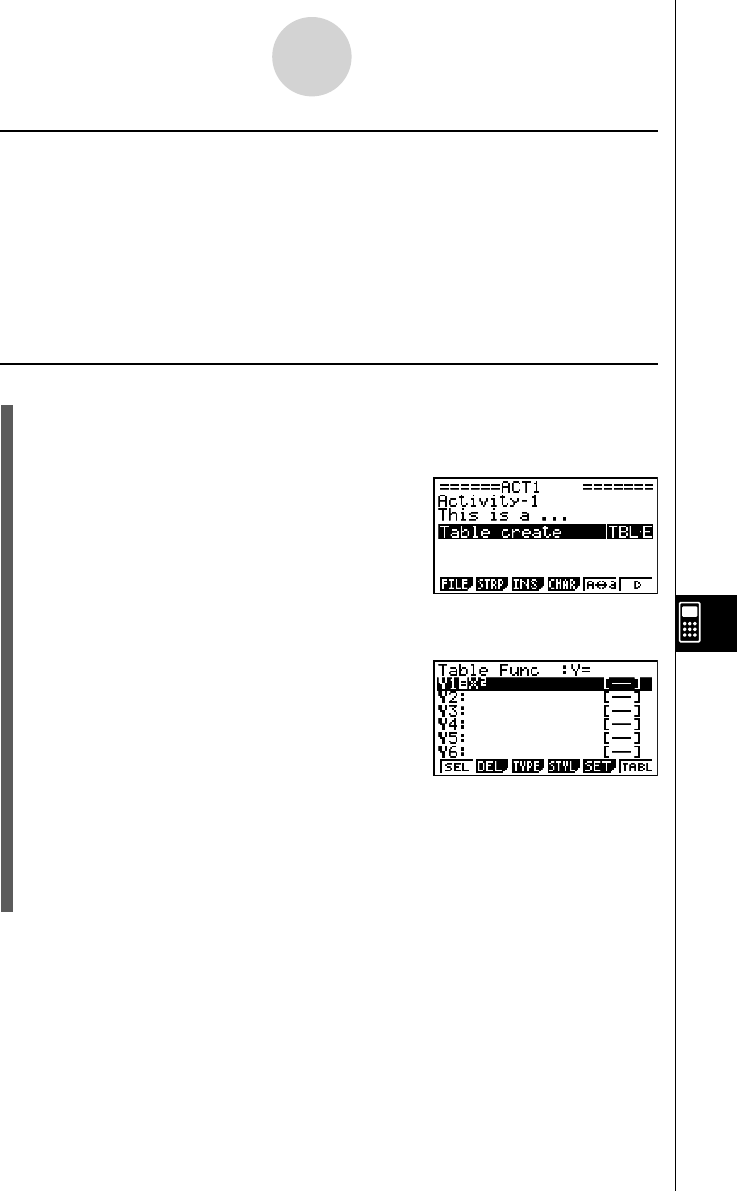
u Table Editor Strip Example
In this example, we use a Table Editor strip to input the function y = x
2
, and reference “List 1”
of the List Editor for the
x -variable range to generate a number table.
Things to remember...
• Use the Table Editor to input the function y = x
2
.
• Setup Table Editor (using the Setup screen) to reference “List 1” for the
x -variable and
generate the numeric table.
• Call up the List Editor to input the data to be used as the range of the
x -variable into List 1.
u To create a Table Editor strip
1. On the eActivity workspace screen, press 2 (STRP), select “Table Editor” from the
strip list that appears, and then press w .
• This will insert a Table Editor strip.
2. Input the strip title, and then press w .
• Here we will input “Table create”.
3. Press w to call up the Table Editor screen.
• This will display a blank Table Editor screen.
4. Input the function you want to use to generate the
table (Y1 = X
2
in this example).
5. Press !m (SET UP) to display the Setup screen.
• This will display the Table Editor Setup screen, with the “Variable” item highlighted.
6. Press 2 (LIST). On the dialog box that appears, input “1” and then press w .
• Specify List 1 as the variable for generating the number table.
7. Press J to close the Setup screen.
10-3-15
Inputting and Editing eActivity File Data