
User Manual


EN-20
Playing with Different Tones
5.
Select the tone for the right side range.
• Use the q and w arrow buttons to select “U1” and
then press the ENTER button.
6.
Select a tone and then press the ENTER
button.
• If you want to use layering for the right keyboard
(page EN-18), repeat steps 5 and 6 to select the “U2”
(Upper 2) tone.
7.
Press a keyboard key.
• This will sound the tones assigned to the left and
right side ranges of the keyboard.
8.
To cancel the split keyboard and switch to a
single tone (Upper 1), press the LAYER
button or EXIT button.
• Each press of the LAYER button toggles between
unlayered (one tone) and layered (two tones).
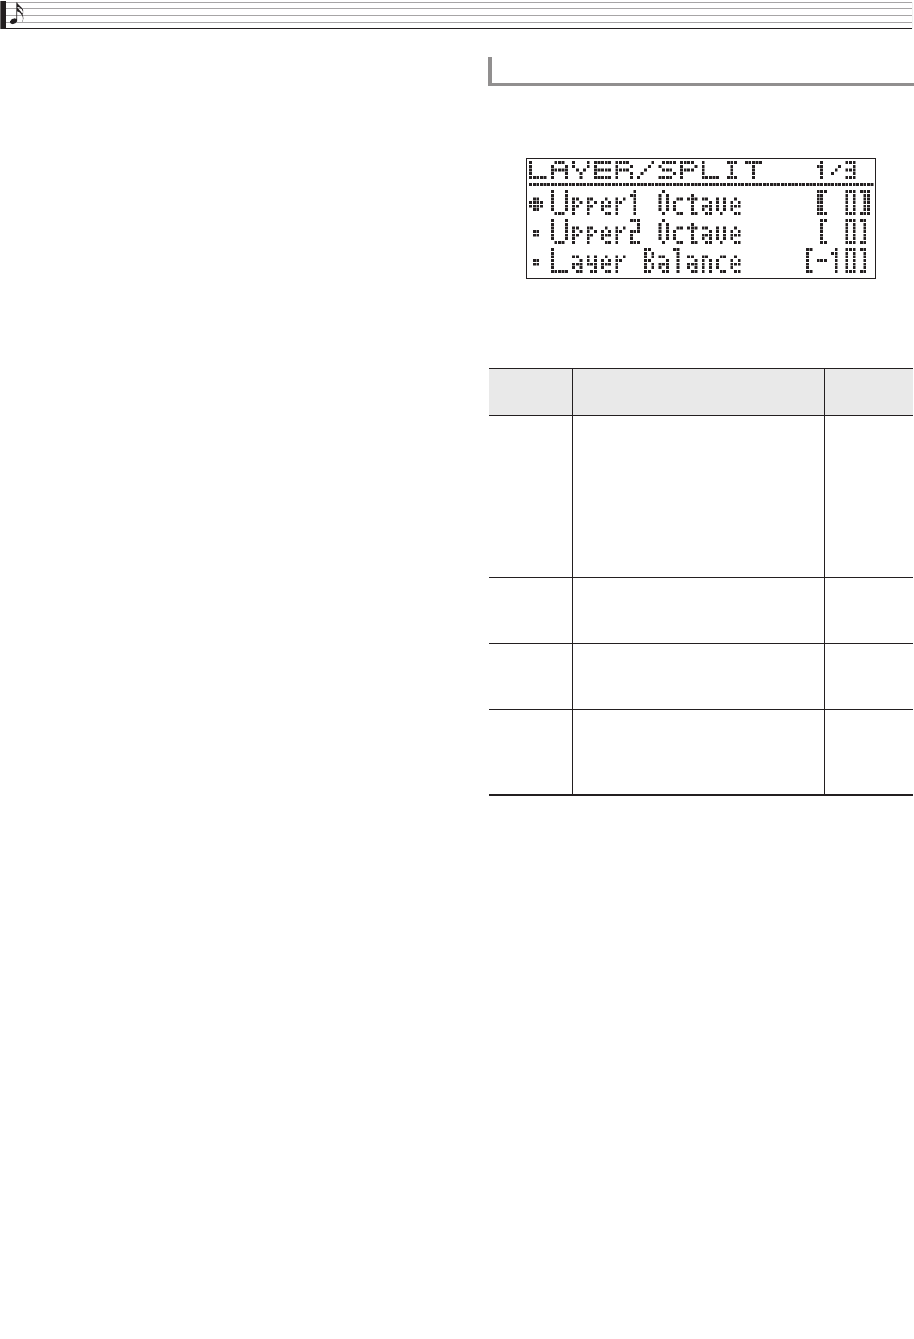
1.
Hold down the LAYER button until the screen
shown below appears.
2.
Use the q and w arrow buttons to select
an item.
3.
Use the u (–) and i (+) arrow buttons to
change the setting.
4.
To return to the screen you were at prior to
step 1 of this procedure, press EXIT button.
To modify split settings
Display
Name
Description
Setting
Range
Lower
Octave
Lower Octave. Changes the octave
of the left (Lower) side of a split
keyboard in one-octave units.
A value that is 1 or higher raises
by the specified number of
octaves, while a value that is –1 or
lower lowers by the specified
number of octaves.
–2 to +2
Lower
Volume
Lower Volume. Adjusts the
volume level of the left (Lower)
side of a split keyboard.
0 to 127
Split
Point
Split Point. Specifies the left/right
keyboard split point. The initial
default split point is F#3.
A0 to C8
Lower
Pedal
Lower Pedal. Enables (On) or
disables (Off) damper pedal
operation for the tone of the left
(Lower) side of a split keyboard.
On
(Enabled),
Off
(Disabled)
GP300-ES-1B.indd 22 2016/06/24 10:43:18