
User Manual

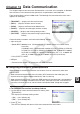
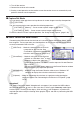
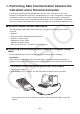
Table Of Contents
- Contents
- Getting Acquainted — Read This First!
- Chapter 1 Basic Operation
- Chapter 2 Manual Calculations
- 1. Basic Calculations
- 2. Special Functions
- 3. Specifying the Angle Unit and Display Format
- 4. Function Calculations
- 5. Numerical Calculations
- 6. Complex Number Calculations
- 7. Binary, Octal, Decimal, and Hexadecimal Calculations with Integers
- 8. Matrix Calculations
- 9. Vector Calculations
- 10. Metric Conversion Calculations
- Chapter 3 List Function
- Chapter 4 Equation Calculations
- Chapter 5 Graphing
- 1. Sample Graphs
- 2. Controlling What Appears on a Graph Screen
- 3. Drawing a Graph
- 4. Saving and Recalling Graph Screen Contents
- 5. Drawing Two Graphs on the Same Screen
- 6. Manual Graphing
- 7. Using Tables
- 8. Modifying a Graph
- 9. Dynamic Graphing
- 10. Graphing a Recursion Formula
- 11. Graphing a Conic Section
- 12. Drawing Dots, Lines, and Text on the Graph Screen (Sketch)
- 13. Function Analysis
- Chapter 6 Statistical Graphs and Calculations
- 1. Before Performing Statistical Calculations
- 2. Calculating and Graphing Single-Variable Statistical Data
- 3. Calculating and Graphing Paired-Variable Statistical Data (Curve Fitting)
- 4. Performing Statistical Calculations
- 5. Tests
- 6. Confidence Interval
- 7. Distribution
- 8. Input and Output Terms of Tests, Confidence Interval, and Distribution
- 9. Statistic Formula
- Chapter 7 Financial Calculation
- Chapter 8 Programming
- Chapter 9 Spreadsheet
- Chapter 10 eActivity
- Chapter 11 Memory Manager
- Chapter 12 System Manager
- Chapter 13 Data Communication
- Chapter 14 Geometry
- Chapter 15 Picture Plot
- Chapter 16 3D Graph Function
- Chapter 17 Python (fx-CG50, fx-CG50 AU only)
- Appendix
- Examination Mode
- E-CON4 Application
- 1. E-CON4 Mode Overview
- 2. Sampling Screen
- 3. Auto Sensor Detection (CLAB Only)
- 4. Selecting a Sensor
- 5. Configuring the Sampling Setup
- 6. Performing Auto Sensor Calibration and Zero Adjustment
- 7. Using a Custom Probe
- 8. Using Setup Memory
- 9. Starting a Sampling Operation
- 10. Using Sample Data Memory
- 11. Using the Graph Analysis Tools to Graph Data
- 12. Graph Analysis Tool Graph Screen Operations
- 13. Calling E-CON4 Functions from an eActivity
13-1
Chapter 13 Data Communication
This chapter explains how to transfer data between a calculator and a computer, or between
two calculators. Data communication operations are performed in the Link mode.
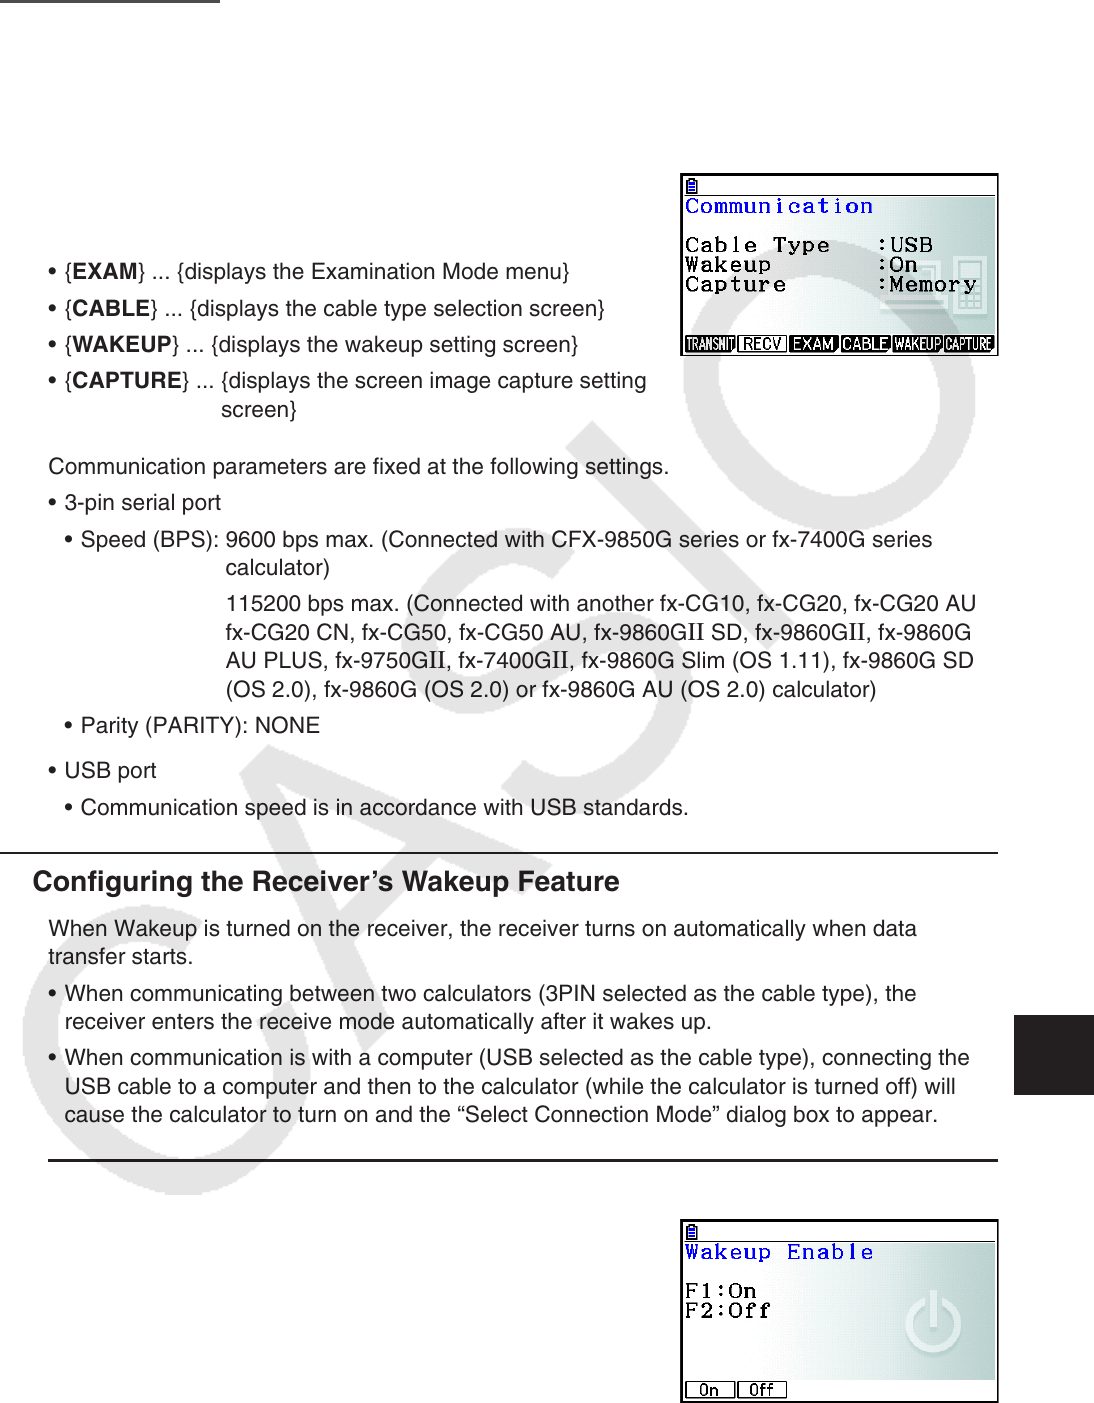
From the Main Menu, enter the Link mode. The following data communication main menu
appears on the display.
• { TRANSMIT } ... {displays the data send screen}
• {RECV} ... {displays the data receive screen}
• {EXAM} ... {displays the Examination Mode menu}
• {CABLE} ... {displays the cable type selection screen}
• { WAKEUP } ... {displays the wakeup setting screen}
• { CAPTURE } ... {displays the screen image capture setting
screen}
Communication parameters are fixed at the following settings.
• 3-pin serial port
• Speed ( BPS): 9600 bps max. (Connected with CFX-9850G series or fx-7400G series
calculator)
115200 bps max. (Connected with another fx-CG10, fx-CG20, fx-CG20 AU,
fx-CG20 CN, fx-CG50, fx-CG50 AU, fx-9860G
II SD, fx-9860G II , fx-9860G
AU PLUS, fx-9750G II , fx-7400G II , fx-9860G Slim (OS 1.11), fx-9860G SD
(OS 2.0), fx-9860G (OS 2.0) or fx-9860G AU (OS 2.0) calculator)
• Parity (PARITY): NONE
• USB port
• Communication speed is in accordance with USB standards.
k Configuring the Receiver’s Wakeup Feature
When Wakeup is turned on the receiver, the receiver turns on automatically when data
transfer starts.
• When communicating between two calculators (3PIN selected as the cable type), the
receiver enters the receive mode automatically after it wakes up.
• When communication is with a computer (USB selected as the cable type), connecting the
USB cable to a computer and then to the calculator (while the calculator is turned off) will
cause the calculator to turn on and the “Select Connection Mode” dialog box to appear.
u To configure the receiver’s wakeup feature
1. On the receiver’s data communication main menu, press
5(WAKEUP).
This displays the Wakeup setting screen.
• { On } ... {turns Wakeup on}
• { Off } ... {turns Wakeup off}
2. Press 1(On).
This turns on Wakeup and returns of the data communication main menu.
13