
User manual - EXZS20_Z690_M29_FC


Table Of Contents
- Accessories
- Read this first!
- Contents
- General Guide
- Monitor Screen Contents
- Quick Start Basics
- What you can do with your CASIO camera
- First, charge the battery prior to use.
- Configuring Basic Settings the First Time You Turn On the Camera
- Preparing a Memory Card
- Turning the Camera On and Off
- Holding the Camera Correctly
- To shoot a snapshot
- Viewing Snapshots
- Deleting Snapshots and Movies
- Snapshot Shooting Precautions
- Snapshot Tutorial
- Recording Movie Images and Audio
- Using BEST SHOT
- Advanced Settings
- Using On-screen Menus
- REC Mode Settings (REC)
- Selecting a Focus Mode (Focus)
- Changing the Focus Frame Shape (Focus Frame)
- Using Continuous Shutter (CS)
- Reducing the Effects of Camera and Subject Movement (Anti Shake)
- Specifying the Auto Focus Area (AF Area)
- Assigning Functions to the [<] and [>] Keys (L/R Key)
- Displaying the On-screen Grid (Grid)
- Using Icon Help (Icon Help)
- Configuring Power On Default Settings (Memory)
- Image Quality Settings (Quality)
- Viewing Snapshots and Movies
- Other Playback Functions (PLAY)
- Printing
- Using the Camera with a Computer
- Other Settings (Set Up)
- Turning off Eye-Fi Card Communication (Eye-Fi)
- Configuring Camera Sound Settings (Sounds)
- Configuring a Startup Image (Startup)
- Specifying the File Name Serial Number Generation Rule (File No.)
- Configuring World Time Settings (World Time)
- Time Stamping Snapshots (Timestamp)
- Setting the Camera’s Clock (Adjust)
- Specifying the Date Style (Date Style)
- Specifying the Display Language (Language)
- Configuring Sleep State Settings (Sleep)
- Configuring Auto Power Settings (Auto Power Off)
- Configuring [_] and [>] Settings (REC/PLAY)
- Disabling File Deletion (_ Disabled)
- Configuring USB Protocol Settings (USB)
- Selecting the Screen Aspect Ratio and Video Output System (Video Out)
- Formatting Built-in Memory or a Memory Card (Format)
- Resetting the Camera to Factory Defaults (Reset)
- Appendix
73
Other Playback Functions (PLAY)
1. In the PLAY mode, press [SET].
2. Use [8] and [2] to select the third PLAY Panel item from the bottom
(Slideshow) and then press [SET] (page 71).
• To stop the slideshow, press [ ] (Delete). Pressing [SET] instead of
[ ] (Delete) stops the slideshow and returns to the menu screen.
• Adjust audio volume by pressing [2] and then press [8] or [2] during
playback.
• All button operations are disabled while the slideshow is transitioning from one
image to another.
• The time required for transition from one image to another may be longer in the
case of an image that was not recorded with this camera.
Playing a Slideshow on the Camera (Slideshow)
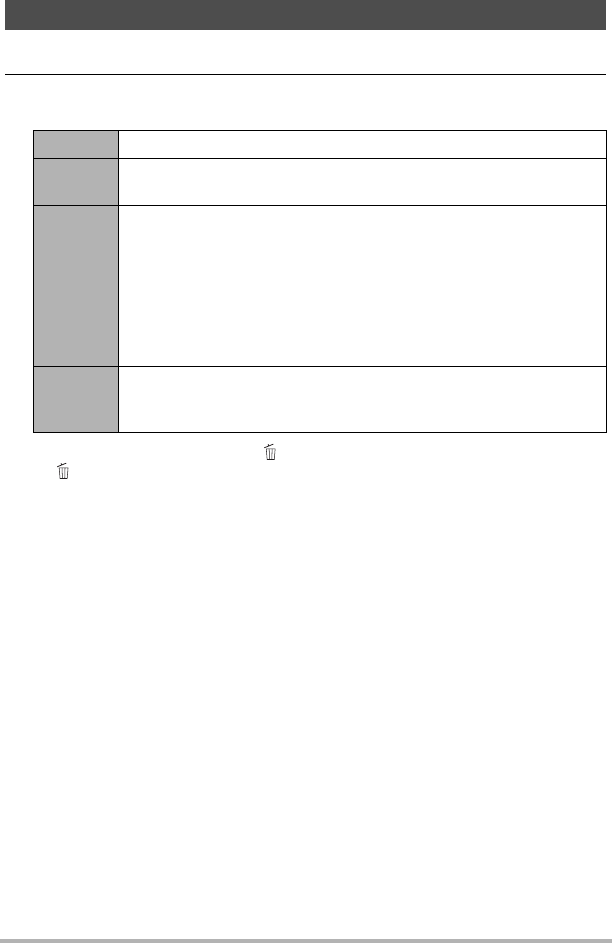
Start Starts the slideshow.
Time
Time from the start to the end of the slideshow
1 to 5 minutes, 10 minutes, 15 minutes, 30 minutes, 60 minutes
Interval
Amount of time each image remains displayed
Use [4] and [6] to select a value from 1 to 30 seconds, or “MAX”.
If you specify a value from 1 to 30 seconds, images change at the
specified interval, but the audio portion of movies and audio
snapshots will continue to play until the end.
When the slideshow reaches a movie file while “MAX” is selected,
only the first frame of the movie will displayed. Voice Recording
files are not played back when “MAX” is selected.
Effect
Turns effect on or off.
On: Turns on the image change effect and background music.
Off: No image change effect or background music