
User's Manual


Table Of Contents
- INTRODUCTION
- QUICK START GUIDE
- GETTING READY
- BASIC IMAGE RECORDING
- OTHER RECORDING FUNCTIONS
- PLAYBACK
- DELETING FILES
- FILE MANAGEMENT
- OTHER SETTINGS
- USING A MEMORY CARD
- VIEWING IMAGES ON A COMPUTER
- USING THE CAMERA WITH A COMPUTER
- APPENDIX
92
PLAYBACK
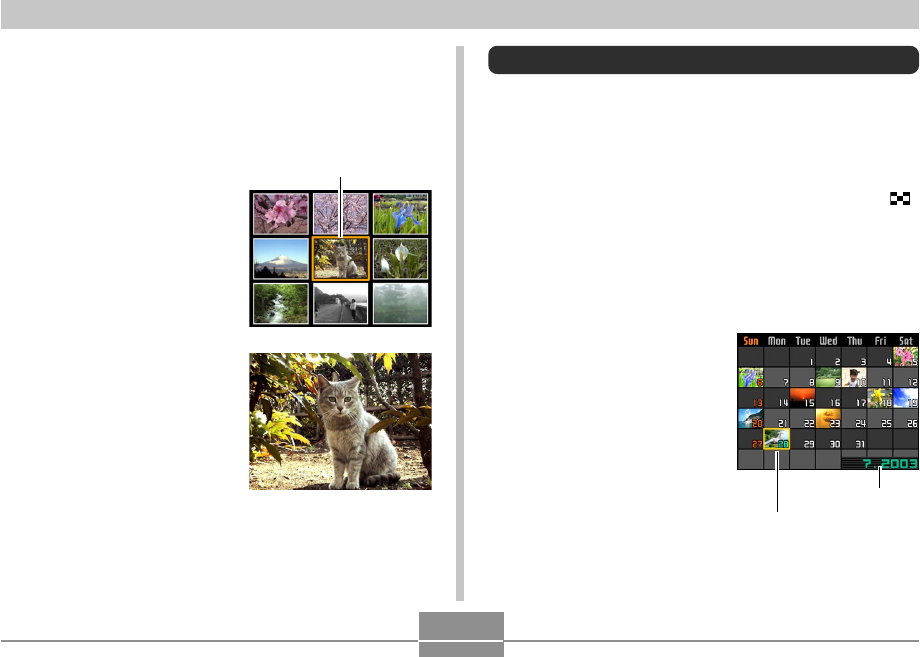
Selecting a Specific Image in the 9-
image View
1.
Display the 9-image view.
2.
Use [], [], [], and
[] to move the
selection boundary
up, down, left, or right
until it is located at
the image you want to
view.
3.
Pressing any button
besides [], [], [],
or [] displays the
selected image.
• This displays the full-
size version of the
image you selected.
Selection boundary
Month/Year
Date selection cursor
Displaying the Calendar Screen
Use the following procedure to display a 1-month calendar.
While the calendar is on the display, you can select a date,
which displays the first image recorded on that date. This
helps to make it easy to find the images you want.
1.
In the PLAY mode, press the zoom button ( )
twice.
• You can also display the calendar screen (in the
PLAY mode) by pressing [MENU], selecting the
“PLAY” tab, selecting “Calendar”, and then pressing
[].
2.
Use [], [], [], and
[] to move the date
selection cursor.
• Use the procedure
under “Changing the
Date Format” on page
125 to specify the date
format.
• The image displayed on
the calendar for each
date is the first image
that was recorded on
that date.