
User's Manual


Table Of Contents
- INTRODUCTION
- QUICK START GUIDE
- GETTING READY
- BASIC IMAGE RECORDING
- OTHER RECORDING FUNCTIONS
- PLAYBACK
- DELETING FILES
- FILE MANAGEMENT
- OTHER SETTINGS
- USING A MEMORY CARD
- VIEWING IMAGES ON A COMPUTER
- USING THE CAMERA WITH A COMPUTER
- APPENDIX
56
BASIC IMAGE RECORDING
NOTES
• If you plan to make large prints of your images or
otherwise use them in applications where high-
resolution is your top priority, select the “2304 x
1728” image size.
• If you plan to send images as e-mail attachments or
otherwise use them in applications where data
economy is your top priority, select the “640 x 480”
image size.
• Selecting the “2304 x 1536 (3:2)” image size records
images with a 3:2 (vertical : horizontal) aspect ratio,
which is optimal for printing on paper with an aspect
ratio of 3:2.
To specify image quality
1.
In the REC mode, press [MENU].
2.
Use [] and [] to select the “REC” tab.
3.
Use [] and [] to select “Quality”, and then
press [].
4.
Use [] and [] to select the setting you
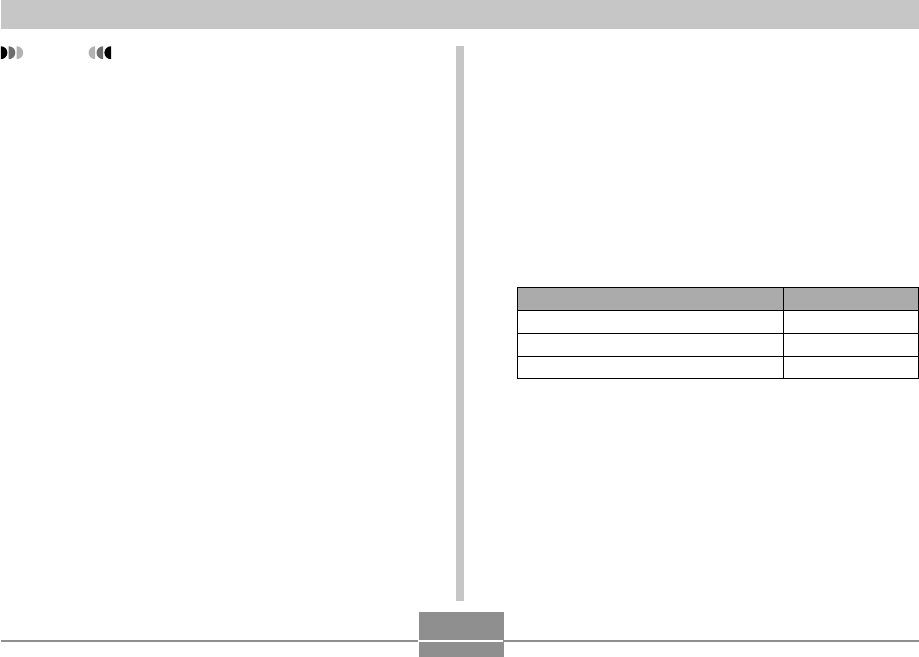
want, and then press [SET].
Select this setting:
Fine
Normal
Economy
To get this:
Very high quality, but large file size
Normal quality
Small file size, but low quality