
User's Manual


Table Of Contents
- INTRODUCTION
- QUICK START GUIDE
- GETTING READY
- BASIC IMAGE RECORDING
- OTHER RECORDING FUNCTIONS
- PLAYBACK
- DELETING FILES
- FILE MANAGEMENT
- OTHER SETTINGS
- USING A MEMORY CARD
- VIEWING IMAGES ON A COMPUTER
- USING THE CAMERA WITH A COMPUTER
- APPENDIX
GETTING READY
42
8.
Press [SET] to register the settings and exit
the setting screen.
To do this:
Change the setting at the current
cursor location
Move the cursor between settings
Toggle between 12-hour and 24-
hour timekeeping
Do this:
Press [] and [].
Press [] and [].
Press [DISP].
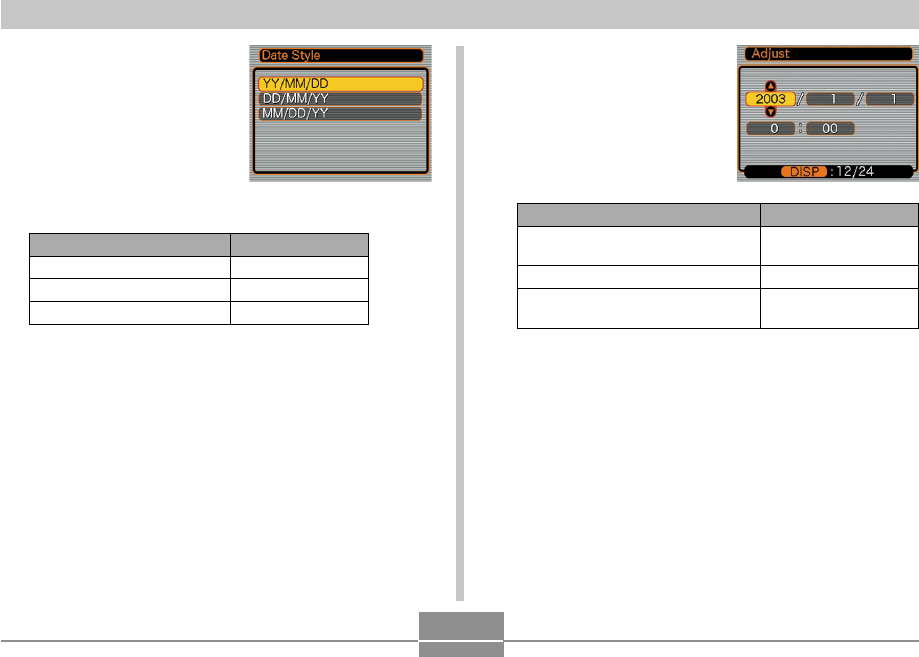
7.
Set the current date
and the time.
6.
Use [] and [] to
change the date format
setting, and then press
[SET].
Example: December 24, 2003
Select this format:
YY/MM/DD
DD/MM/YY
MM/DD/YY
To display the date like this:
03/12/24
24/12/03
12/24/03