
User's Manual


Table Of Contents
- INTRODUCTION
- QUICK START GUIDE
- GETTING READY
- BASIC IMAGE RECORDING
- OTHER RECORDING FUNCTIONS
- PLAYBACK
- DELETING FILES
- FILE MANAGEMENT
- OTHER SETTINGS
- USING A MEMORY CARD
- VIEWING IMAGES ON A COMPUTER
- USING THE CAMERA WITH A COMPUTER
- APPENDIX
100
PLAYBACK
Adding Audio to a Snapshot
The “after-recording” feature lets you add audio to
snapshots after they are recorded. You can also re-record
an audio image (one with a icon on it).
• Audio Format: WAVE/ADPCM recording format
This is the Windows standard format for audio recording.
The file extension of a WAVE/ADPCM file is “.WAV”.
• Recording Time:
Up to about 30 seconds per image
• Audio File Size:
Approximately 120KB (30-second recording of
approximately 4KB per second)
1.
In the PLAY mode, use [] and [] to scroll
through snapshots until the one to which you
want to add audio is displayed.
2.
Press [MENU].
3.
Select the “PLAY”
tab, select “Dubbing”,
and then press [].
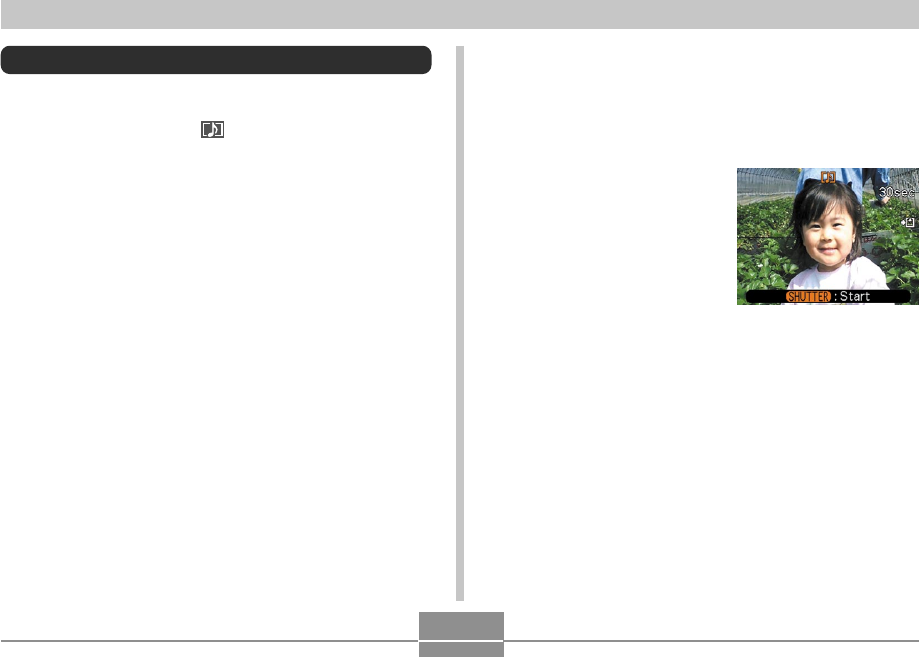
4.
Press the shutter release button to start audio
recording.
5.
Recording stops after about 30 seconds or
when you press the shutter release button.