User Manual
Table Of Contents
- Getting Ready
- Contents
- About This User’s Guide
- Chapter 1 Getting Acquainted
- Chapter 2 Using the Main Application
- 2-1 Main Application Overview
- 2-2 Basic Calculations
- 2-3 Using the Calculation History
- 2-4 Function Calculations
- 2-5 List Calculations
- 2-6 Matrix and Vector Calculations
- 2-7 Using the Action Menu
- 2-8 Using the Interactive Menu
- 2-9 Using the Main Application in Combination with Other Applications
- 2-10 Using Verify
- Chapter 3 Using the Graph & Table Application
- Chapter 4 Using the Conics Application
- Chapter 5 Using the 3D Graph Application
- Chapter 6 Using the Sequence Application
- Chapter 7 Using the Statistics Application
- 7-1 Statistics Application Overview
- 7-2 Using List Editor
- 7-3 Before Trying to Draw a Statistical Graph
- 7-4 Graphing Single-Variable Statistical Data
- 7-5 Graphing Paired-Variable Statistical Data
- 7-6 Using the Statistical Graph Window Toolbar
- 7-7 Performing Statistical Calculations
- 7-8 Test, Confidence Interval, and Distribution Calculations
- 7-9 Tests
- 7-10 Confidence Intervals
- 7-11 Distribution
- 7-12 Statistical System Variables
- Chapter 8 Using the Geometry Application
- Chapter 9 Using the Numeric Solver Application
- Chapter 10 Using the eActivity Application
- Chapter 11 Using the Presentation Application
- Chapter 12 Using the Program Application
- Chapter 13 Using the Spreadsheet Application
- Chapter 14 Using the Setup Menu
- Chapter 15 Configuring System Settings
- 15-1 System Setting Overview
- 15-2 Managing Memory Usage
- 15-3 Using the Reset Dialog Box
- 15-4 Initializing Your ClassPad
- 15-5 Adjusting Display Contrast
- 15-6 Configuring Power Properties
- 15-7 Specifying the Display Language
- 15-8 Specifying the Font Set
- 15-9 Specifying the Alphabetic Keyboard Arrangement
- 15-10 Optimizing “Flash ROM”
- 15-11 Specifying the Ending Screen Image
- 15-12 Adjusting Touch Panel Alignment
- 15-13 Viewing Version Information
- Chapter 16 Performing Data Communication
- Appendix

20050501
Modifying an Existing Program to Create a New One
You can use the procedure described below to recall an existing program, modify it, and then
run the result as a new program. This helps reduce key input requirements.
The following shows how to modify the “OCTA” program we created on page 12-2-1 to
handle tetrahedrons.
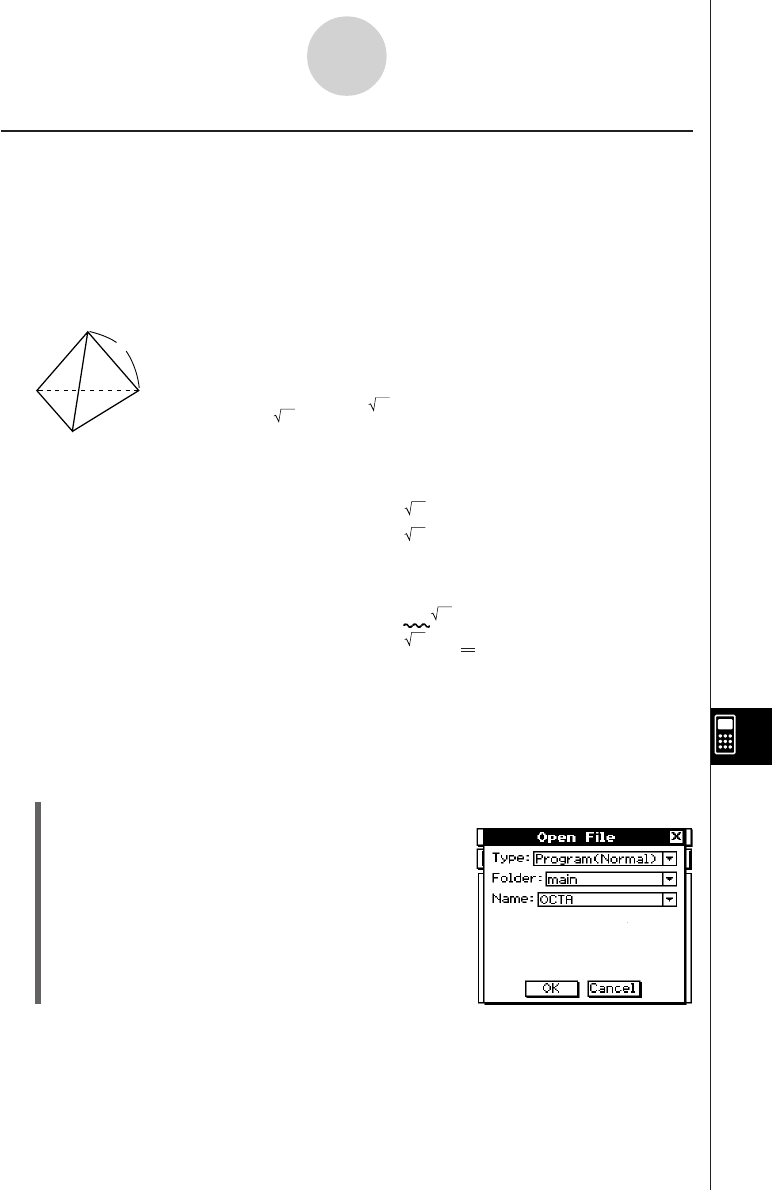
Example: To create a program named “TETRA” that calculates the surface areas (cm
2
) and
volumes (cm
3
) of three regular tetrahedrons, the lengths of whose sides are 7, 10,
and 15 cm
The following formulas calculate the surface area S and volume V of a
regular tetrahedron for which the length of one side A is known.
The following is the program required for this example.
Length of One Side A ........ Input A
Surface Area S .................. Print approx( (3) × A^2)
Volume V ........................... Print approx( (2) ÷ 12 × A^3)
The following is the “OCTA” program (page 12-2-1).
Length of One Side A ........ Input A
Surface Area S .................. Print approx(2 × (3) × A^2)
Volume V ........................... Print approx( (2) ÷ 3 × A^3)
A comparison of the two programs indicates that the following modifications of the “OCTA”
program will produce a program that performs the calculations required by this example.
•Delete “2×” (underlined with a wavy line above).
•Change 3 to 12 (underlined with double lines above).
u ClassPad Operation
(1) On the application menu, tap p.
(2) Tap ~, or tap [Edit] and then [Open File].
12-3-2
Debugging a Program
2
S = 3 A
2
,V = –––– A
3
12
A


