
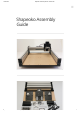
Assembly Instructions


16/01/2019 Shapeoko Assembly Guide - Carbide 3D
https://docs.carbide3d.com/assembly/shapeoko/s3/ 6/35
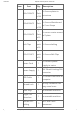
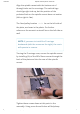
The Idler Assembly ships already assembled in the
proper order. See the image below to verify the
ordering of the various components.
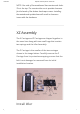
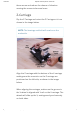
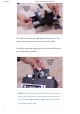
Carefully remove the nut while ensuring the remaining
components stay on the bolt. Insert the bolt through
the slot located at the bottom of the plate - shown in
the image below. Secure in place by nger-tightening
the nut on the opposite side of the X Carriage.
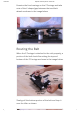
Once the idler assembly is through the slot, loosely
attach the nut on the backside of the plate. Some
adjustability will be required to get the belt in place, so
leave this lightly nger tight for the time being.
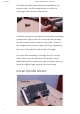
Install Spindle Mount