
Assembly Instructions


16/01/2019 Shapeoko Assembly Guide - Carbide 3D
https://docs.carbide3d.com/assembly/shapeoko/s3/ 17/35
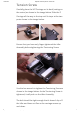
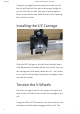
eccentric nuts should be in the position shown in the
following image.
You do not need much tension in order for the
carriage to be secure. The wheels should only be snug
against the rail.
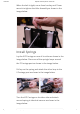
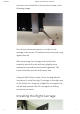
After tensioning, the carriage should still slide
smoothly across the rail, with only slightly more
resistance than without the wheels tightened. The
travel should be smooth and ‘bump’ free.
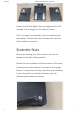
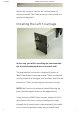
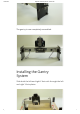
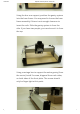
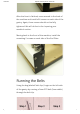
Using the M6x12mm screws ( from the bag labeled
‘extrusions’), install the right Y carriage to the right end
of the X-Axis rail. Using the Y-Right Box to support the
rail will help prevent the X/Z carriage from sliding
around as you work.
Installing the Right Carriage