
Owner's manual

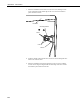


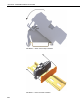
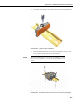
Table Of Contents
- Revision and Copyright Information
- Warranty
- Assistance
- Table of Contents
- 1. General Description
- 2. Enclosure Supply Kit
- 3. Mounting Equipment Inside the Enclosure
- 4. Attachment to an Instrument Mount
- 5. When to Replace Desiccant
- 6. Resistance to Weathering
- Appendix A. Door Switch
- Appendix B. 25458/28532 DIN-Rail Terminal Kits
- Appendix C. 28960 Stack Mounting Kit
- Appendix D. Keeping Insects Out Of the Enclosure
- Campbell Scientific Companies
Appendix A. Door Switch
3. Assemble the sensor magnet with the bracket determined in step 1. Place
the bracket in position so the edge of the sensor magnet does not extend
beyond the internal edge of the door. Mark the locations for two mounting
holes to secure the sensor magnet bracket. Important: The mounting holes
for the sensor magnet bracket must align with the holes for the sensor
bracket for the door open switch to function properly.
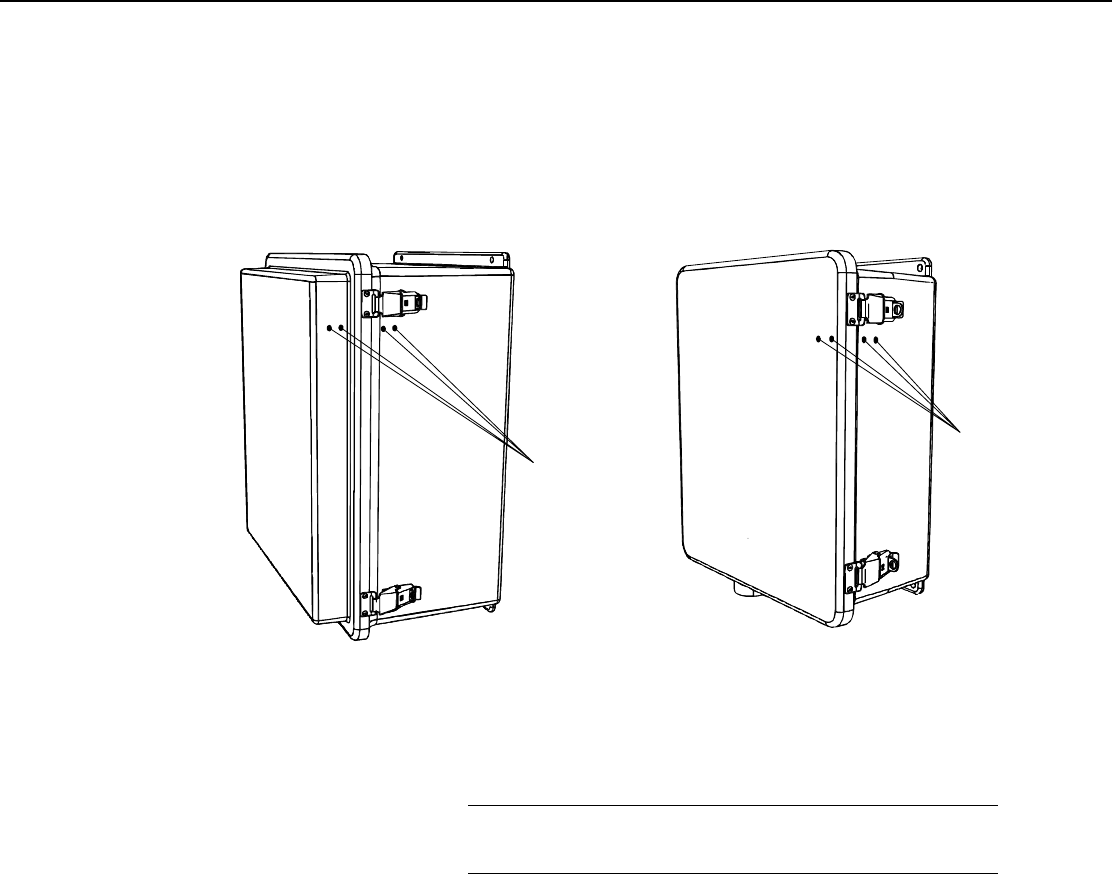
Mounting Holes
Mounting Holes
Flat Door
Extended Door
4. Drill small pilot holes for all four mounting holes from the inside of the
case.
5. Drill the final holes for the brackets from the outside of the enclosure
using a #22 (.157") drill bit.
Drilling the holes in this manner will ensure the enclosure finish
does not crack.
NOTE
6. From the outside of the enclosure, insert two screws through the newly
drilled holes in the case.
A-3