
Datasheet

RASPBERRY PI STYLE ENCLOSURES
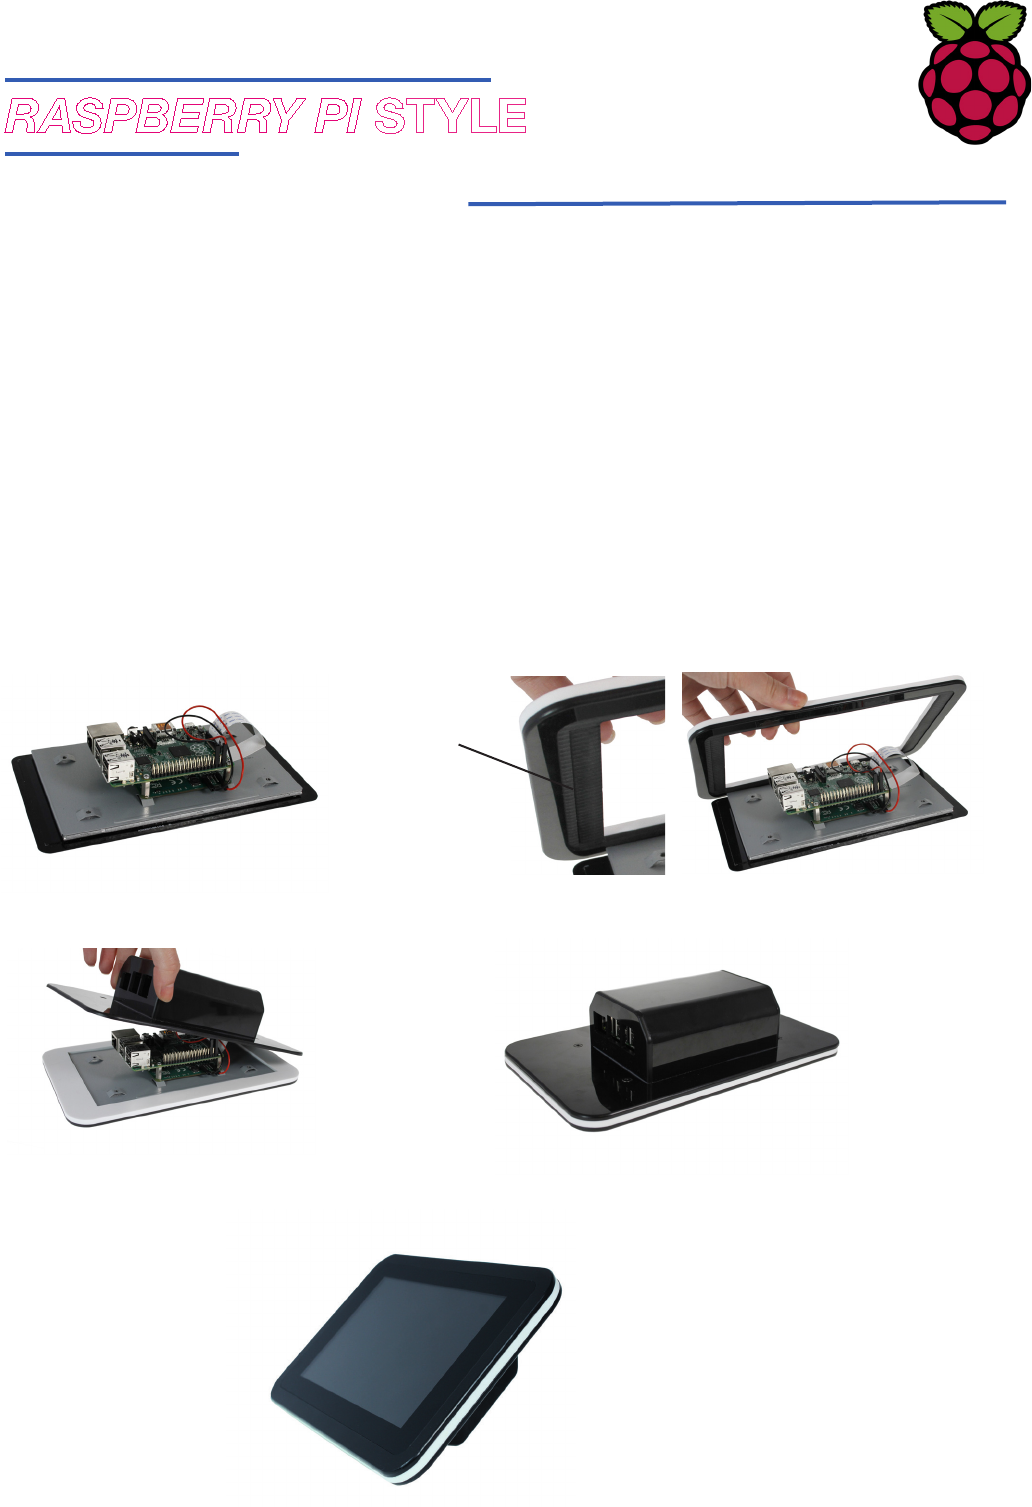
Fitting of Touch Screen PCB and Enclosure Assembly
3. Tilt the rear of the enclosure from the side that doesn't have the USB cutouts, so the white display ribbon cable
slots into the back box of the enclosure.
Once the white cable is in the back box, lower the rear of the enclosure, aligning the screw holes to the Raspberry Pi
touch screen.
PCB Assembly
1. Place your Raspberry Pi 7" Touch Screen onto a steady surface, screen down with protective lm on.
1.
2.
4. Insert the four supplied screws ensuring not to over tighten them.
3.
4.
2. Ensuring that the double recess side of the enclosure front is on the USB side of the Raspberry Pi B+, place onto
the touch screen.
5. Remove protective lm from enclosure and Touch Screen.
Double recess
Raspberry Pi 7" Touch Screen Enclosure