
Use and Care Manual


49-2000660 Rev. 1 33
CARE AND CLEANING: Self-Cleaning Oven
Care And Cleaning
How to Set the Oven for Self-Cleaning
1. Turn off all surface burners. (The CLEAN cycle will
not start until all surface burners have been turned
off.)
2. Turn the Oven Mode Selector to CLEAN.
3. Turn the Temperature knob to CLEAN.
4. Push and turn the Mini Knob to select Self-Clean.
The control automatically defaults to the
recommended clean cycle time of 5 hours. The clean
time may be adjusted to any time between 3 and 5
hours using the Mini-Knob. The display will show the
actual time remaining.
5. Press START/OFF button to start the SELF-CLEAN
cycle.
If “CLOSE DOOR” shows in the display, the self-clean
cycle has been selected but the door is not closed.
Close the oven door.
The
symbol will flash as the oven door is locked. It
will not be possible to open the oven door during the
clean cycle.
6. After the clean cycle is complete and the oven has
cooled, the will turn off. Press START/OFF
button
.
To interrupt a self-clean cycle, press START/
OFF
button
. When the oven has cooled to a safe
temperature, the symbol will turn off indicating the
door may be opened.
An interrupted clean cycle cannot be restarted until
after the oven is cool enough for the door to unlock.
After a Self Clean Cycle
You may notice some white ash in the oven. Wipe it up
with a damp cloth after the oven cools.
If white spots remain, remove them with warm sudsy
water and rinse thoroughly with a vinegar and water
mixture. These deposits are usually a salt residue that
cannot be removed by the clean cycle.
If the oven is not clean after one clean cycle, repeat the
cycle.
SELF-CLEANING OVEN
Safety
The self-clean oven feature is designed to make
cleaning the inside of the oven easy by using very high
temperatures to burn away food spills.
WARNING
Wipe up excess grease and other food
spills with a damp cloth. Excessive food soils can ignite
leading to smoke and heat damage.
Ŷ'RQRWFOHDQWKHRYHQVHDOVGDPDJHFDQRFFXU
Ŷ5HPRYHFRRNZDUHEURLOHUSDQJULGSUREHDQGDQ\
aluminum foil from the oven.
Ŷ0DNHVXUHWKHRYHQOLJKWOHQVDQGOHQVIUDPHDUHLQ
place.
Ŷ'RQRWXVHFRPPHUFLDORYHQFOHDQHUVDEUDVLYHVRU
oven protectors in or near the self-cleaning oven.
Ŷ:HUHFRPPHQGYHQWLQJ\RXUNLWFKHQZLWKDQRSHQ
ZLQGRZRUXVLQJDYHQWLODWLRQIDQKRRGGXULQJWKH
self-clean cycle.
Ŷ&OHDQVRLOIURPDURXQGWKHIUDPHDQGIURPDURXQGWKH
oven door, outside the oven seals. These areas must
be cleaned by hand.
Ŷ7KHRYHQUDFNVPD\EHOHIWLQWKHRYHQGXULQJWKH
self-clean cycle.
IMPORTANT: The health of some birds is extremely
sensitive to the fumes given off during the self-cleaning
cycle of any oven. Move birds to another well-ventilated
room.
NOTE: During the self-clean cycle, the cooktop will be
locked out and not functional. If a surface burner is turned
on after the self-clean cycle has begun, a warning will be
displayed on the Oven Display “err turn surf frnr off” and
a beeping sound will be heard.
NOTE: Self-Clean will not work if the temperature probe
is plugged in.
On double oven models, you can set a clean cycle in
both ovens at the same time. The last oven set will
automatically delay its start until the end of the first
oven’s clean cycle.
On double oven models, you can bake in one oven and
self-clean in the other at the same time. However, you
cannot use the PROOF mode setting in one oven while
the other oven is self-cleaning.
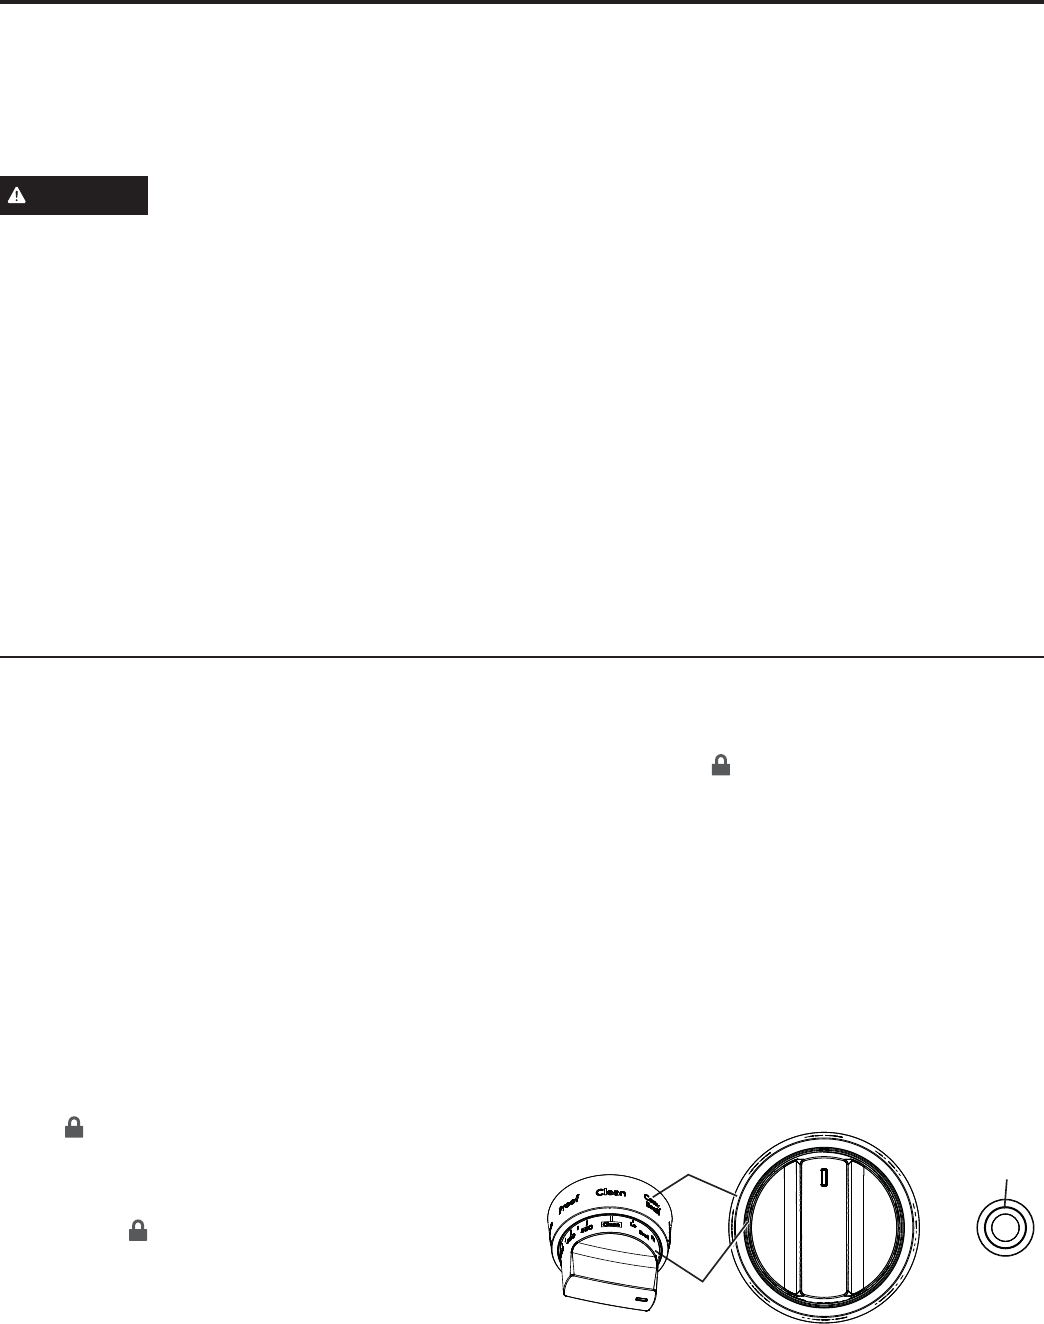
Oven
START/OFF
Oven Mode
Selector
(Outer)
Oven
Temperature
Knob (Inner)
6WDUW2ႇ