User's Manual Part 1

section 06
page
13
40040005 rev. 000
• Lateral Flexion icon, which switches to the Lateral Flexion test screen
• Extension icon, which switches to the Extension test screen
• Graphs and tables to illustrate the test results
• Instructions on how to perform the tests
• Threshold icon, which allows a threshold force to be set
2. UTILIZING THE ROM FLEXION TEST
The ROM Flexion test measures the patient’s range of motion with respect to the flexor
muscle group.
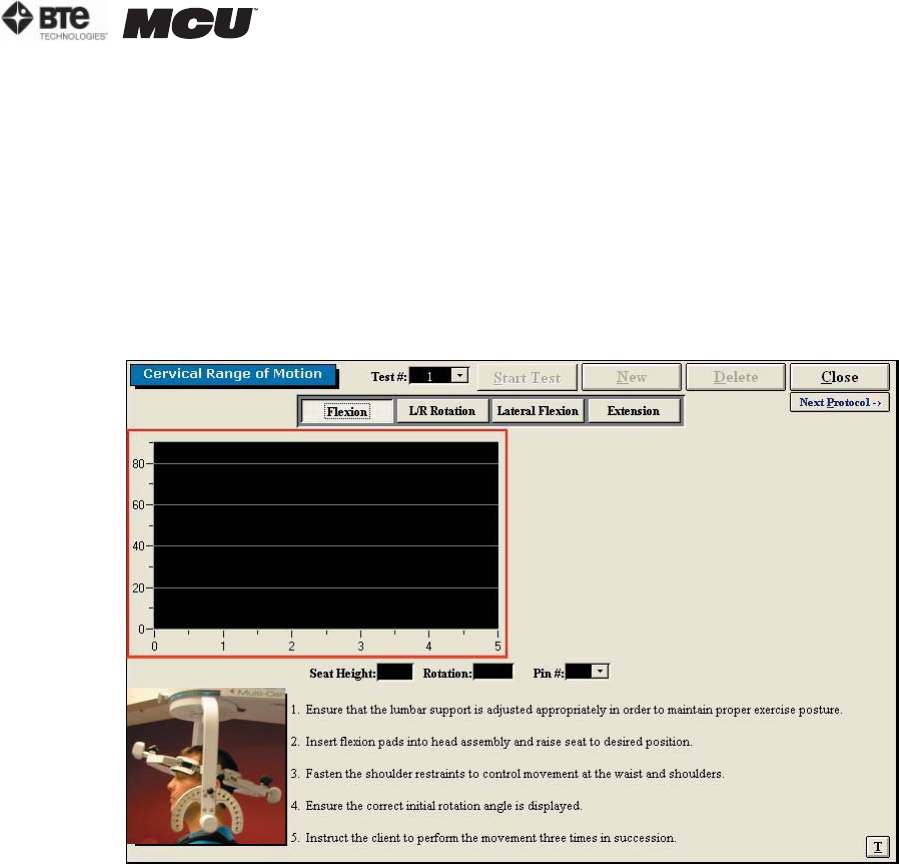
Step 1. Select the Flexion icon. The Flexion Testing screen will appear (Figure 6-25).
Note that the screen shown in the figure may differ from that on the computer.
Step 2. Position the patient as described in Section 06-III of this manual.
Step 3. Click Start Test to begin testing.
Step 4. Once the test is completed, a pain scale will appear. Ask the patient to rate
his/her pain on a ten-point scale (0 is equivalent to no pain and 10 is equivalent to the
worst pain possible). Click on the number the patient stated and then click OK.
The ROM Flexion test calls for three trials to be performed.
As the protocol is performed, the screen will display the results and averages via a line
graph, table, pie chart, and bar graph.
In addition to the test results, the screen will tabulate: the average ROM, peak ROM,
coefficient of variation (COV), and the percent of normal. The pain rating determined by
the patient will also appear in the pain scale text field (Figure 6-26).
Figure 6-25. Cervical ROM - Flexion Test


