User's Manual Part 1

page
6
section 05
40040005 rev. 000
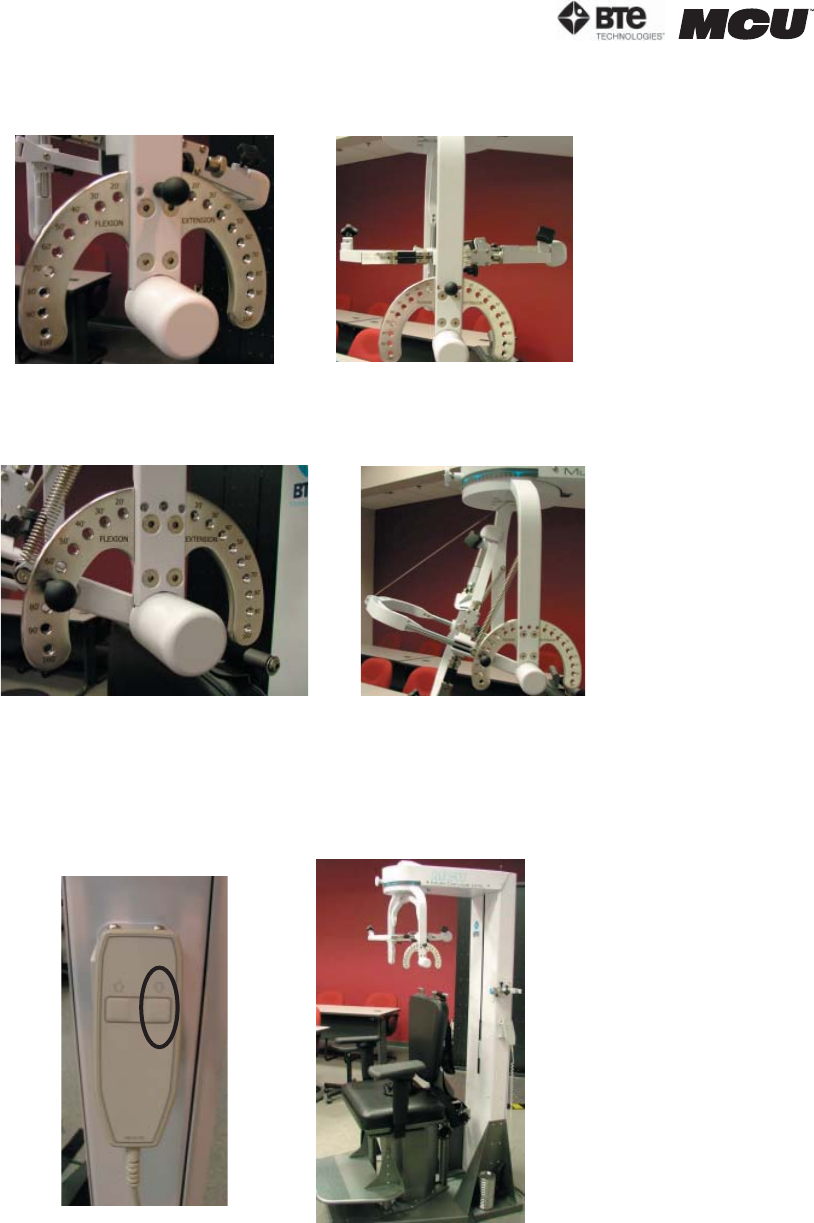
Step 8. If it isn’t already, set the halo flexion/extension angle to 0 degrees and insert the
ROM stop pin (Figure 5-9). Click OK on the calibration screen.
Step 9. Remove the ROM stop pin, set the halo flexion/extension angle to 70 degrees flexion,
and then insert the ROM stop pin (Figure 5-10). Click OK on the calibration screen.
Step 10. Remove the ROM stop pin, set the halo flexion/extension angle back to 0 degrees,
and insert the ROM stop pin.
Step 11. If it isn’t already, lower the seat height to its lowest position (Figure 5-11). Click OK
on the calibration screen.
Figure 5-9. Halo at 0
o
Flexion/Extension
Figure 5-10. Halo at 70
o
Flexion
Figure 5-11. Seat Height at Lowest Position


