
Printer/Fax/Scanner/Copier Quick Setup Guide
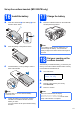
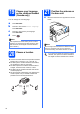
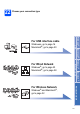
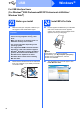
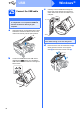
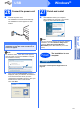
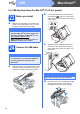
Table Of Contents
- Quick Setup Guide MFC-790CW MFC-990CW
- Start Here
- 1 Unpack the machine and check the components
- 2 Connect the handset (MFC-790CW only)
- 3 Load plain Letter/A4 paper
- 4 Connect the power cord and telephone line
- 5 Install the ink cartridges
- 6 Check the print quality
- 7 Choose your language (If needed)
- 8 Choose the correct Receive Mode
- 9 Setting up the Message Center
- 10 Set the LCD contrast (If needed)
- 11 Set the date and time
- 12 Set your station ID
- 13 Set tone or pulse dialing mode
- 14 Automatic Daylight Savings Time
- 15 Send in the Product Registration and Test Sheet (USA only)
- Set up the cordless handset (MFC-990CW only)
- For USB Interface Users (For Windows® 2000 Professional/XP/XP Professional x64 Edition/ Windows Vista®)
- For USB Interface Users (For Mac OS® X 10.2.4 or greater)
- For Wired Network Interface Users (For Windows® 2000 Professional/XP/XP Professional x64 Edition/ Windows Vista®)
- For Wired Network Interface Users (For Mac OS® X 10.2.4 or greater)
- For Wireless Network Interface Users
- 23 Before you begin
- 24 Confirm your network environment (Infrastructure Mode)
- Connecting the Brother machine to the wireless network
- Install the Drivers & Software (For Windows® 2000 Professional/XP/XP Professional x64 Edition/ Windows Vista®)
- Install the Drivers & Software (For Mac OS® X 10.2.4 or greater)
- Install Optional Applications Windows®
- For Network Users
- Consumables
- brother USA/CAN
- Start Here
18
Windows
®
USB
25
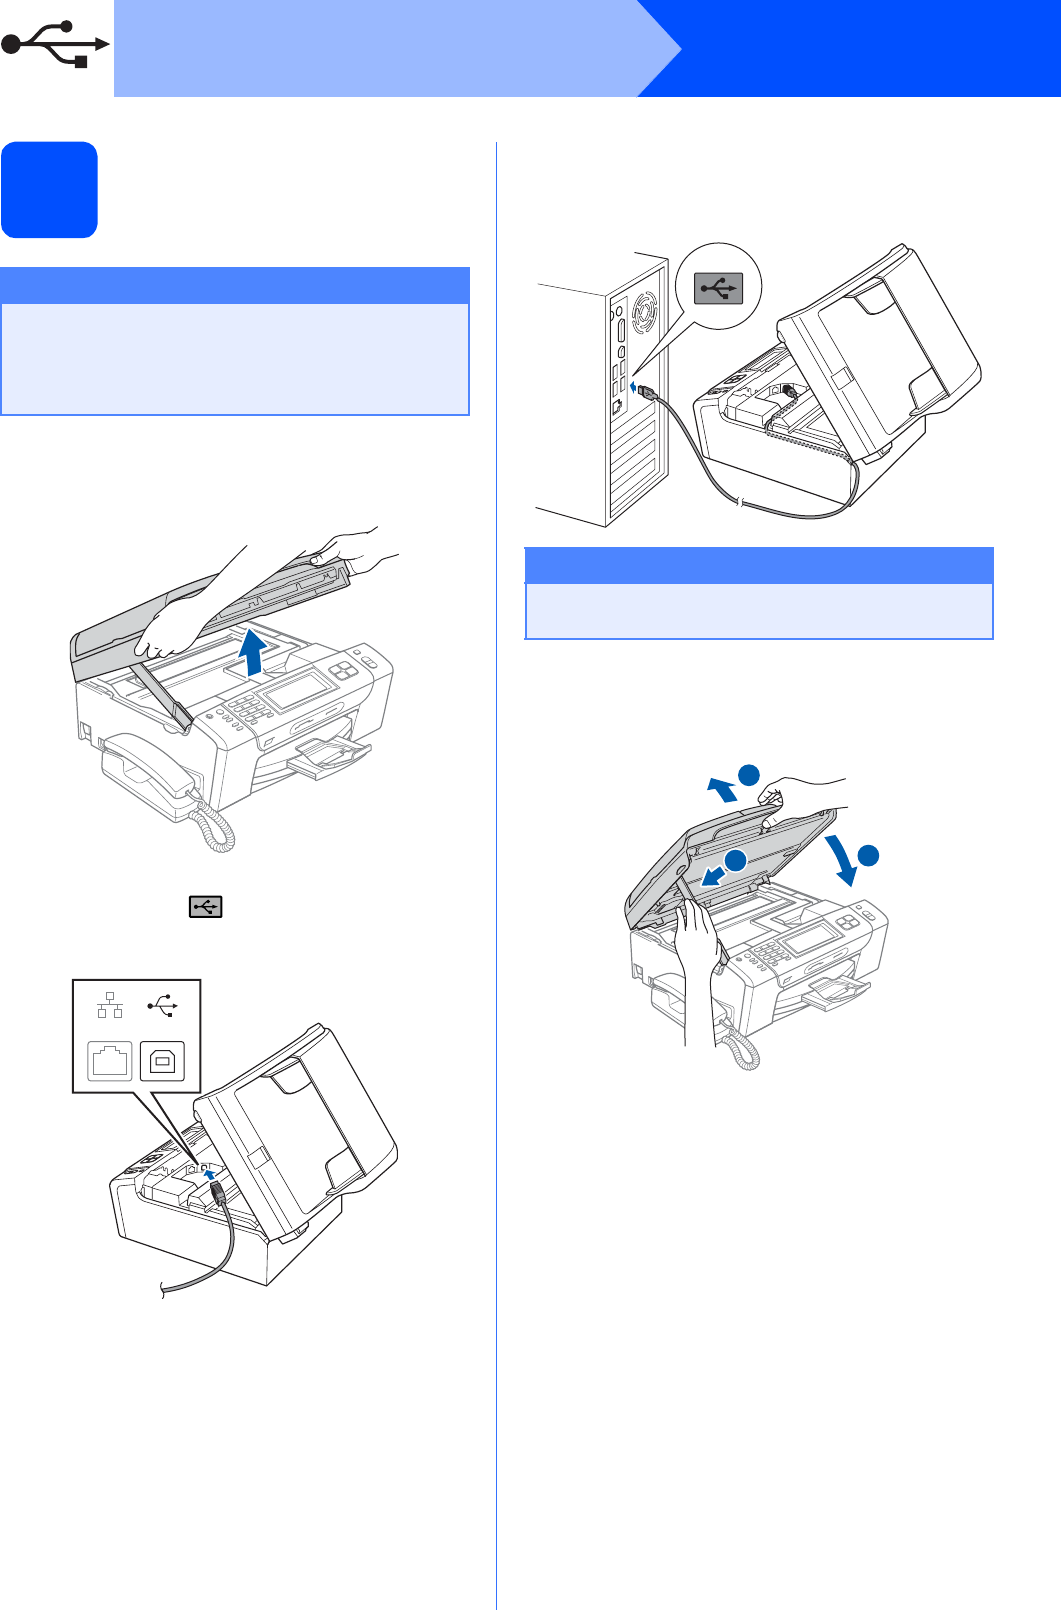
Connect the USB cable
a Using both hands, use the plastic tabs on both
sides of the machine to lift the scanner cover
until it locks securely into the open position.
b Connect the USB cable to the USB socket
marked with a symbol. You will find the
USB socket inside the machine on the right as
shown below.
c Carefully route the USB cable through the
trench and out the back of the machine as
shown below and connect the cable to your
computer.
d Lift the scanner cover to release the lock a.
Gently push the scanner cover support
down b and close the scanner cover c.
Important
• DO NOT connect the machine to a USB port
on a keyboard or a non-powered USB hub.
• Connect the machine directly to your
computer.
LAN USB
Important
Make sure that the cable does not restrict the
cover from closing, or an error may occur.
1
3
2