
User Guide


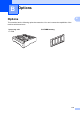


Table Of Contents
- USER’S GUIDE MFC-8480DN/MFC-8680DN/MFC-8690DW/MFC-8890DW
- Brother numbers
- Ordering accessories and supplies
- Notice - Disclaimer of Warranties (USA and Canada)
- Compilation and Publication Notice
- Brother™ One-Year Limited Warranty and Replacement Service (USA Only)
- BROTHER MULTIFUNCTION CENTER / FAX MACHINELIMITED WARRANTY (Canada only)
- Table of Contents
- Section I: General
- 1 General information
- Using the documentation
- Accessing the Software User’s Guide and Network User’s Guide
- Viewing documentation
- Viewing documentation (Windows®)
- How to find scanning instructions
- Software User’s Guide:
- ScanSoft™ PaperPort™ 11SE with OCR How-to-Guides:
- How to find Network setup instructions (MFC-8690DW and MFC-8890DW)
- Viewing documentation (Macintosh)
- How to find scanning instructions
- Software User’s Guide:
- Presto! PageManager User’s Guide:
- How to find Network setup instructions (MFC-8690DW and MFC-8890DW)
- Viewing documentation
- Accessing Brother support (Windows®)
- Control panel overview
- 2 Loading paper and documents
- 3 General Setup
- 4 Security features
- 1 General information
- Section II: Fax
- 5 Sending a fax
- How to fax
- Broadcasting
- Additional sending operations
- 6 Receiving a fax
- 7 Telephone services and external devices
- 8 Dialing and storing numbers
- 9 Remote Fax Options
- 10 Polling
- 11 Printing reports
- 5 Sending a fax
- Section III: Copy
- Section IV:Direct printing
- Section V:Software
- Section VI: Appendixes
- A Safety and legal
- B Options
- C Troubleshooting and routine maintenance
- D Menu and features
- E Specifications
- F Glossary
- Index
- brother USA/CAN
Options
121
B
Installing extra memory B
a Turn off the machine’s power switch.
Unplug the telephone line cord.
b Disconnect the interface cable from the
machine, and then unplug the power
cord from the AC power outlet.
Note
Be sure to turn off the machine’s power
switch before you install or remove the
SO-DIMM.
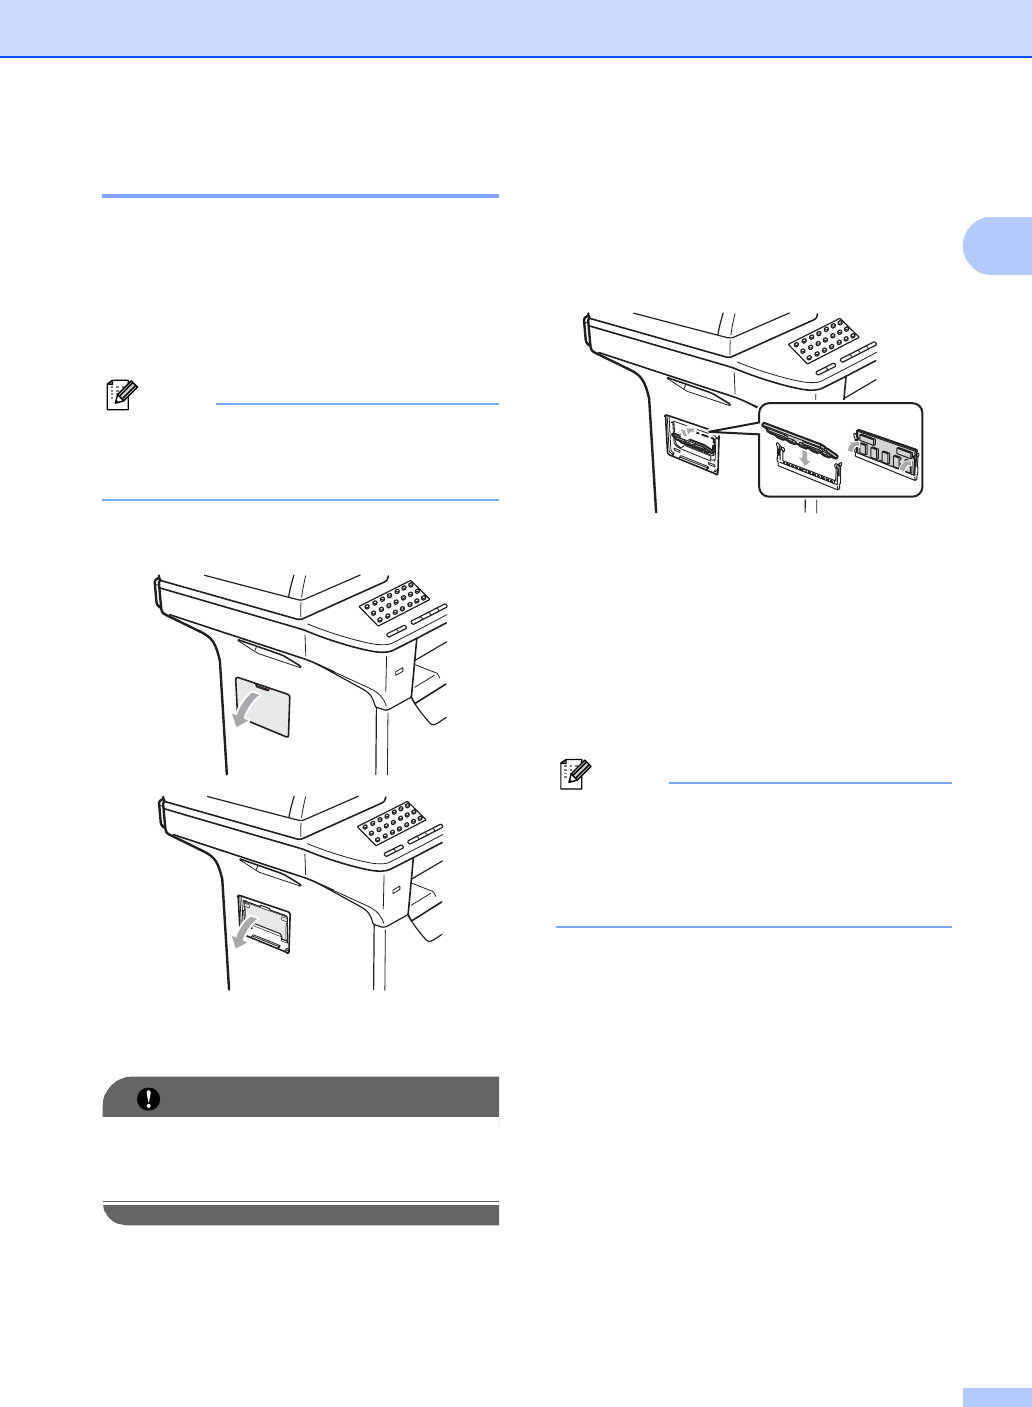
c Remove the SO-DIMM cover and
interface access cover.
d Unpack the SO-DIMM and hold it by its
edges.
IMPORTANT
To prevent damage to the machine from
static electricity, DO NOT touch the
memory chips or the board surface.
e Hold the SO-DIMM by the edges and
align the notches in the SO-DIMM with
the protrusions in the slot. Insert the
SO-DIMM diagonally (1), then tilt it
toward the interface board until it clicks
into place (2).
f Put the interface access cover and the
SO-DIMM cover back on.
g Plug the machine’s power cord back into
the AC power outlet first, and then
connect the interface cable.
h Plug in the telephone line cord. Turn on
the machine’s power switch.
Note
To make sure that you have installed the
SO-DIMM properly, you can print the user
settings page that shows the current
memory size. (See How to print a report
on page 81.)
1
2