
User Guide
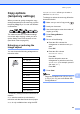


Table Of Contents
- USER’S GUIDE MFC-8480DN/MFC-8680DN/MFC-8690DW/MFC-8890DW
- Brother numbers
- Ordering accessories and supplies
- Notice - Disclaimer of Warranties (USA and Canada)
- Compilation and Publication Notice
- Brother™ One-Year Limited Warranty and Replacement Service (USA Only)
- BROTHER MULTIFUNCTION CENTER / FAX MACHINELIMITED WARRANTY (Canada only)
- Table of Contents
- Section I: General
- 1 General information
- Using the documentation
- Accessing the Software User’s Guide and Network User’s Guide
- Viewing documentation
- Viewing documentation (Windows®)
- How to find scanning instructions
- Software User’s Guide:
- ScanSoft™ PaperPort™ 11SE with OCR How-to-Guides:
- How to find Network setup instructions (MFC-8690DW and MFC-8890DW)
- Viewing documentation (Macintosh)
- How to find scanning instructions
- Software User’s Guide:
- Presto! PageManager User’s Guide:
- How to find Network setup instructions (MFC-8690DW and MFC-8890DW)
- Viewing documentation
- Accessing Brother support (Windows®)
- Control panel overview
- 2 Loading paper and documents
- 3 General Setup
- 4 Security features
- 1 General information
- Section II: Fax
- 5 Sending a fax
- How to fax
- Broadcasting
- Additional sending operations
- 6 Receiving a fax
- 7 Telephone services and external devices
- 8 Dialing and storing numbers
- 9 Remote Fax Options
- 10 Polling
- 11 Printing reports
- 5 Sending a fax
- Section III: Copy
- Section IV:Direct printing
- Section V:Software
- Section VI: Appendixes
- A Safety and legal
- B Options
- C Troubleshooting and routine maintenance
- D Menu and features
- E Specifications
- F Glossary
- Index
- brother USA/CAN
Making copies
85
12
Copy options
(temporary settings) 12
When you want to quickly change the copy
settings temporarily for the next copy, use the
temporary Copy keys. You can use different
combinations.
The machine returns to its default settings
one minute after copying, unless you have
set the Mode Timer to 30 seconds or less.
(See Mode Timer on page 22.)
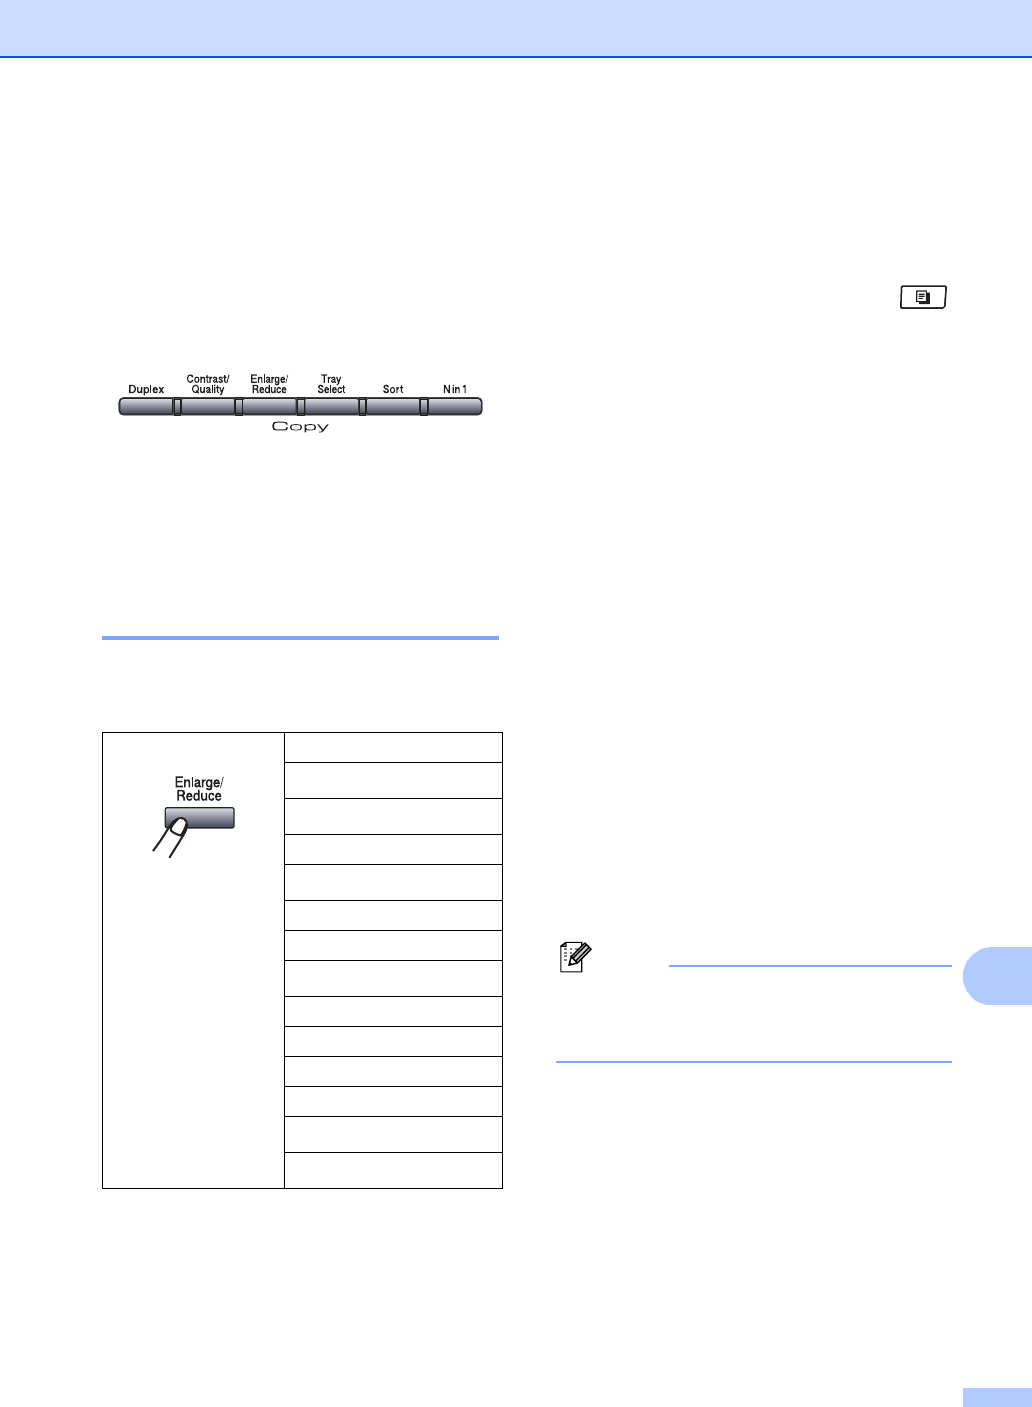
Enlarging or reducing the
image copied 12
You can choose the following enlargement or
reduction ratios:
* The factory setting is shown in Bold with an
asterisk.
Auto sets the machine to calculate the
reduction ratio that best fits the size of paper.
Auto is only available when using the ADF.
Custom(25-400%) allows you to enter a
ratio from 25% to 400%.
To enlarge or reduce the next copy follow the
instructions below:
a Make sure you are in Copy mode .
b Load your document.
c Use the dial pad to enter the number of
copies (up to 99).
d Press Enlarge/Reduce.
Press c.
e Do one of the following:
Press a or b to choose the
enlargement or reduction ratio you
want.
Press OK.
Press a or b to choose
Custom(25-400%).
Press OK.
Use the dial pad to enter an
enlargement or reduction ratio from
25% to 400%. (For example, press 5
3 to enter 53%.)
Press OK.
f Press Start.
Note
Page Layout Options 2 in 1(P), 2 in 1(L), 4
in 1(P) or 4 in 1(L) are not available with
Enlarge/Reduce.
Press
100%*
97% LTRiA4
94% A4iLTR
91%FullPage
85% LTRiEXE
83% LGLiA4
78% LGLiLTR
70% A4iA5
50%
Custom(25-400%)
Auto
200%
141% A5iA4
104% EXEiLTR