
Printer/Fax/Scanner/Copier Quick Setup Guide

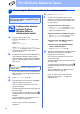
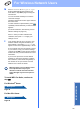


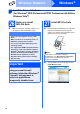

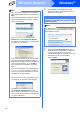
Table Of Contents
- Quick Setup Guide MFC-790CW MFC-990CW
- Start Here
- 1 Unpack the machine and check the components
- 2 Connect the handset (MFC-790CW only)
- 3 Load plain Letter/A4 paper
- 4 Connect the power cord and telephone line
- 5 Install the ink cartridges
- 6 Check the print quality
- 7 Choose your language (If needed)
- 8 Choose the correct Receive Mode
- 9 Setting up the Message Center
- 10 Set the LCD contrast (If needed)
- 11 Set the date and time
- 12 Set your station ID
- 13 Set tone or pulse dialing mode
- 14 Automatic Daylight Savings Time
- 15 Send in the Product Registration and Test Sheet (USA only)
- Set up the cordless handset (MFC-990CW only)
- For USB Interface Users (For Windows® 2000 Professional/XP/XP Professional x64 Edition/ Windows Vista®)
- For USB Interface Users (For Mac OS® X 10.2.4 or greater)
- For Wired Network Interface Users (For Windows® 2000 Professional/XP/XP Professional x64 Edition/ Windows Vista®)
- For Wired Network Interface Users (For Mac OS® X 10.2.4 or greater)
- For Wireless Network Interface Users
- 23 Before you begin
- 24 Confirm your network environment (Infrastructure Mode)
- Connecting the Brother machine to the wireless network
- Install the Drivers & Software (For Windows® 2000 Professional/XP/XP Professional x64 Edition/ Windows Vista®)
- Install the Drivers & Software (For Mac OS® X 10.2.4 or greater)
- Install Optional Applications Windows®
- For Network Users
- Consumables
- brother USA/CAN
- Start Here
35
For Wireless Network Users
Wireless Network
h Press TKIP or AES for Encryption Type?
Enter the WPA/WPA2-PSK password you
wrote down in step 24 on page 33 using the
Touchscreen.
You can use the d and c keys to move the
cursor left and right.
The letters appear in this order: upper case and
then lower case.
To enter numbers or special letters, press
repeatedly until the character you want to enter
appears.
(For more information, see Entering Text for
Wireless Settings on page 49.)
Press OK when you have entered all the
characters, then press Yes to apply your
settings. Go to i.
i Your machine will now try to connect to your
wireless network using the information you
have entered. If successful, Connected will
appear on the LCD for approximately 1 minute.
If your machine does not successfully connect
to your network, verify your network settings
collected in step 24 on page 33 then repeat a
to h to make sure you have entered the correct
information.
If your access point does not have DHCP
enabled you will need to manually configure
the IP address, subnet mask and gateway of
the machine to suit your network. See the
Network User’s Guide for details.
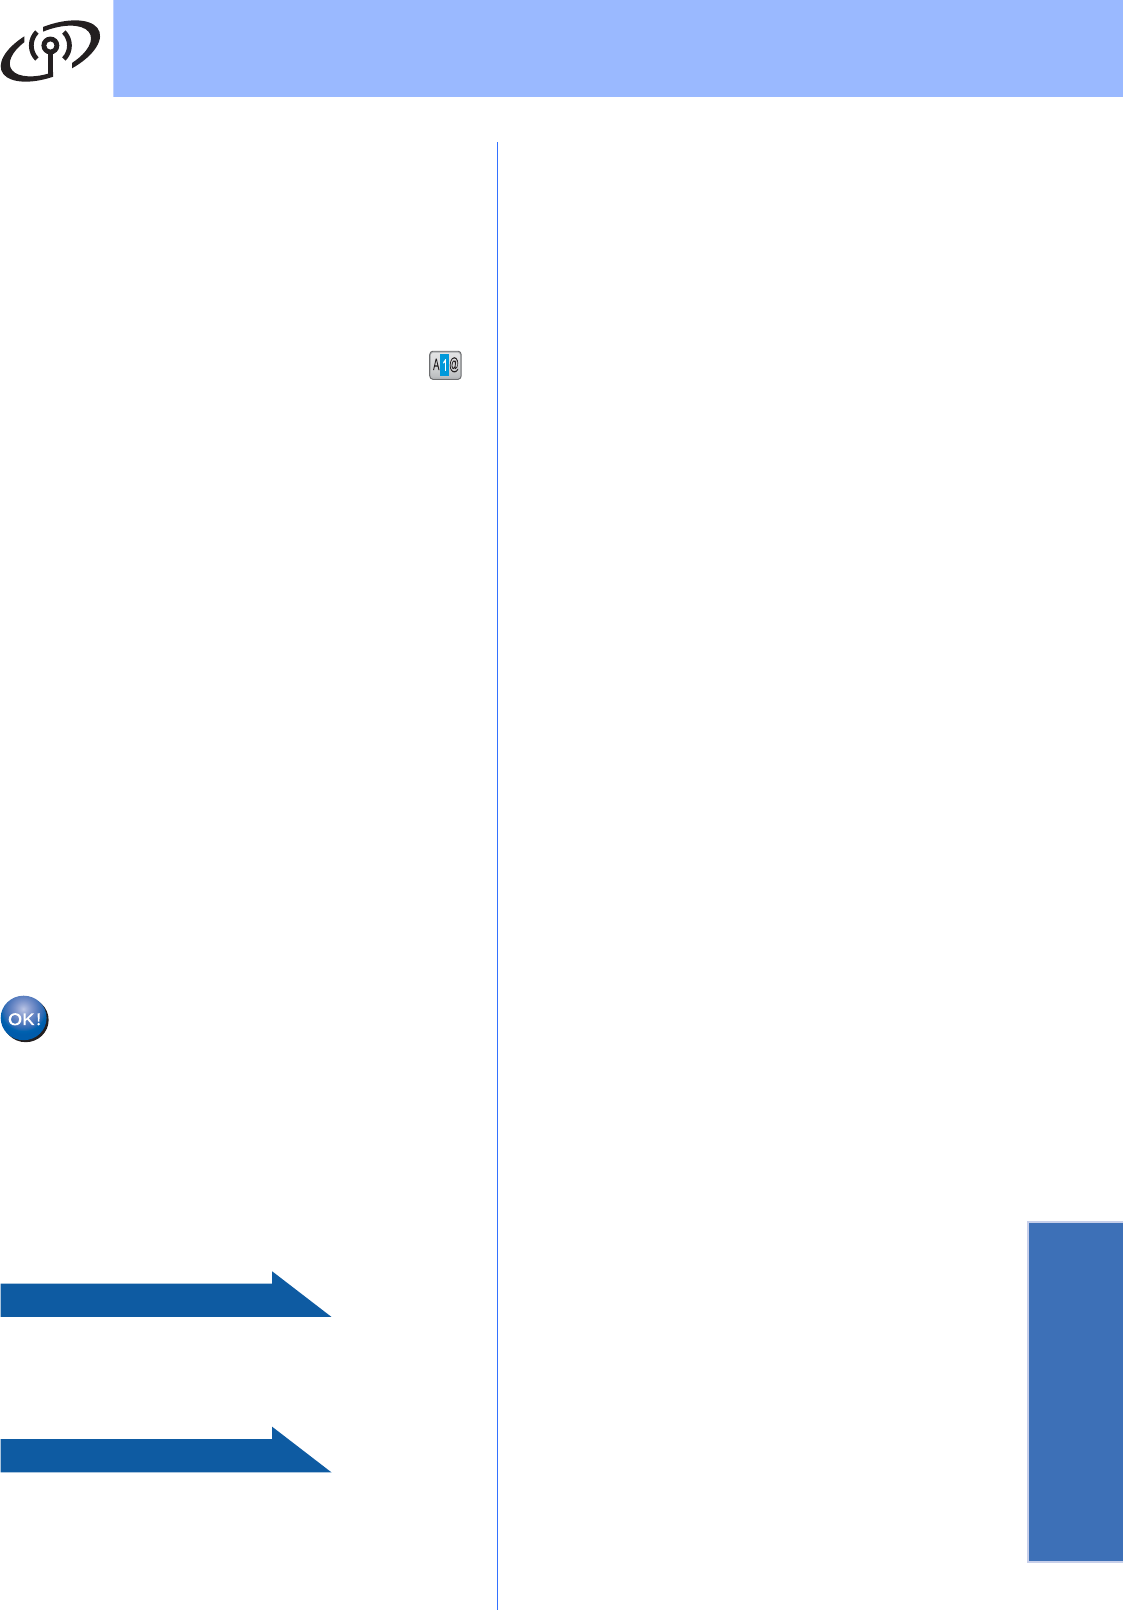
Wireless setup is now complete. A four
level indicator at the top of your
machine’s LCD will show the wireless
signal strength of your access point or
router.
To install MFL-Pro Suite, continue to
step 26.
For Windows
®
Users:
Now go to
Page 38
For Mac OS
®
Users:
Now go to
Page 42