
Installation Instructions

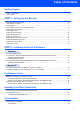


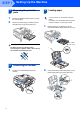

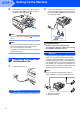


Table Of Contents
- Quick Setup Guide MFC-680CN
- Table of Contents
- Getting Started
- STEP 1 Setting Up the Machine
- 1 Removing the protective parts
- 2 Connecting the handset
- 3 Loading paper
- 4 Connecting the power cord and telephone line
- 5 Installing the ink cartridges
- 6 Print quality check
- 7 Setting the LCD contrast
- 8 Setting the date and time
- 9 Setting your station ID
- 10 Setting tone or pulse dialling mode
- 11 Setting the telephone line type
- 12 Choosing a Receive Mode
- 13 Setting up the TAD
- STEP 2 Installing the Driver & Software
- For Network Users
- Installing FaceFilter Studio Help
- Consumables
- brother UK/IRE/GEN/SAF
Setting Up the Machine
5
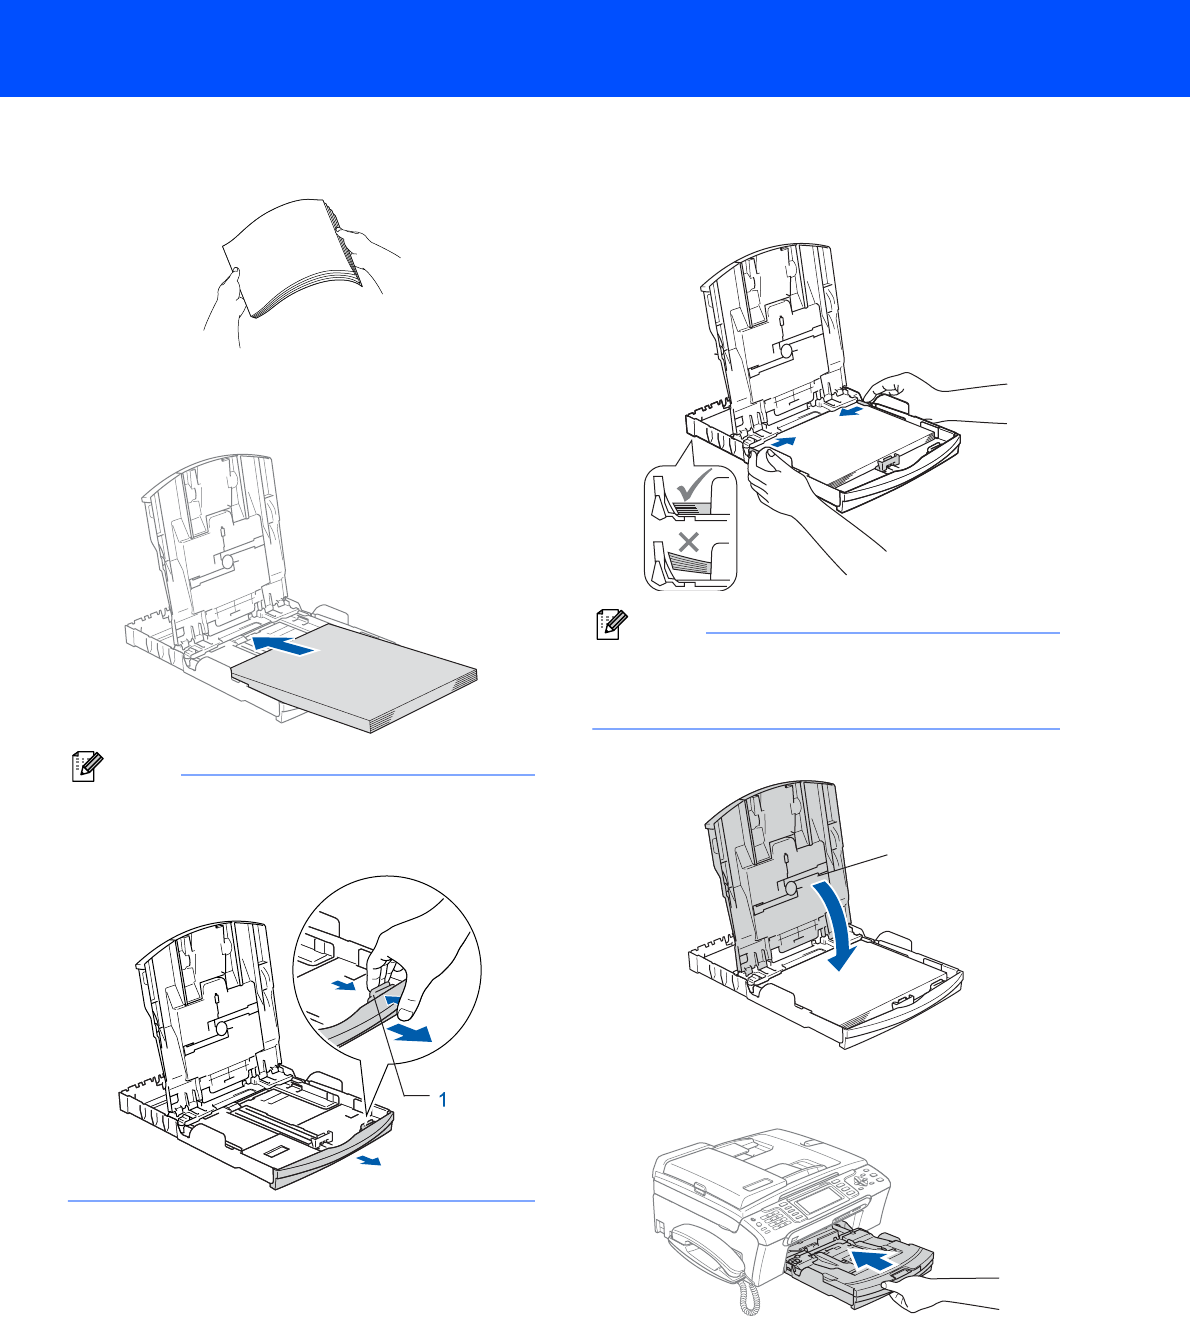
3 Fan the stack of paper well to avoid paper jams
and misfeeds.
4 Gently put the paper into the paper tray print
side down and top edge first.
Check that the paper is flat in the tray.
Note
When you use Legal size paper, press and hold
the universal guide release button (1) as you slide
out the front of the paper tray.
5 Gently adjust the paper side guides with both
hands to fit the paper.
Make sure that the paper guides touch the
edges of the paper.
Note
Be careful that you do not push the paper in too
far; it may lift at the back of the tray and cause
paper feed problems.
6 Close the output paper tray cover (1).
7 Slowly push the paper tray completely into the
machine.
1