
Installation Instructions
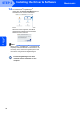
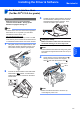

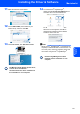
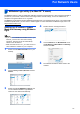


Table Of Contents
- Quick Setup Guide MFC-680CN
- Table of Contents
- Getting Started
- STEP 1 Setting Up the Machine
- 1 Removing the protective parts
- 2 Connecting the handset
- 3 Loading paper
- 4 Connecting the power cord and telephone line
- 5 Installing the ink cartridges
- 6 Print quality check
- 7 Setting the LCD contrast
- 8 Setting the date and time
- 9 Setting your station ID
- 10 Setting tone or pulse dialling mode
- 11 Setting the telephone line type
- 12 Choosing a Receive Mode
- 13 Setting up the TAD
- STEP 2 Installing the Driver & Software
- For Network Users
- Installing FaceFilter Studio Help
- Consumables
- brother UK/IRE/GEN/SAF
Installing FaceFilter Studio Help
32
1
1
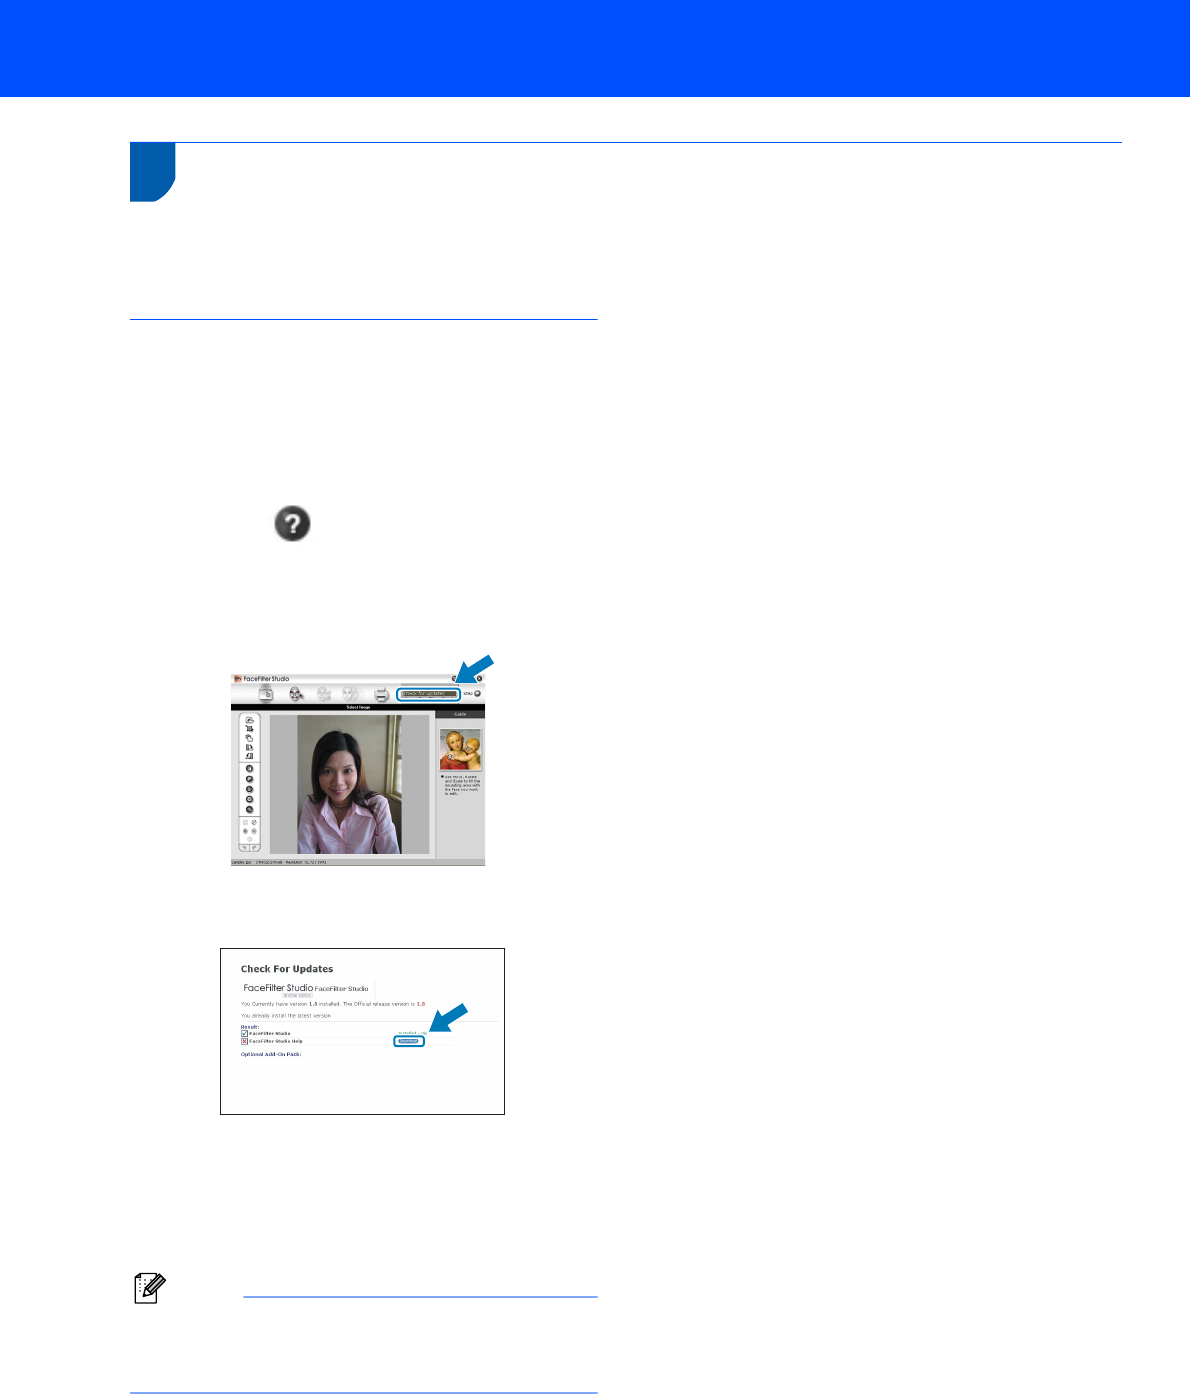
Instructions on how to install FaceFilter Studio Help
(For Windows
®
users)
To get instructions on how to use FaceFilter Studio, download and install FaceFilter Studio Help. Your computer
must be connected to the internet.
Installing FaceFilter Studio Help
1 To run FaceFilter Studio, go to
Start/All Programs/FaceFilter Studio in the
Start menu.
2 Click the button on the upper right corner
of the screen.
3 Click Check for updates to go to the
Reallusion update web page.
4 Click the Download button and choose a folder
to save the file in.
5 Close FaceFilter Studio before you start the
installer for FaceFilter Studio Help.
Double-click the downloaded file from the
folder you specified and follow the on-screen
instructions for installation.
Note
To view the complete FaceFilter Studio Help,
choose Start/All Programs/FaceFilter Studio/
FaceFilter Studio Help on your computer.