
Installation Instructions
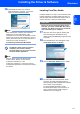

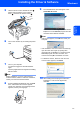
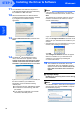
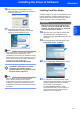
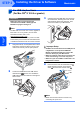

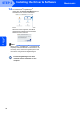
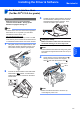

Table Of Contents
- Quick Setup Guide MFC-680CN
- Table of Contents
- Getting Started
- STEP 1 Setting Up the Machine
- 1 Removing the protective parts
- 2 Connecting the handset
- 3 Loading paper
- 4 Connecting the power cord and telephone line
- 5 Installing the ink cartridges
- 6 Print quality check
- 7 Setting the LCD contrast
- 8 Setting the date and time
- 9 Setting your station ID
- 10 Setting tone or pulse dialling mode
- 11 Setting the telephone line type
- 12 Choosing a Receive Mode
- 13 Setting up the TAD
- STEP 2 Installing the Driver & Software
- For Network Users
- Installing FaceFilter Studio Help
- Consumables
- brother UK/IRE/GEN/SAF
Installing the Driver & Software
25
Macintosh
®
Macintosh
®
USB
5 Turn on your Macintosh
®
.
6 Put the supplied CD-ROM into your CD-ROM
drive.
7 Double-click the Start Here OSX icon to install.
Follow the on-screen instructions.
Note
Please wait, it will take a few seconds for the
software to install. After the installation, click
Restart to finish installing the software.
8 The Brother software will search for the Brother
device. During this time the following screen
will appear.
9 When this screen appears, click OK.
For Mac OS
®
X 10.3.x or greater users:
The MFL-Pro Suite, Brother printer driver,
scanner driver and Brother
ControlCenter2 have been installed and
the installation is now complete.
Go to step 14.
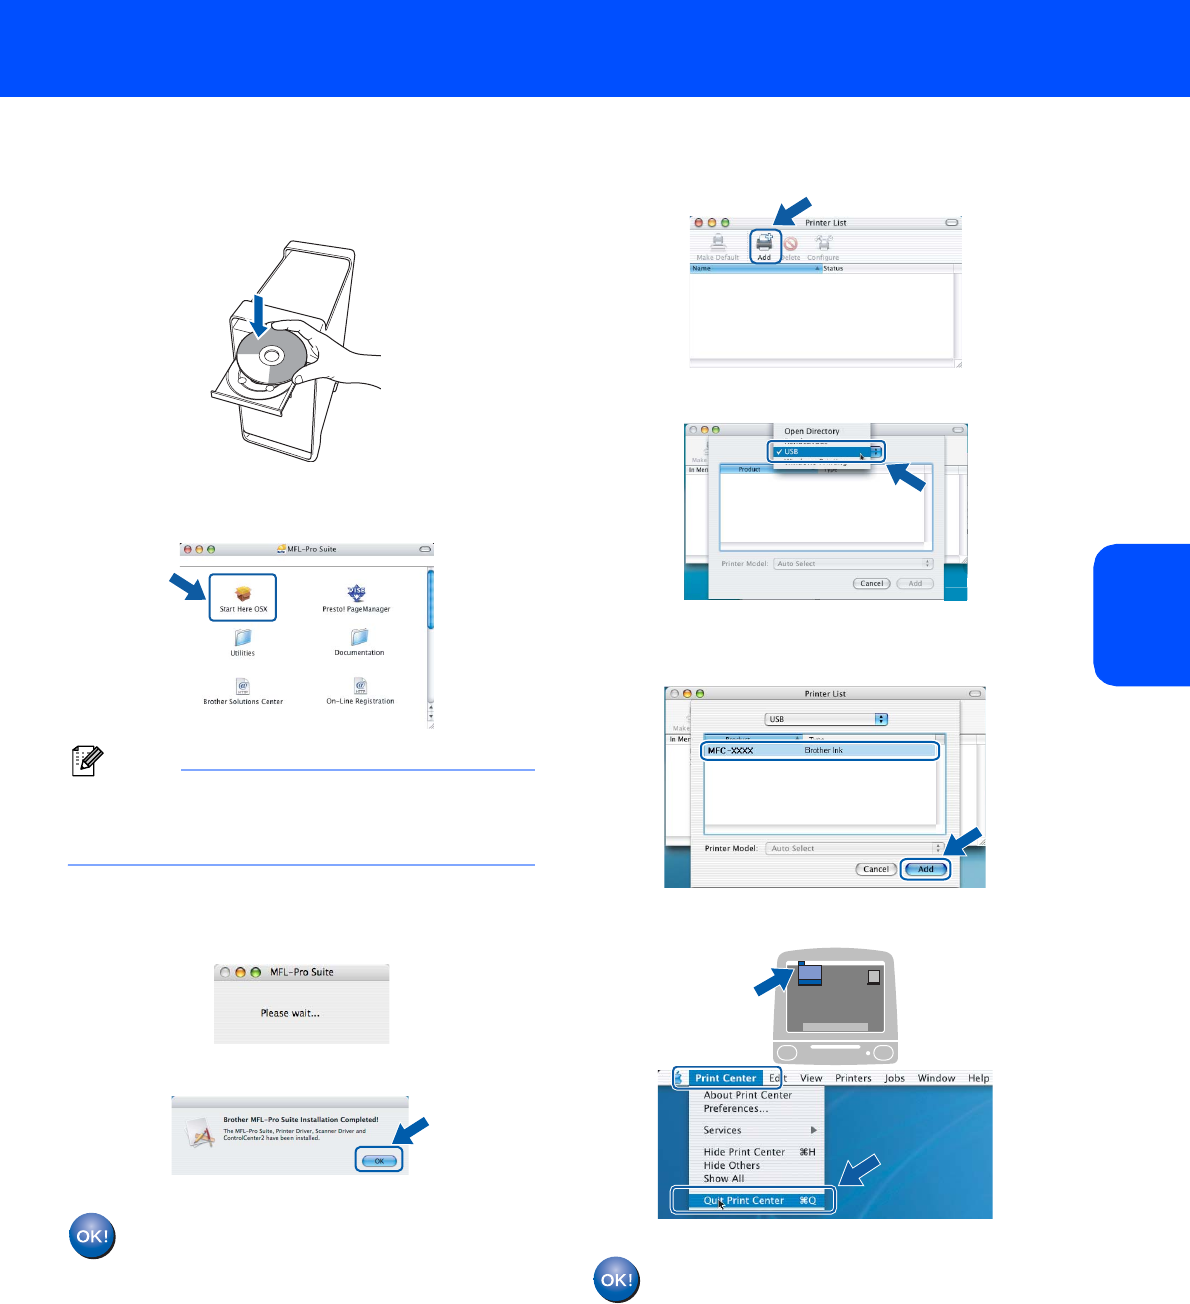
10 For Mac OS
®
X 10.2.4 to 10.2.8 users:
Click Add.
11 Choose USB.
12 Choose MFC-XXXX (where XXXX is your
model name), and then click Add.
13 Click Print Center, then Quit Print Center.
The MFL-Pro Suite, Brother printer driver,
scanner driver and Brother
ControlCenter2 have been installed and
the installation is now complete.