
Installation Instructions
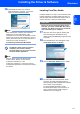

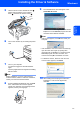
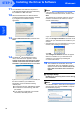
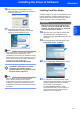
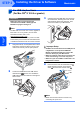

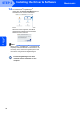
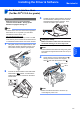

Table Of Contents
- Quick Setup Guide MFC-680CN
- Table of Contents
- Getting Started
- STEP 1 Setting Up the Machine
- 1 Removing the protective parts
- 2 Connecting the handset
- 3 Loading paper
- 4 Connecting the power cord and telephone line
- 5 Installing the ink cartridges
- 6 Print quality check
- 7 Setting the LCD contrast
- 8 Setting the date and time
- 9 Setting your station ID
- 10 Setting tone or pulse dialling mode
- 11 Setting the telephone line type
- 12 Choosing a Receive Mode
- 13 Setting up the TAD
- STEP 2 Installing the Driver & Software
- For Network Users
- Installing FaceFilter Studio Help
- Consumables
- brother UK/IRE/GEN/SAF
Installing the Driver & Software
23
Windows
®
Windows
®
Network
16 When the On-Line Registration screen is
displayed, make your selection and follow the
on-screen instructions.
17 Click Finish to restart your computer.
After restarting the computer, you must be
logged on with Administrator rights.
Note
After restarting the computer, the Installation
Diagnostics will run automatically. If the
installation is unsuccessful, the installation results
window will be shown. If the Diagnostics shows a
failure, please follow the on-screen instructions or
read the on-line help and FAQs in
Start/All Programs/Brother/MFC-XXXX.
The MFL-Pro Suite has been installed
completely. Proceed to Installing
FaceFilter Studio on page 23 to install the
FaceFilter Studio application.
Note
MFL-Pro Suite includes the Network Printer
Driver, Network Scanner Driver, Brother
ControlCenter3, ScanSoft™ PaperPort™ 11SE.
ScanSoft™ PaperPort™ 11SE is a document
management application for scanning and viewing
documents.
Installing FaceFilter Studio
FaceFilter Studio is an easy-to-use borderless photo
printing application. FaceFilter Studio also lets you
edit your photo data and add photo effects such as
red eye reduction or skin tone enhancement.
Important
Before you launch FaceFilter Studio for the
first time, you must confirm MFL-Pro Suite is
installed, your Brother machine is turned ON
and connected to your network.
18 Open the main menu again by ejecting and
then reinserting the CD-ROM disc or by
double-clicking the start.exe program from the
root folder.
19 The CD-ROM main menu will appear. Click
Install Other Drivers or Utilities.
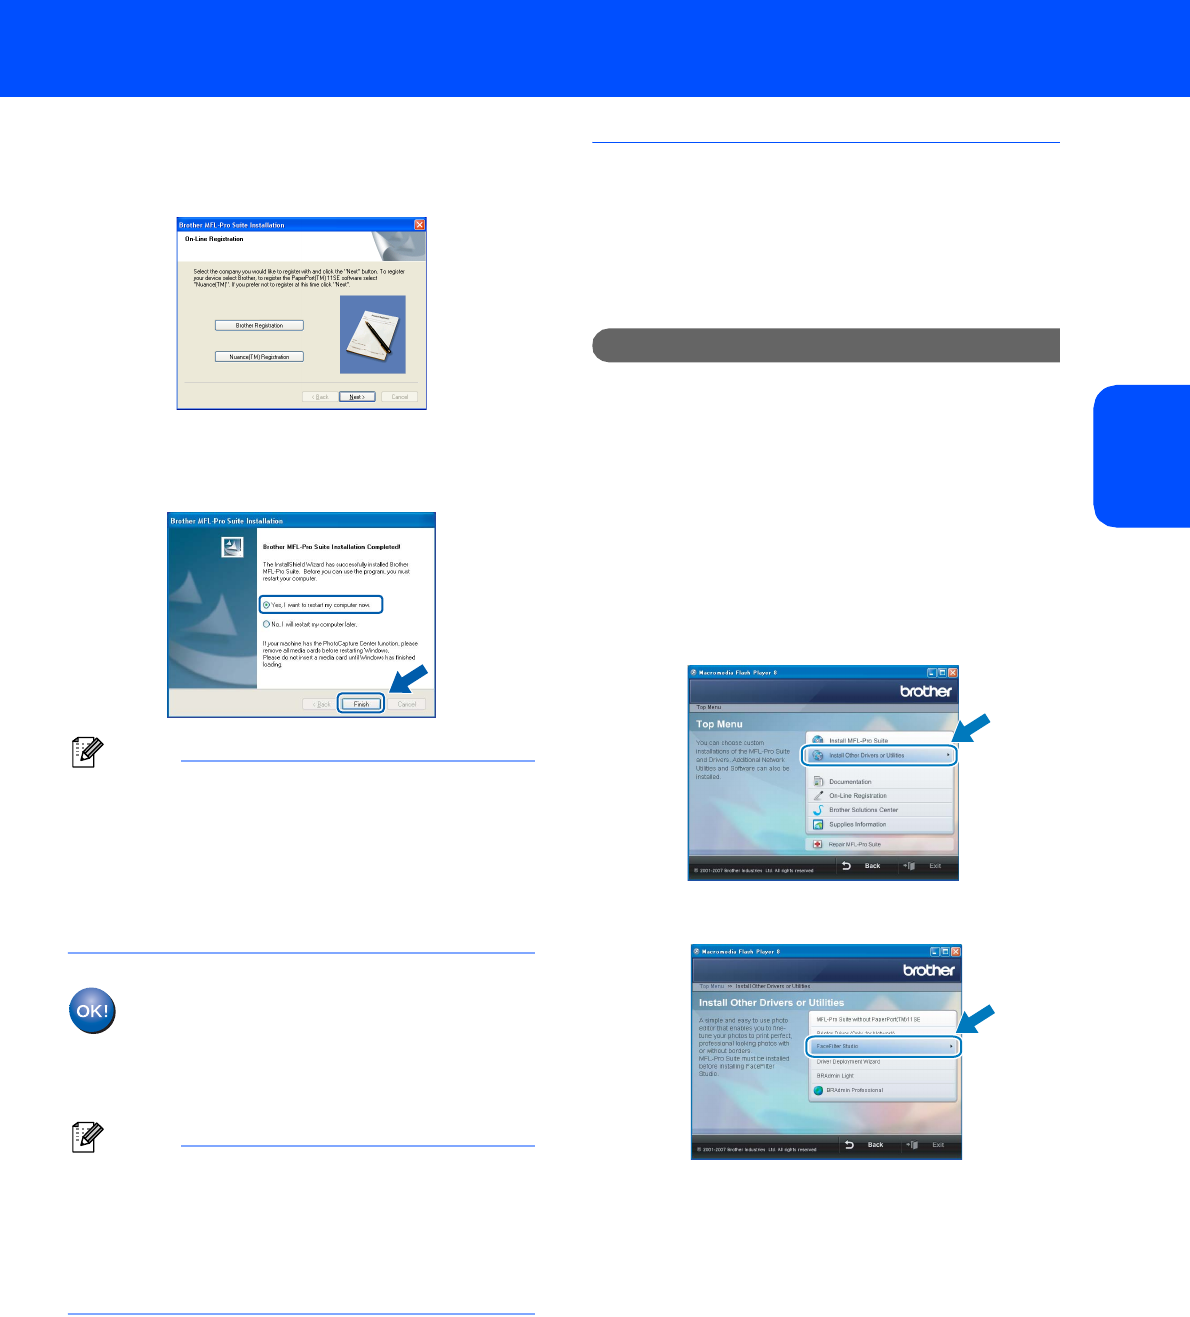
20 Click the FaceFilter Studio button to install.
21 For information on basic FaceFilter Studio
functions see Using FaceFilter Studio for photo
printing by REALLUSION in the Software
User’s Guide on the CD-ROM.
For more detailed information, install
FaceFilter Studio Help. See Instructions on
how to install FaceFilter Studio Help (For
Windows
®
users) on page 32.