
Installation Instructions
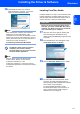

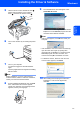
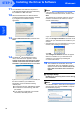
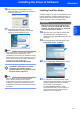

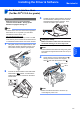

Table Of Contents
- Quick Setup Guide MFC-680CN
- Table of Contents
- Getting Started
- STEP 1 Setting Up the Machine
- 1 Removing the protective parts
- 2 Connecting the handset
- 3 Loading paper
- 4 Connecting the power cord and telephone line
- 5 Installing the ink cartridges
- 6 Print quality check
- 7 Setting the LCD contrast
- 8 Setting the date and time
- 9 Setting your station ID
- 10 Setting tone or pulse dialling mode
- 11 Setting the telephone line type
- 12 Choosing a Receive Mode
- 13 Setting up the TAD
- STEP 2 Installing the Driver & Software
- For Network Users
- Installing FaceFilter Studio Help
- Consumables
- brother UK/IRE/GEN/SAF
Installing the Driver & Software
21
Windows
®
Windows
®
Network
5 Lift the scanner cover to release the lock .
Gently push the scanner cover support
down and close the scanner cover .
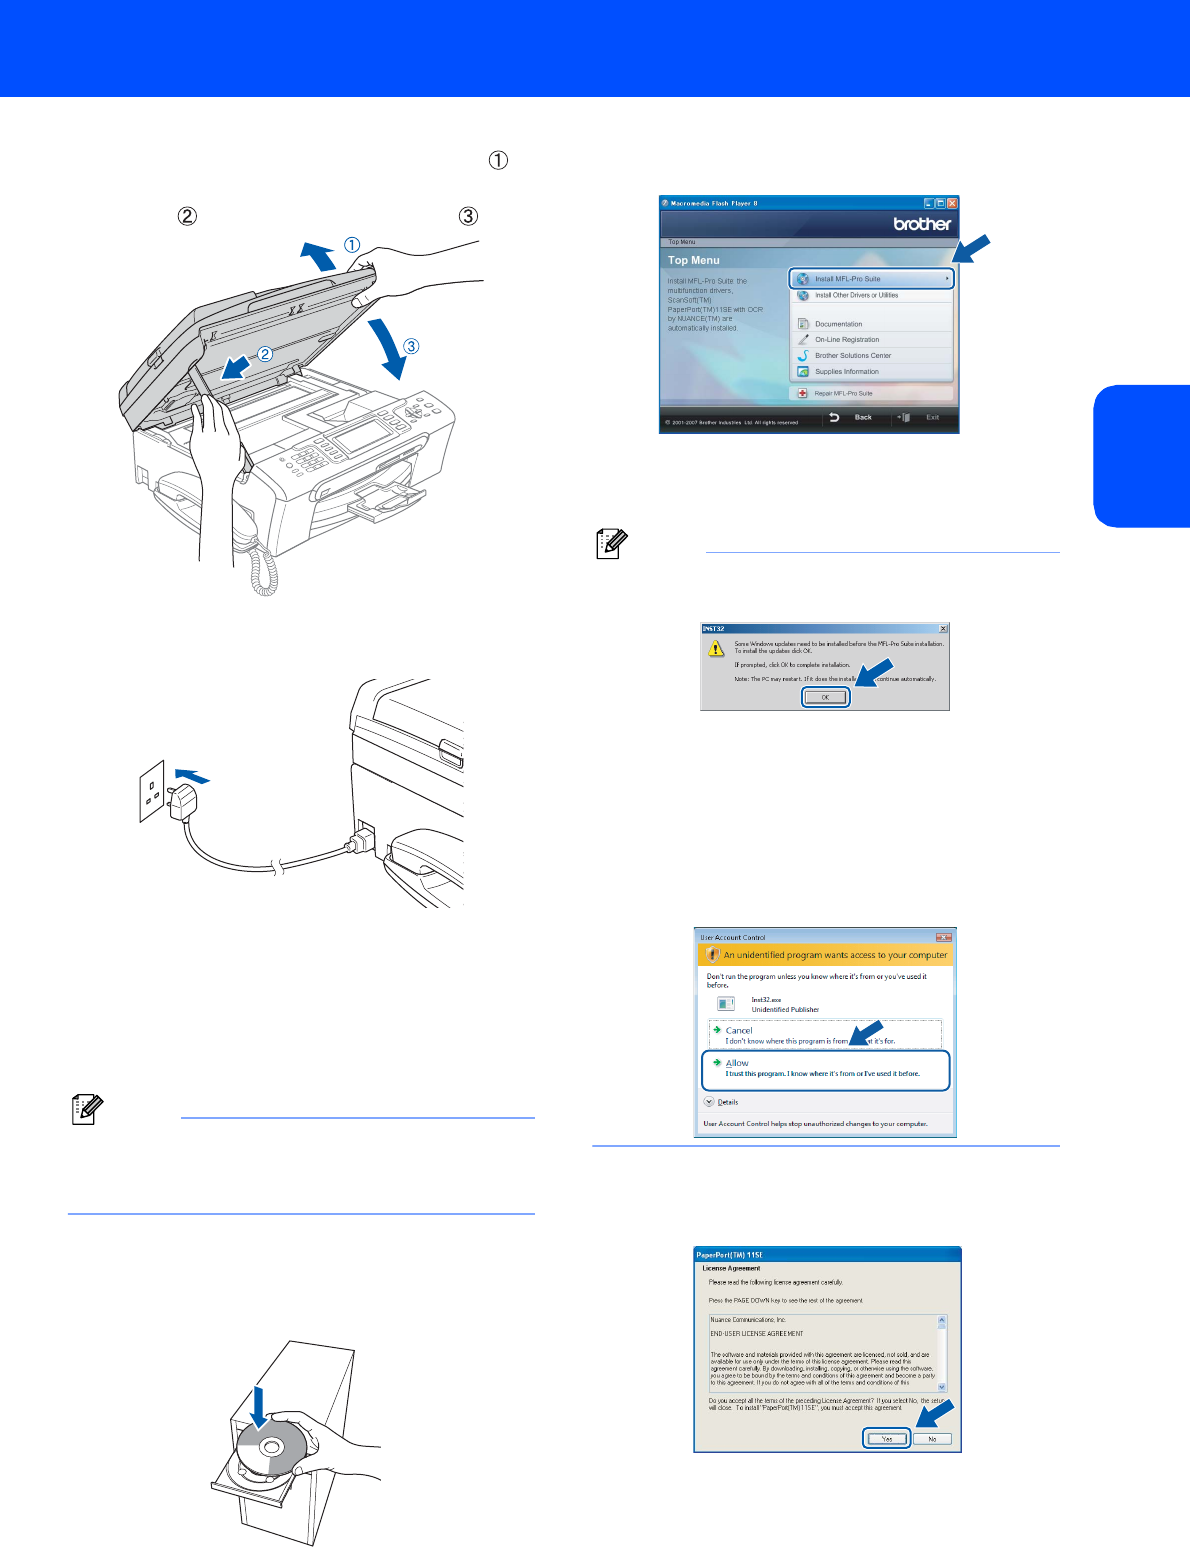
6 Turn on the machine by connecting the power
cord.
7 Turn on your computer.
You must be logged on with Administrator
rights.
Close any applications running before installing
MFL-Pro Suite.
Note
Before installation, if you are using Personal
Firewall software, disable it. After the installation,
restart your Personal Firewall sofware.
8 Put the supplied CD-ROM into your CD-ROM
drive. If the model name screen appears,
choose your machine. If the language screen
appears, choose your language.
9 The CD-ROM main menu will appear. Click
Install MFL-Pro Suite.
If this window does not appear, use Windows
®
Explorer to run the start.exe program from the
root folder of the Brother CD-ROM.
Note
• If this screen appears, click OK and restart your
computer.
• If the installation does not continue automatically,
open the main menu again by ejecting then
reinserting the CD-ROM disc or double-click the
start.exe program from the root folder, and
continue from step 9 to install MFL-Pro Suite.
• For Windows Vista™, when the User Account
Control screen appears, click Allow.
10 After reading and accepting the ScanSoft™
PaperPort™ 11SE License Agreement,
click Yes.