
Installation Instructions

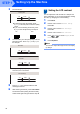
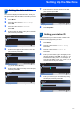

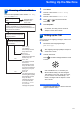

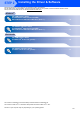
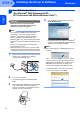
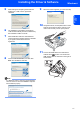

Table Of Contents
- Quick Setup Guide MFC-680CN
- Table of Contents
- Getting Started
- STEP 1 Setting Up the Machine
- 1 Removing the protective parts
- 2 Connecting the handset
- 3 Loading paper
- 4 Connecting the power cord and telephone line
- 5 Installing the ink cartridges
- 6 Print quality check
- 7 Setting the LCD contrast
- 8 Setting the date and time
- 9 Setting your station ID
- 10 Setting tone or pulse dialling mode
- 11 Setting the telephone line type
- 12 Choosing a Receive Mode
- 13 Setting up the TAD
- STEP 2 Installing the Driver & Software
- For Network Users
- Installing FaceFilter Studio Help
- Consumables
- brother UK/IRE/GEN/SAF
Setting Up the Machine
10
STEP 1
3 The LCD shows:
If all lines are clear and visible, press
1 (Yes) on the dial pad to finish the quality
check.
If you can see missing short lines, press
2 (No) on the dial pad and go to step 4.
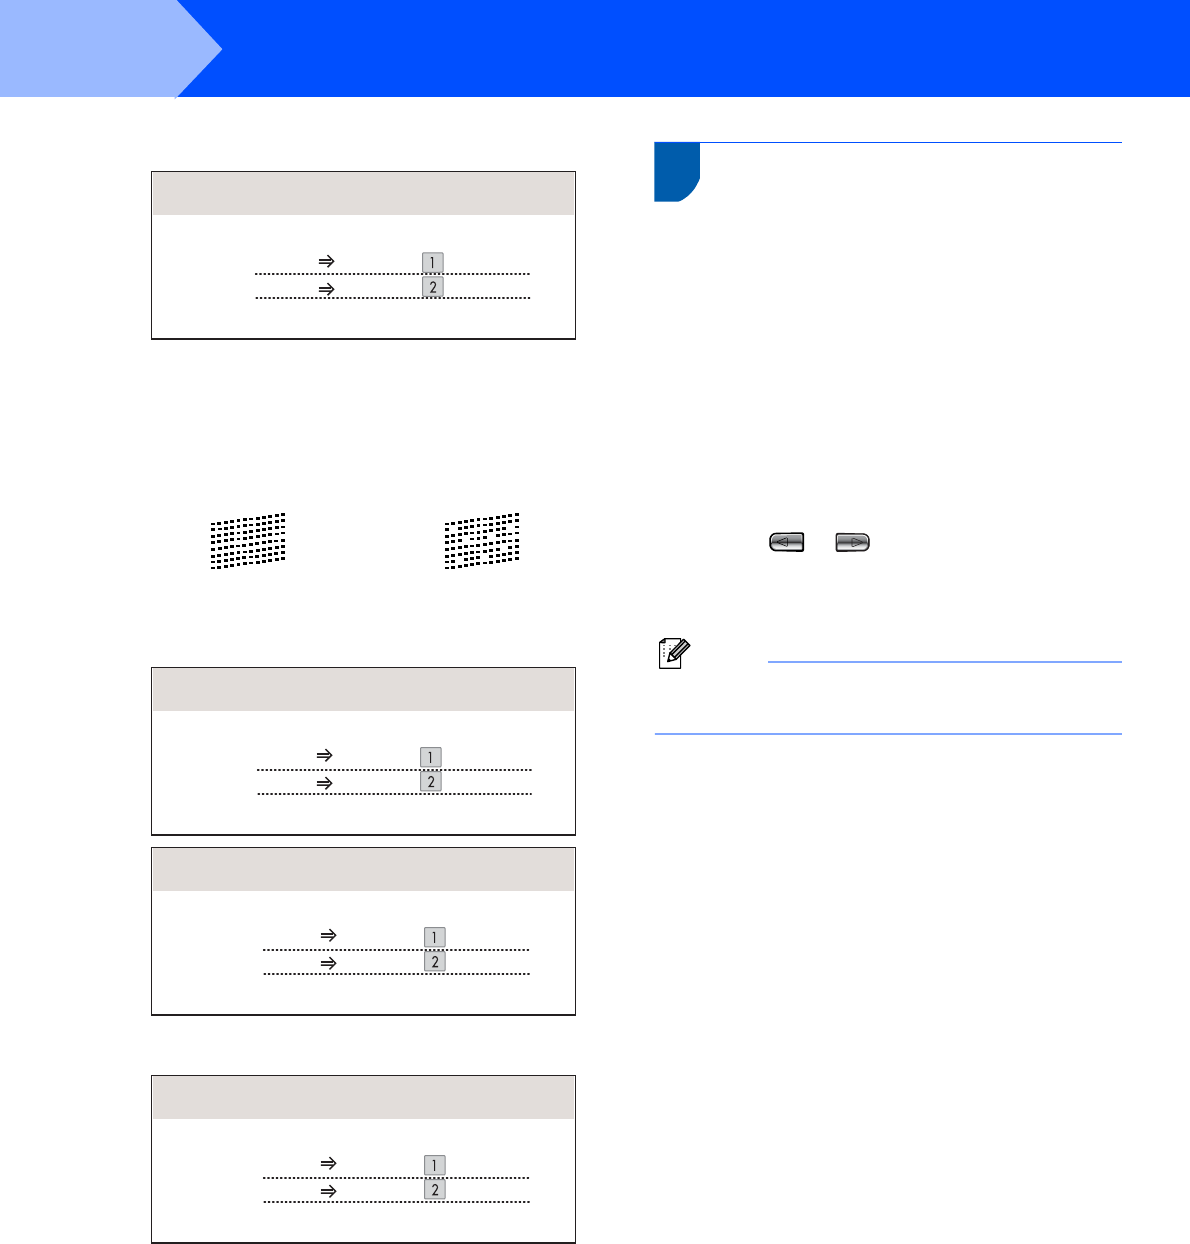
4 The LCD asks you if the print quality is OK for
black and colour. Press 1 (Yes) or 2 (No) on
the dial pad.
After pressing 1 (Yes) or 2 (No) for both black
and colour, the LCD shows:
5 Press 1 (Yes), the machine will then start
cleaning the colours.
6 After cleaning is finished, press Colour Start.
The machine starts printing the Print Quality
Check Sheet again and goes back to step 2.
7 Setting the LCD contrast
You can adjust the LCD contrast for a sharper and
more vivid display. If you are having difficulty reading
the LCD, try changing the contrast setting.
1 Press Menu.
2 Press a or b to choose General Setup.
Press OK.
3 Press a or b to choose LCD Settings.
Press OK.
4 Press a or b to choose LCD Contrast.
5 Press or to choose Light, Med or
Dark. Press OK.
6 Press Stop/Exit.
Note
You can also adjust the angle of the LCD display
by lifting it.
OK Poor
Is Quality OK?
Yes Press
Press
No
Black OK?
Yes Press
Press
No
Color OK?
Yes Press
Press
No
Start Cleaning?
Yes Press
Press
No