
Installation Instructions

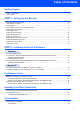


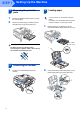

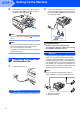


Table Of Contents
- Quick Setup Guide MFC-680CN
- Table of Contents
- Getting Started
- STEP 1 Setting Up the Machine
- 1 Removing the protective parts
- 2 Connecting the handset
- 3 Loading paper
- 4 Connecting the power cord and telephone line
- 5 Installing the ink cartridges
- 6 Print quality check
- 7 Setting the LCD contrast
- 8 Setting the date and time
- 9 Setting your station ID
- 10 Setting tone or pulse dialling mode
- 11 Setting the telephone line type
- 12 Choosing a Receive Mode
- 13 Setting up the TAD
- STEP 2 Installing the Driver & Software
- For Network Users
- Installing FaceFilter Studio Help
- Consumables
- brother UK/IRE/GEN/SAF
Setting Up the Machine
8
STEP 1
Improper Setup
DO NOT touch the area shown in the
illustration below.
Note
If the protective yellow cap comes off when you
open the bag, the cartridge will not be damaged.
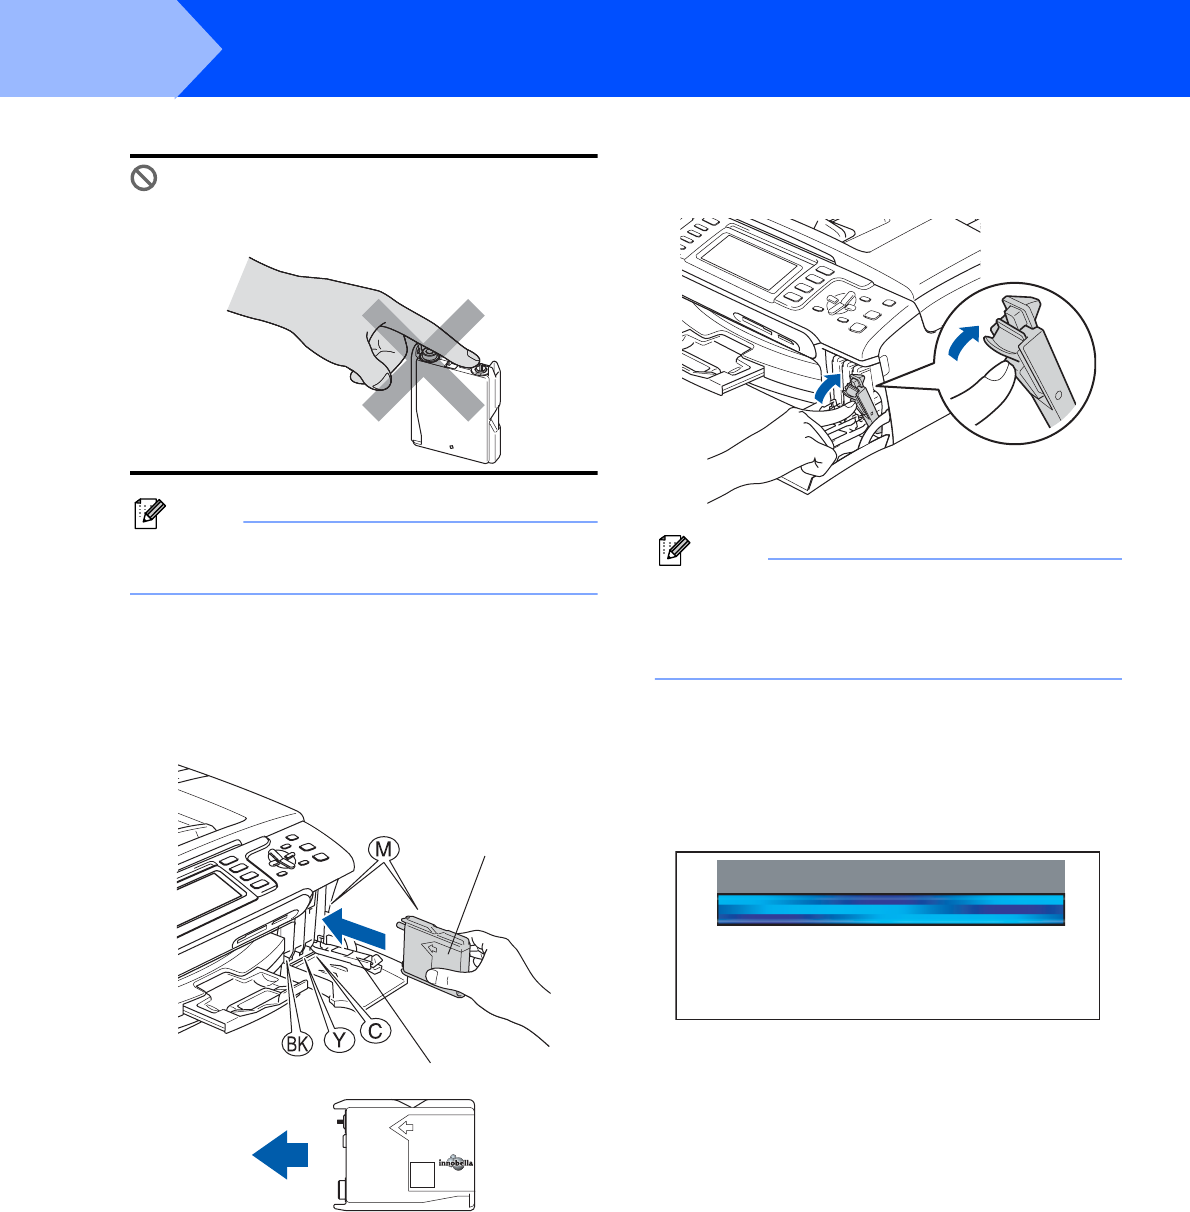
6 Install each ink cartridge in the direction of the
arrow on the label.
Take care to match the colour of the lock
release lever (1) with the cartridge colour (2),
as shown in the diagram below.
7 Lift each lock release lever and gently push it
until it clicks, and then close the ink cartridge
cover.
Note
If the LCD prompts you to re-insert the ink
cartridge correctly, after you install the ink
cartridges, check that the ink cartridges are
installed correctly.
The first time the ink cartridges are installed the
machine prepares and cleans the ink tube
system. This initial process will take more time
than a normal cleaning cycle but will happen
only once.
The LCD shows:
1
2
M
brother
Cleaning
Preparing System
Approx 4 Minutes