
Manual

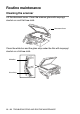

Table Of Contents
- USER’S GUIDE MFC-640CW
- Brother numbers
- Ordering accessories and supplies
- Safety precautions
- Choosing a location
- Quick Reference Guide
- How to access the complete User’s Guide
- How to access Brother Support (For Windows®)
- Table of Contents
- 1 Introduction
- 2 Getting started
- Initial Setup
- General Setup
- Setting the Mode Timer
- Setting the Paper Type
- Setting the Paper Size
- Setting the Ring Volume
- Setting the Beeper Volume
- Setting the Speaker Volume
- Setting the Handset Volume
- Choosing the Handset Volume (For Volume Amplify)
- Setting Volume Amplify
- Turning on Automatic Daylight Savings Time
- Setting the LCD Contrast
- 3 Setup Send
- 4 Setup Receive
- Basic receiving operations
- 5 Quick-Dial numbers and dialing options
- 6 Remote Fax Options (Black & White only)
- 7 Message Center
- Message Center mode
- Setting up the Message Center
- Recording Message Center Outgoing Message
- Activating Message Center mode
- Message indicator
- Playing voice messages
- Printing a fax message
- Erasing incoming messages
- Setting Maximum Time for incoming messages
- Setting Toll Saver
- ICM Recording Monitor
- Recording a conversation
- Record Fax/Tel Outgoing Announcement (F/T OGM)
- Message Center mode
- 8 Printing reports
- 9 Making copies
- 10 Walk-Up PhotoCapture Center™
- 11 Software and Network features
- 12 Important information
- 13 Troubleshooting and routine maintenance
- Appendix A
- Appendix B
- Glossary
- Specifications
- Index
- Remote Retrieval Access card
- brother US/CAN
TROUBLESHOOTING AND ROUTINE MAINTENANCE 13 - 18
Checking the printing alignment
You should rarely need to adjust the printing alignment however, if
after transporting the machine your printed text becomes blurred or
images become faded then adjustment may need to be made.
1
Press Ink.
2
Press
▲ or ▼ to select Test Print.
Press
Menu/Set.
3
Press
▲ or ▼ to select Alignment.
Press
Menu/Set.
4
Press Black Start or Color Start.
The machine begins printing the Alignment Check Sheet.
The LCD shows:
5
Check the 600 dpi and 1200 dpi test prints to see if number 5
most closely matches number 0. If the number 5 sample of both
the 600 dpi and 1200 dpi are the best matches, press
1 (Yes) to
finish Alignment Check, and go to Step 8.
—OR—
If another test print number is a better match for either 600 dpi
or 1200 dpi, press
2 (No) to select it.
6
For 600 dpi, press the number of the
test print that most closely matches
the number 0 sample (1-8).
7
For 1200 dpi, press the number of
the test print that most closely
matches the number 0 sample (1-8).
8
Press Stop/Exit.
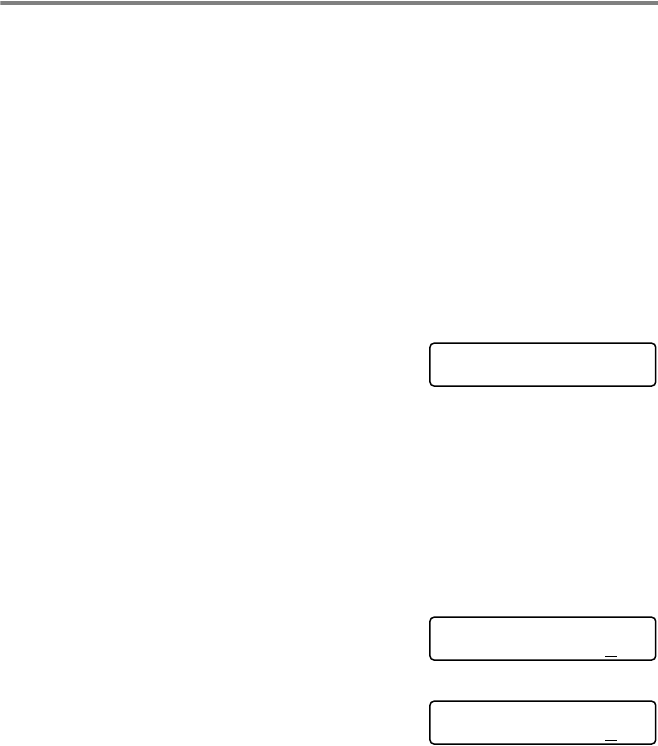
Is Alignment OK?
1.Yes 2.No
600dpi Adjust
Select Best # 5
1200dpi Adjust
Select Best # 5