
Manual


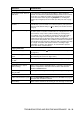

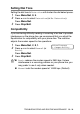


Table Of Contents
- USER’S GUIDE MFC-640CW
- Brother numbers
- Ordering accessories and supplies
- Safety precautions
- Choosing a location
- Quick Reference Guide
- How to access the complete User’s Guide
- How to access Brother Support (For Windows®)
- Table of Contents
- 1 Introduction
- 2 Getting started
- Initial Setup
- General Setup
- Setting the Mode Timer
- Setting the Paper Type
- Setting the Paper Size
- Setting the Ring Volume
- Setting the Beeper Volume
- Setting the Speaker Volume
- Setting the Handset Volume
- Choosing the Handset Volume (For Volume Amplify)
- Setting Volume Amplify
- Turning on Automatic Daylight Savings Time
- Setting the LCD Contrast
- 3 Setup Send
- 4 Setup Receive
- Basic receiving operations
- 5 Quick-Dial numbers and dialing options
- 6 Remote Fax Options (Black & White only)
- 7 Message Center
- Message Center mode
- Setting up the Message Center
- Recording Message Center Outgoing Message
- Activating Message Center mode
- Message indicator
- Playing voice messages
- Printing a fax message
- Erasing incoming messages
- Setting Maximum Time for incoming messages
- Setting Toll Saver
- ICM Recording Monitor
- Recording a conversation
- Record Fax/Tel Outgoing Announcement (F/T OGM)
- Message Center mode
- 8 Printing reports
- 9 Making copies
- 10 Walk-Up PhotoCapture Center™
- 11 Software and Network features
- 12 Important information
- 13 Troubleshooting and routine maintenance
- Appendix A
- Appendix B
- Glossary
- Specifications
- Index
- Remote Retrieval Access card
- brother US/CAN
13 - 17 TROUBLESHOOTING AND ROUTINE MAINTENANCE
8
Press 2 (No) for Black or three colors
with a problem.
The LCD shows:
Press
1 (Yes).
The machine will start cleaning the
print head.
9
After cleaning is finished, press Color Start. The machine will
start printing the Print Quality Check Sheet again and then
return to Step 5.
10
Press Stop/Exit.
If you still see missing ink in this Print Quality Check Sheet, repeat
the cleaning and test print procedures at least five times. If ink is still
missing after the fifth cleaning and test print, replace the ink cartridge
for the clogged color. (Perhaps the ink cartridge was in your machine
over six months or the expiration date written on the cartridge
package has passed. Or, the ink may not have been stored properly
before use.)
After replacing the ink cartridge, check it by printing another Print
Quality Check Sheet. If the problem still exists, repeat the cleaning
and test print procedures at least five times for the new ink cartridge.
If ink is still missing, call Brother Customer Service (see Brother
numbers on page i).
Caution
Do NOT touch the print head. Touching the print head may cause
permanent damage and may void the print head’s warranty.
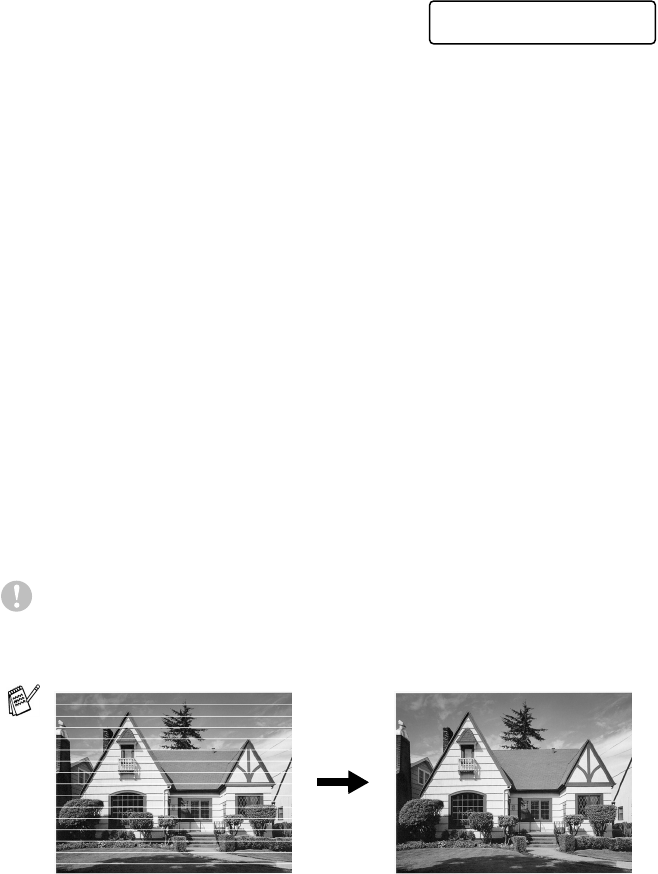
When a print head nozzle is
clogged the printed sample
looks like this.
After the print head nozzle is
cleaned, the horizontal lines
are gone.
Start Cleaning?
1.Yes 2.No