
Manual

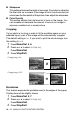

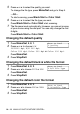
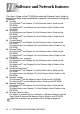

Table Of Contents
- USER’S GUIDE MFC-640CW
- Brother numbers
- Ordering accessories and supplies
- Safety precautions
- Choosing a location
- Quick Reference Guide
- How to access the complete User’s Guide
- How to access Brother Support (For Windows®)
- Table of Contents
- 1 Introduction
- 2 Getting started
- Initial Setup
- General Setup
- Setting the Mode Timer
- Setting the Paper Type
- Setting the Paper Size
- Setting the Ring Volume
- Setting the Beeper Volume
- Setting the Speaker Volume
- Setting the Handset Volume
- Choosing the Handset Volume (For Volume Amplify)
- Setting Volume Amplify
- Turning on Automatic Daylight Savings Time
- Setting the LCD Contrast
- 3 Setup Send
- 4 Setup Receive
- Basic receiving operations
- 5 Quick-Dial numbers and dialing options
- 6 Remote Fax Options (Black & White only)
- 7 Message Center
- Message Center mode
- Setting up the Message Center
- Recording Message Center Outgoing Message
- Activating Message Center mode
- Message indicator
- Playing voice messages
- Printing a fax message
- Erasing incoming messages
- Setting Maximum Time for incoming messages
- Setting Toll Saver
- ICM Recording Monitor
- Recording a conversation
- Record Fax/Tel Outgoing Announcement (F/T OGM)
- Message Center mode
- 8 Printing reports
- 9 Making copies
- 10 Walk-Up PhotoCapture Center™
- 11 Software and Network features
- 12 Important information
- 13 Troubleshooting and routine maintenance
- Appendix A
- Appendix B
- Glossary
- Specifications
- Index
- Remote Retrieval Access card
- brother US/CAN
WALK-UP PHOTOCAPTURE CENTER
™
10 - 12
Scan to Card
You can scan black and white and color documents into a media
card. Black and white documents will be stored in PDF (*.PDF) or
TIFF file formats (*.TIF). Color documents may be stored in PDF
(*.PDF) or JPEG (*.JPG) file formats. The default setting is Color
150 dpi and the default file format is PDF. File names default to the
current date that you set in the Menu table using the control panel
keys. (For details, see Setting the Date and Time on page 2-1.) For
example, the fifth image scanned on July 1, 2005 would be named
07010505.PDF. You can change the color, quality and file name.
1
Insert a SmartMedia
®
, CompactFlash
®
, Memory Stick
®
,
Memory Stick Pro
™
SecureDigital
™
, MultiMediaCard
™
or
xD-Picture Card
™
into your machine.
2
Load your document.
3
Press (Scan).
4
Press ▲ or ▼ to select Scan to Card.
To change quality, press
Menu/Set and go to Step 5.
—OR—
Press
Black Start or Color Start to start scanning without
changing any settings.
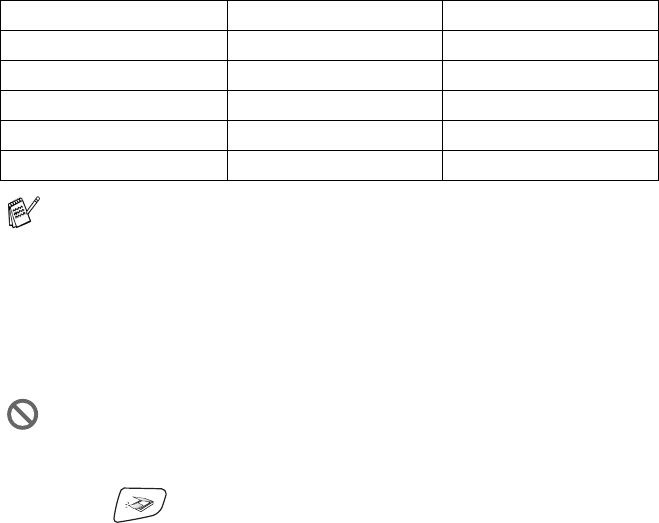
Quality Selectable File Format Default File Format
B/W 200x100 dpi TIFF / PDF TIFF
B/W 200 dpi TIFF / PDF TIFF
Color 150 dpi JPEG / PDF PDF
Color 300 dpi JPEG / PDF PDF
Color 600 dpi JPEG / PDF PDF
You can choose the default file format for Black & White or color
files. (See Changing the default black & white file format on
page 10-13 and Changing the default color file format on page
10-13.)
Do not take out the media card while PhotoCapture is blinking
to avoid damaging the card or data stored on the card.