
Quick Start Manual


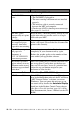


Table Of Contents
- YL4MFC_US.PDF
- Front Cover
- Inside Front Cover
- Brother Numbers
- Ordering Accessories and Supplies
- Quick Reference Guide
- How to Access the Complete Owner's Manual (For MFC-4800 Only)
- How to Access Brother Support (For MFC-4800 Only) (For Windows® Only)
- Download the Printer Driver from the Brother Web Site (For FAX-2900 and FAX-3800 Only)
- Table of Contents
- 1.Introduction
- 2.Assembly and Connections
- Packing List
- Choosing a Location
- Assembly
- Installing the Drum Unit Assembly (with Toner Cartridge)
- Setting Up the FAX/MFC
- Loading Paper
- Acceptable Paper
- Paper Capacity of Multi-purpose Sheet Feeder
- Connecting an External Telephone
- Connecting an External Telephone Answering Device (TAD)
- Special Line Considerations
- Multi-Line Connections (PBX)
- Custom Features on Your Phone Line
- 3.On-Screen Programming
- 4.Initial Setup
- Getting Started
- Setting the Paper Size
- Setting the Date and Time
- Setting the Station ID
- Setting the Ring Volume
- Setting the Beeper Volume
- Setting the Speaker Volume
- Setting the Handset Volume
- Choosing the Handset Volume (For Volume Amplify)
- Setting Volume Amplify
- Memory Storage
- Turning On Automatic Daylight Savings Time
- Toner Save
- Sleep Mode
- Setting Tone/Pulse Dialing Mode (For Canada Only)
- Getting Started
- 5.Setup Receive
- 6.Setup Send
- 7.Auto Dial Numbers and Dialing Options
- 8.Telephone Services
- 9.Remote Fax Options
- 10.Printing Reports
- 11.Making Copies
- 12.Important Information
- 13.Troubleshooting and Routine Maintenance
- Glossary
- Specifications
- Index
- Remote Retrieval Access Card
- Rear Cover
13 - 12
TROUBLESHOOTING AND ROUTINE MAINTENANCE
DIFFICULTY SUGGESTIONS
Copy Quality Difficulties
Vertical streaks appear
in copies.
Sometimes you may see vertical streaks on your
copies. Either the scanner or the primary corona
wire for printing is dirty. Clean them both.
(See pages 13-16 to 13-18)
Print Quality Difficulties
Printouts are too dark or
too light.
Adjust the print conditions by setting the Print Density
light function. It has been factory set to the middle
position. (See
Setting the Print Density, page 5-4.)
Printed pages contain
white stripes.
White Stripes or
Faint lmages
You may fix this by wiping the scanner windows
with a clean soft cloth. (See
Cleaning the Document
Scanner,
page 13-16 and Replacing the Drum Unit,
page 13-23.) If you still see white stripes or faint
images and the LCD shows CHANGE DRUM
SOON, replace the drum unit with a new one.
Printed pages are
stained with toner or
have vertical
stripes.
Dark Stripes or
Toner Stains
Clean the FAX/MFC’s interior and the primary
corona wire of the toner cartridge. (See
Routine
Maintenance,
page 13-16 and Cleaning the Drum
Unit,
page 13-18.) Make sure that the tab of the
corona wire is at the home position (▼). If after
cleaning, you still see dark stripes or toner stains
and the LCD shows CHANGE DRUM SOON,
replace the drum unit with a new one.
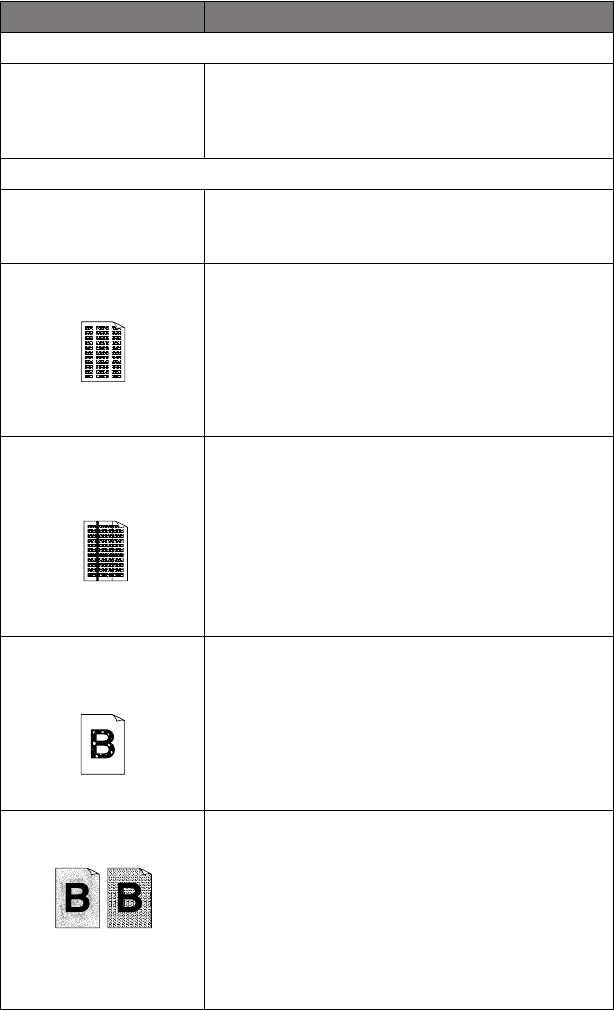
Printed pages have
white in black text and
graphic areas.
White Spots
Make sure that you use paper that meets the
specifications. Rough surface or thick media can
cause the problem. If you still see white spots and
the LCD shows CHANGE DRUM SOON,
replace the drum unit with a new one.
Toner scatters and stains
the printed page.
Scattering Toner
Adjust the print conditions by setting the Print
Density function. Remove the drum unit and clean the
FAX/MFC’s interior. (See
Routine Maintenance,
page 13-16, Cleaning the Printer, page 13-17 and
Cleaning the Drum Unit, page 13-18.) Make sure that
you use paper that meets specifications. (See pages 2-
7.) If you still have scattered toner and the LCD shows
CHANGE DRUM SOON, replace the drum unit
with a new one.