
All in One Printer User Manual
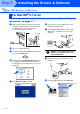
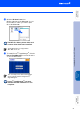
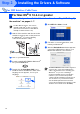
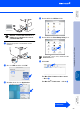
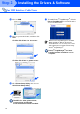
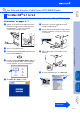
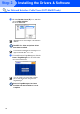
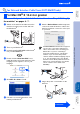
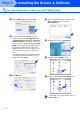
Table Of Contents
- Quick Setup Guide DCP-8060/DCP-8065DN
- Getting Started
- Table of Contents
- Step1 Setting Up the machine
- Step2 Installing the Drivers & Software
- Supplied CD-ROM “MFL-Pro Suite”
- For USB Interface Cable Users (For Windows® 98/98SE/Me/2000 Professional/XP/XP Professional x64 Edition)
- For Parallel Interface Cable Users (For Windows® 98/98SE/Me/2000 Professional/XP/XP Professional x64 Edition)
- For Windows NT® Workstation Version 4.0 Users
- For Network Interface Cable Users (DCP-8065DN only) (For Windows® 98/98SE/Me/NT/2000 Professional/XP/XP Professional x64 Edition)
- For USB Interface Cable Users
- For Network Interface Cable Users (DCP-8065DN only)
- For Network Users and Administrators (DCP-8065DN only)
- Options and Consumables
- brother ARL/ASA/NZ

28
9
Choose Network and then click OK.
0
If you want to use the Scan key on the
machine, you must check Register your
computer with the "Scan To" functions
at the machine box and enter a name you
want to use for your Macintosh
®
in Display
Name. The name you enter will appear on
the machine’s LCD when you press the
Scan key and choose a scan option. You
can enter any name up to 15 characters
long.
(For more information on network scanning,
see Chapter 10 of the Software User’s
Guide on the CD-ROM.)
A
Click Browse.
B
Choose your model name, and then click
OK. Click OK again to close the
DeviceSelector.
C
Click Go, then choose Application.
D
Double-click the Utilities folder.
E
Double-click the Print Setup Utility icon.
For Network Interface Cable Users (DCP-8065DN only)
For Mac OS
®
10.2.x users, double-click the
Print Center icon.
Step 2
Installing the Drivers & Software