
user manual
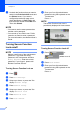
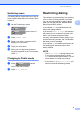
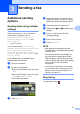

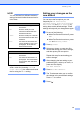
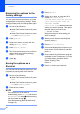
Table Of Contents
- Advanced User’s Guide MFC-J4510DW MFC-J4710DW
- User's Guides and where do I find them?
- Table of Contents
- 1 General setup
- 2 Security features
- 3 Sending a fax
- Additional sending options
- Additional sending operations
- Sending a 2-sided fax from the ADF (MFC-J4710DW)
- Sending a fax manually
- Sending a fax at the end of a conversation
- Dual Access (Black & White only)
- Broadcasting (Black & White only)
- Real Time Transmission
- Overseas Mode
- Delayed Faxing (Black & White only)
- Delayed Batch Transmission (Black & White only)
- Checking and canceling waiting jobs
- Polling overview
- 4 Receiving a fax
- 5 Dialing and storing numbers
- 6 Printing reports
- 7 Making copies
- Copy options
- Stop copying
- Changing copy quality
- Enlarging or reducing the copied image
- Making N in 1 copies or a poster (Page Layout)
- 2 in 1 ID Copy (Page Layout)
- Sorting copies using the ADF
- Adjusting Density
- Ink Save Mode
- Thin Paper Copy
- Book Copy
- Watermark Copy
- Remove Background Color
- 2-sided copying (MFC-J4510DW)
- 2-sided copying (MFC-J4710DW)
- Saving copy options as a Shortcut
- Ledger Copy Shortcuts
- Copy options
- 8 PhotoCapture Center™: Printing photos from a memory card or USB Flash memory drive
- 9 Printing photos from a camera
- A Routine maintenance
- B Glossary
- Index
- brother USA/CAN
Sending a fax
13
3
NOTE
You can choose four different resolution
settings for black & white faxes and two for
color faxes.
If you choose S.Fine or Photo and then
send a color fax (choosing Color in
Color Setting), the machine will send
the fax using the Fine setting.
Setting your changes as the
new default 3
You can store the fax options you use
frequently for Fax Resolution,
Contrast, Glass Scan Size, Preview,
Real Time TX and Color Setting by
saving them as the default settings. These
settings will stay until you change them again.
a Do one of the following:
When Fax Preview is set to off, press
Fax.
When Fax Preview is set to on, press
Fax and Sending Faxes.
b Press Options.
c Swipe up or down, or press a or b to
choose the setting you want to change,
and then press your new option.
Repeat this step for each setting you
want to change.
d After changing the last setting to your
preferred option, swipe up or down, or
press a or b to display
Set New Default.
e Press Set New Default.
f The Touchscreen asks you to confirm
the change to the new default settings.
Press Yes to confirm.
g Press .
Black & White
Standard Suitable for most typed
documents.
Fine Good for small print and
transmits a little slower than
Standard resolution.
S.Fine Good for small print or artwork
and transmits slower than Fine
resolution.
Photo Use when the document has
varying shades of gray or is a
photograph. Photo has the
slowest transmission.
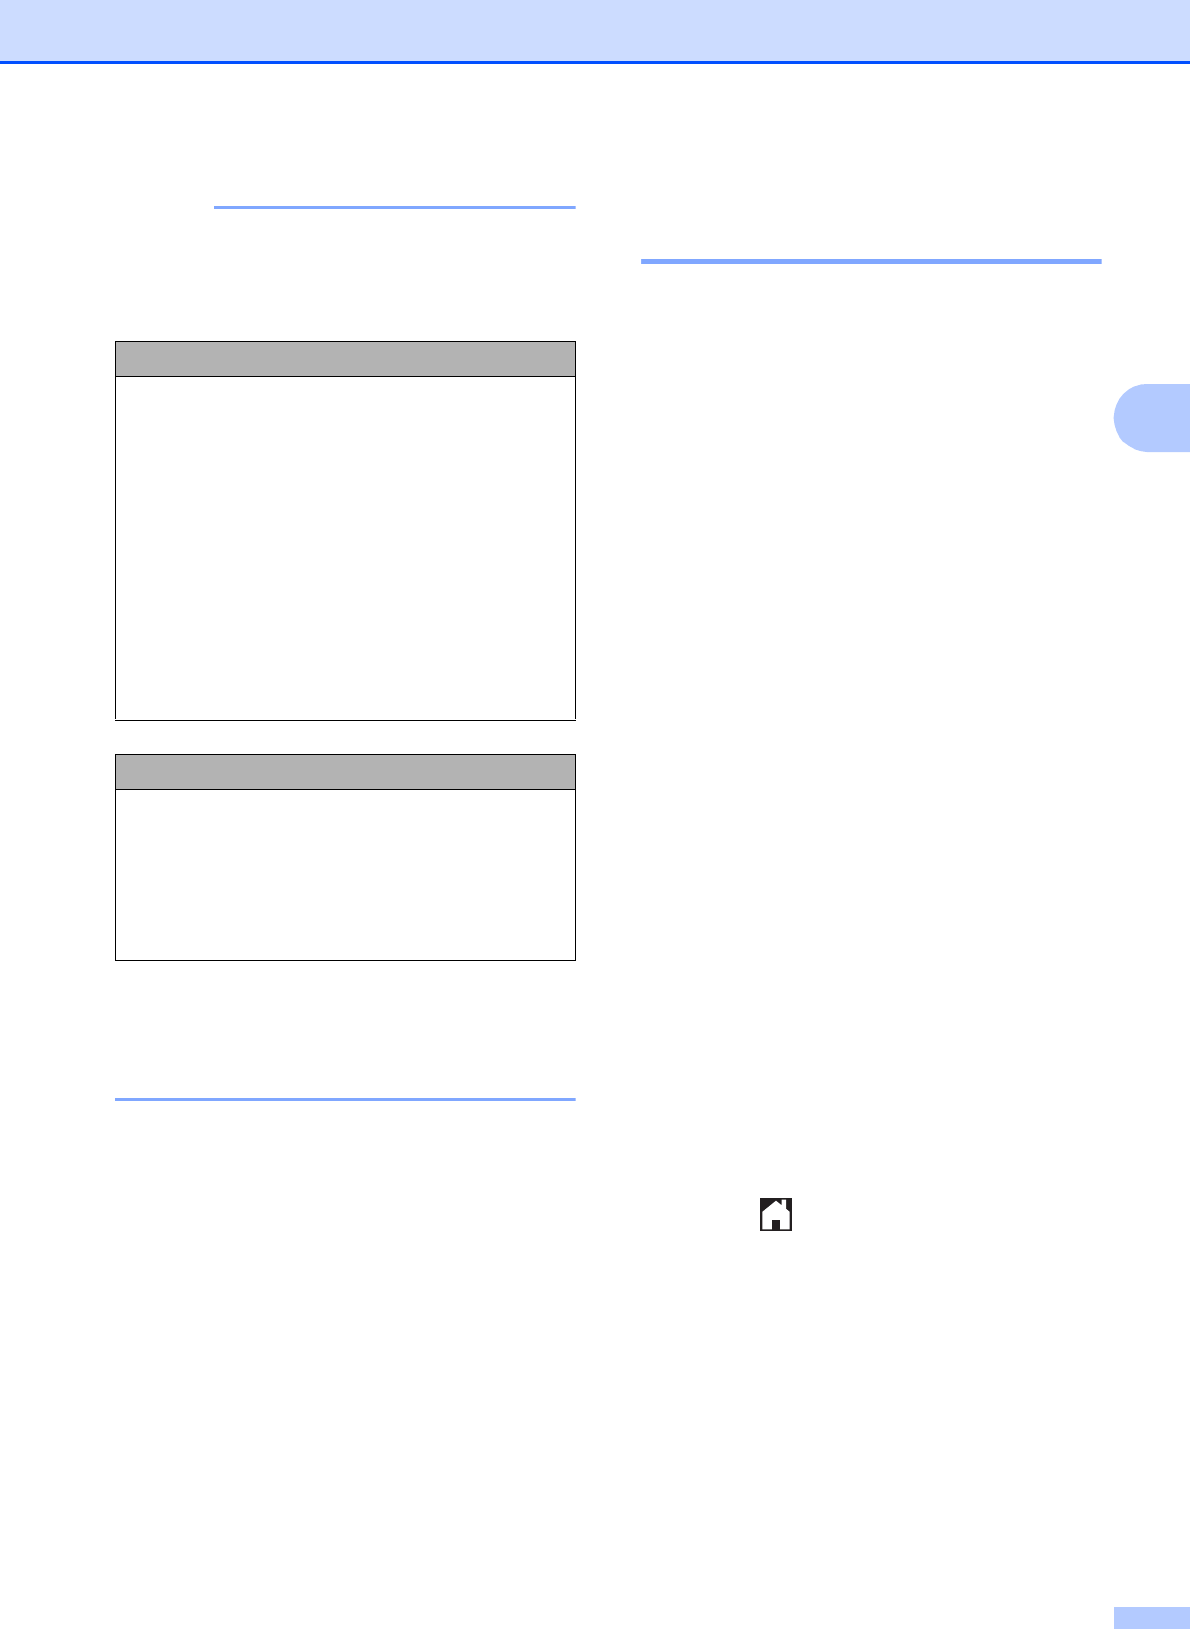
Color
Standard Suitable for most typed
documents.
Fine Use when the document is a
photograph. The transmission
time is slower than Standard
resolution.