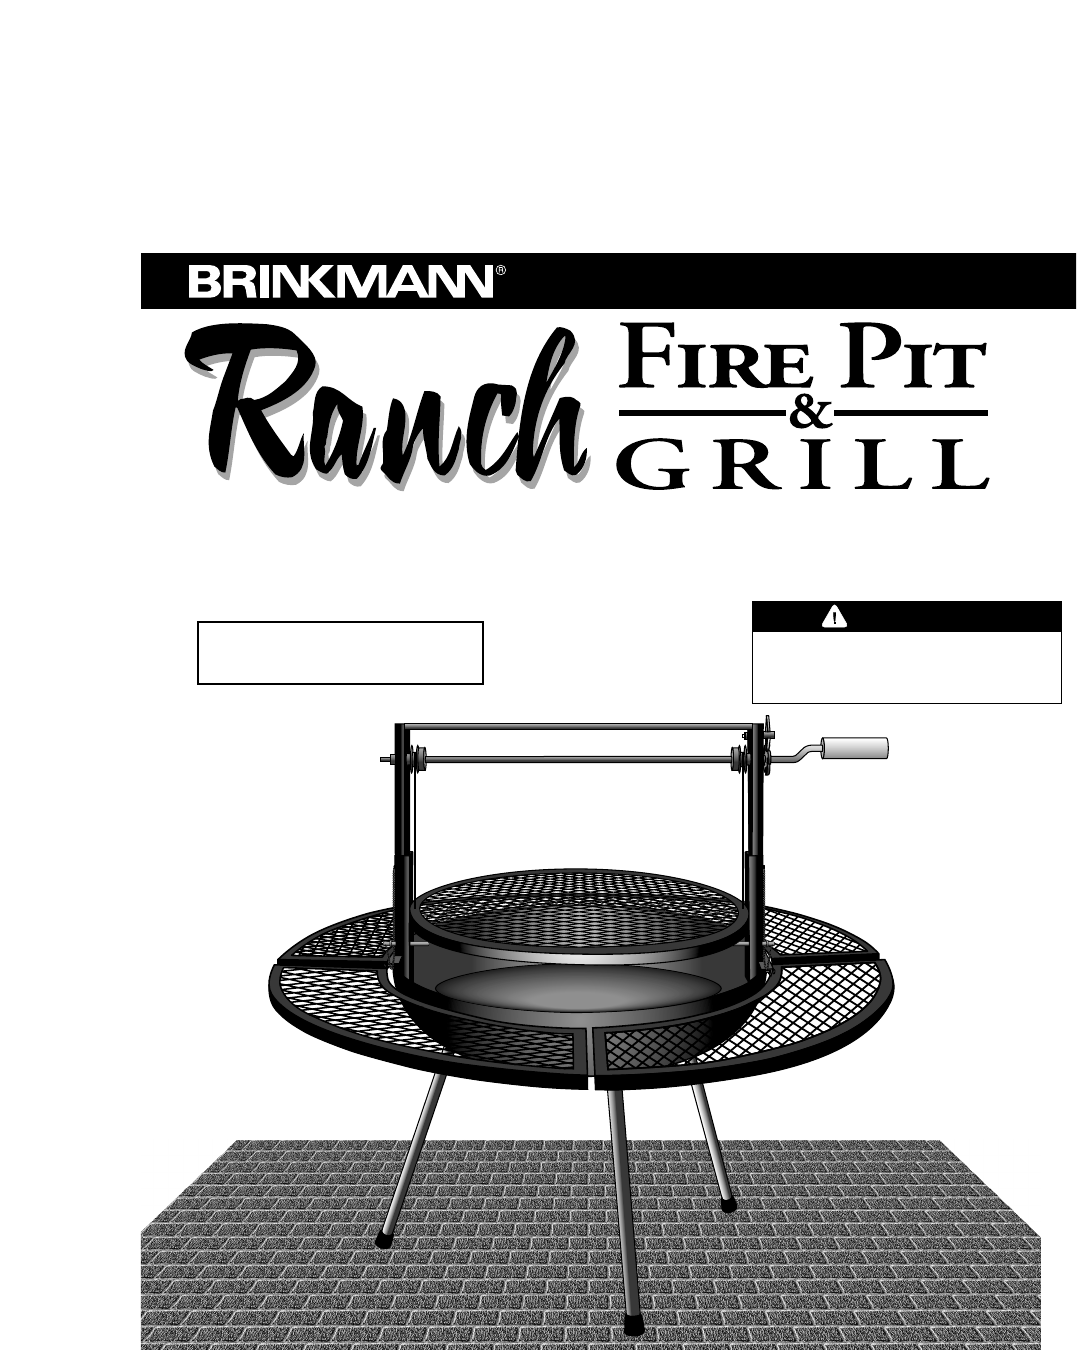
OWNER’S MANUAL ASSEMBLY AND OPERATING INSTRUCTIONS WARNING RETAIN THIS MANUAL FOR FUTURE REFERENCE. READ AND FOLLOW ALL WARNINGS AND INSTRUCTIONS IN THIS MANUAL TO AVOID PERSONAL INJURY OR PROPERTY DAMAGE.
IMPORTANT SAFETY WARNINGS READ ALL SAFETY WARNINGS AND INSTRUCTIONS CAREFULLY BEFORE ASSEMBLING AND OPERATING YOUR COOKER. WARNING • • • • • • • • • • • • • • • • • • • • • • Only use this grill on a hard, level, noncombustible, stable surface (concrete, ground, etc.) capable of supporting the weight of the unit. DO NOT use on wooden or other surfaces that could burn. FOR OUTDOOR USE ONLY. DO NOT operate grill indoors or in an enclosed area.
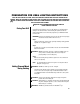
ASSEMBLY & OPERATING INSTRUCTIONS READ ALL SAFETY WARNINGS & ASSEMBLY INSTRUCTIONS CAREFULLY BEFORE ASSEMBLING OR OPERATING YOUR COOKER. Inspect contents of the box to ensure all parts are included and undamaged. FOR MISSING PARTS, PLEASE CALL CUSTOMER SERVICE AT 1-800-527-0717. (Proof of purchase will be required.
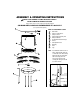
Choose a good, cleared assembly area and get a friend to help you put your grill together. Lay cardboard down to protect grill finish and assembly area. Step 1 Place the grill upside down, screw the three legs into leg receptors. Step 2 With the help of a friend, turn the grill upright. Try to minimize stress on the legs of the grill. Step 3 Insert vent cap into center hole in grill body and rotate 90° to lock into place. Step 4 Insert four side shelves into shelf brackets along outside edge of grill.
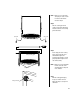
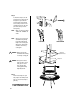
NOTE: Make sure set screws inside each pulley are clear of center hole before crank shaft is inserted in Step 6. Step 5 Place the cooking grill on flat surface. Insert lift assembly down inside the channels of the cooking grill as illustrated. Set screw Set screw Step 6 Safety Lock Nut Safety Pins Insert safety pins below cooking grill to support the grill. Insert crankshaft through the lift assembly, first grill pulley, second grill pulley and through the other side of lift assembly.
LO CK Step 8 WARNING: Always hold wooden crank handle when lifting or lowering cooking grill. LOCK UN LOCKED UNLO CK LOCK NOTE: Safety lock is used to keep crankshaft from spinning freely while adjusting the height of the cooking grill. Always turn crank handle clockwise when raising cooking grill. UNLOCK NOTE: Make sure safety lock labels “LOCK” and “UNLOCK” are visible.
PREPARATION FOR USE& LIGHTING INSTRUCTIONS PLACE THE GRILL OUTDOORS ON A HARD, LEVEL, NON-COMBUSTIBLE SURFACE AWAY FROM ROOF OVERHANG OR ANY MATERIAL. NEVER USE ON WOODEN OR OTHER SURFACES THAT COULD BURN. PLACE THE GRILL AWAY FROM OPEN WINDOWS OR DOORS TO PREVENT SMOKE FROM ENTERING YOUR HOUSE. IN WINDY WEATHER, PLACE THE GRILL IN AN OUTDOOR AREA THAT IS PROTECTED FROM THE WIND. READ ALL SAFETY WARNINGS AND INSTRUCTIONS CAREFULLY BEFORE OPERATING YOUR GRILL.
PROPER CARE & MAINTENANCE • If rust appears on the exterior surface of your outdoor grill, clean and buff the affected area with steel wool or fine grit emery cloth. Touch-up with a good quality high-temperature resistant paint. ONE YEAR LIMITED WARRANTY For one year from date of purchase, The Brinkmann Corporation warrants the Brinkmann Ranch Fire Pit & Grill against defects due to workmanship or materials to the original purchaser.