
Installation / Operation Instruction Manual

62
Troubleshooting
RTG-L-199/160N/X1 – 6 721 827 274 (2022/06)
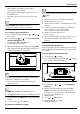
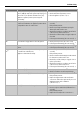
▶ Verify if power bar level is at middle point, see fig. 59.
Fig. 59 Power bar middle point
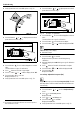
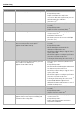
▶ Press the buttons or to adjust parameter value if
power bar level is out of range.
1)
Fig. 60 Gas adjust - L1 parameter
▶ Press the button for 3 seconds and appliance assumes
value.
The value blinks as a sign of confirmation.
▶ Press button to finish the L1 gas adjust.
▶ Press the button or until the display shows "A1".
▶ Press the button to enter A1.
Display shows A1 value.
▶ Verify if power bar level is at middle point, see fig. 59.
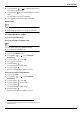
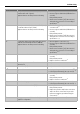
▶ Press the buttons or to adjust parameter value if
power bar level is out of range.
1)
Fig. 61 Air adjust - A1 parameter
▶ Press the button for 3 seconds and appliance assumes
value.
The value flashes as a sign of confirmation.
▶ Press the button to finish the A1 air adjust.
▶ Press the button or until the display shows "b1".
If b1 is blinking on the display,
▶ Wait until it stops.
▶ Press the button to enter b1.
Display shows the parameter value blinking during
calibration.
▶ Wait until display shows CA blinking as a sign of calibration
complete.
▶ Press button to finish the b1 automatic air adjust.
▶ Press the button or until the display shows E.
▶ Press the button .
Display shows P1.
Second step - Adjust the Low power (P2)
Keep hot water taps opened to adjust Low power (P2). The unit
will ramp down to low fire and the water flow should decrease
automatically.
▶ Press the buttons or to select P2 (Low Power)
menu.
▶Press to enter P2 adjustment.
Display shows E.
▶Press or until L2 appears.
▶ Press the button to enter L2.
Display shows L2 value.
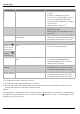
▶ Verify if power bar level is at middle point, see fig. 59.
1) Increasing L1 or A1 value will cause an increase in power
bar level and vice-versa.