Parking Lot Sensor | PLS 1 | 18 Parking Lot Sensor | PLS User manual 1.5 User manual © Bosch Connected Devices and Solutions GmbH 2021. All rights reserved, also regarding any disposal, exploitation, reproduction, editing, distribution, as well as in the event of application for industrial property rights.
Parking Lot Sensor | PLS 2 | 18 Table of contents 1 General description and intended use 3 2 Assembly and commissioning 3 2.1 Installation requirements ..................................................................................................................................... 3 2.2 Installing the sensor base ...................................................................................................................................
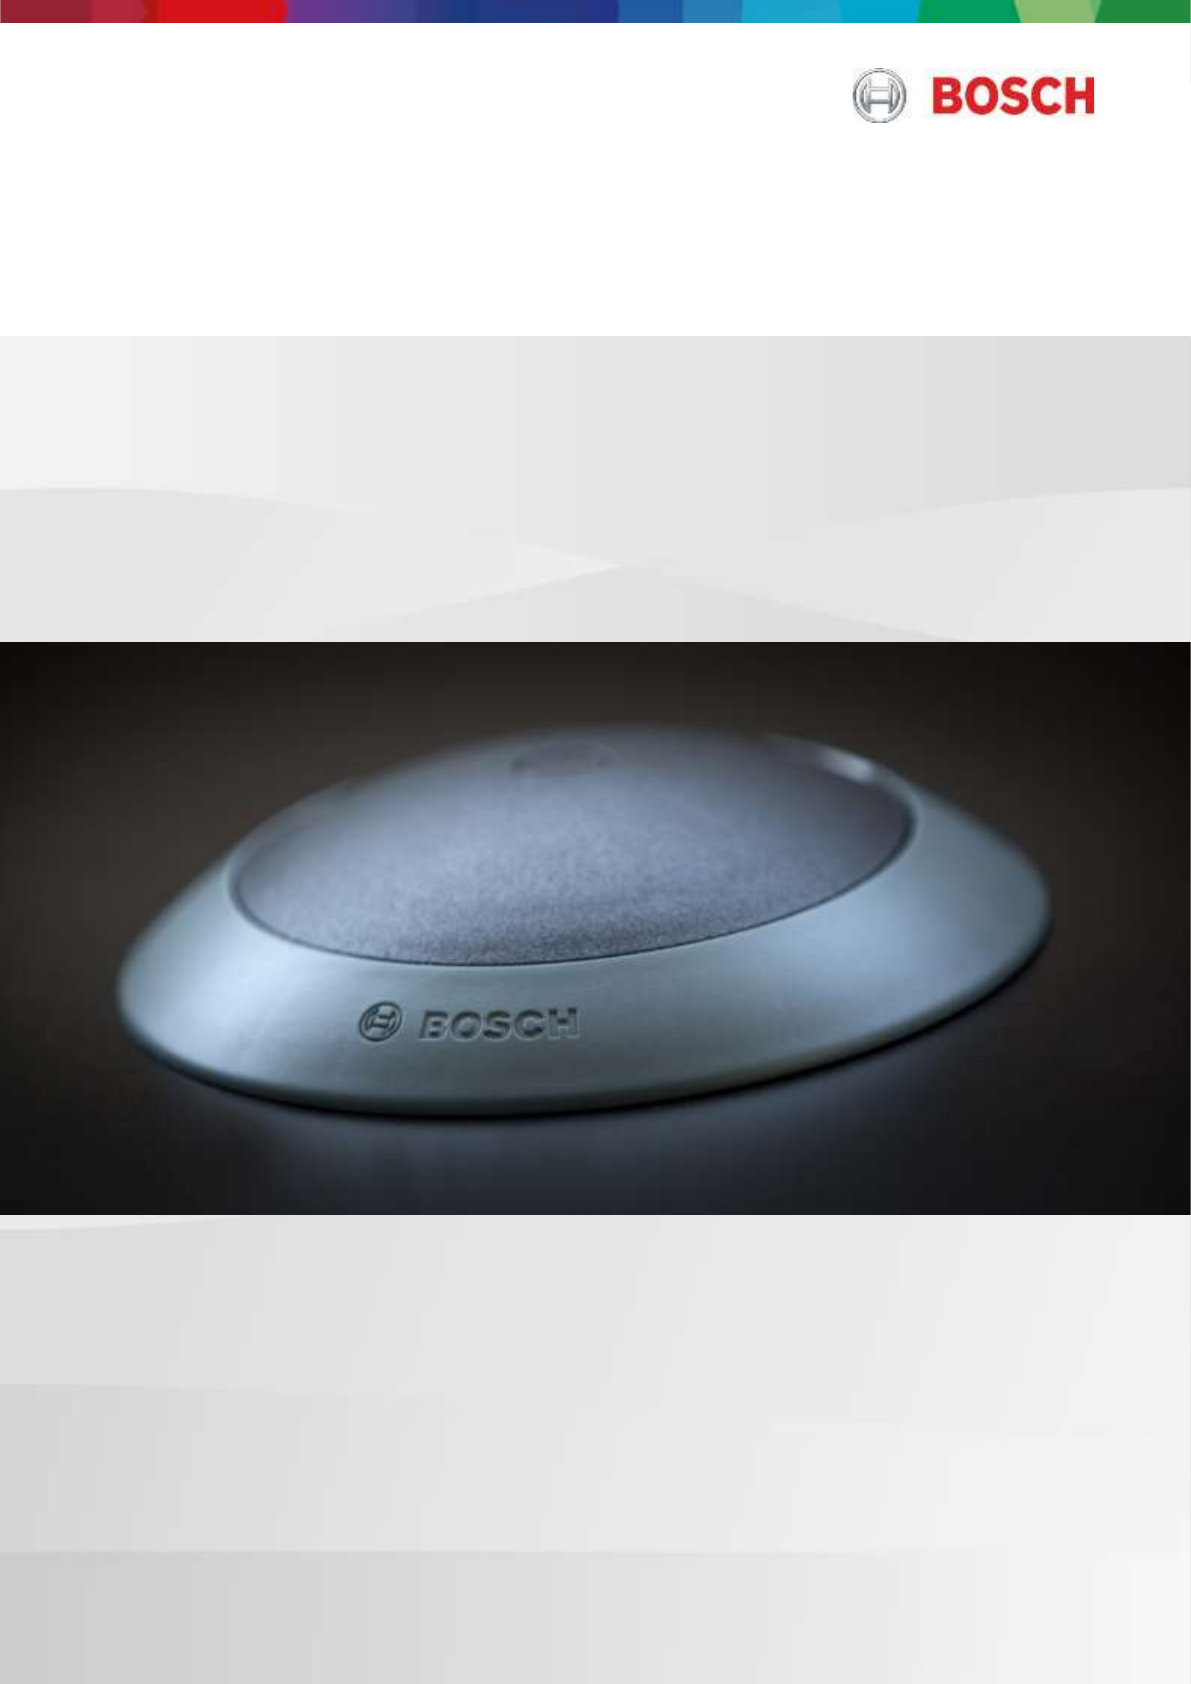
Parking Lot Sensor | PLS 3 | 18 1 General description and intended use The Parking Lot Sensor (PLS) with TPS110 sensor core is designed for detecting parked vehicles in parking lots. This user manual is valid for the PLS with TPS110 sensor core by BCDS. The Parking Lot Sensor with TPS110 sensor core is not designed for use in life-sustaining applications, safety-critical applications or applications for which a malfunction could lead to bodily harm, death or severe property damage.
Parking Lot Sensor | PLS 4 | 18 2.2 Installing the sensor base Warning To ensure safe installation: ⇒ Install the PLS core (black part) into the PLS base (grey part) only after the final installation of the PLS base. ⇒ Do not bring a magnet near the PLS (this would power the device). ⇒ Install the PLS core properly into the PLS base. ⇒ Avoid uninstalling and reinstalling the PLS core after the initial installation into the PLS base. ⇒ Do not open the sensor core.
Parking Lot Sensor | PLS 5 | 18 INFORMATION: For the bonding procedure, please follow the instructions of the adhesive manufacturer (e.g., temperature, safety information and work instructions). A parking space cleaning should be clarified in advance with the parking lot operator so that the treatment does not result in removal of existing coatings. Preparation of the parking space The parking space must be free of dirt, dust, oil, water and other contaminants.
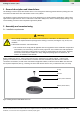
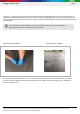
Parking Lot Sensor | PLS 6 | 18 To provide the adhesive with a closed substrate, the surface intended for the installation of the sensor base should be free of any gaps or misalignment (see Figure 4 Available parking space for sensor installation). This is crucial for the contact surface and the adhesive effect of the sensor.
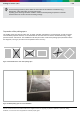
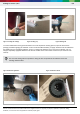
Parking Lot Sensor | PLS Figure 7 Inserting the cartridge 7 | 18 Figure 8 Sealing cap Figure 9 Mixing tube To avoid contamination and to get the maximum use out of the plasma cleaning process, open the sensor base package just before applying the adhesive. In the case of DELO® PUR 9692, you apply about 40 ml of the adhesive in the middle (see Fig. 10 Applying adhesive, and Fig. 11 Amount of adhesive); if you use a 50 ml cartridge, you can empty it completely.
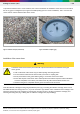
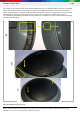
Parking Lot Sensor | PLS 8 | 18 Now you can mount the sensor in the center of the parking space by applying light pressure on the sensor base (see Fig. 12 Sensor base attachment). Make sure that the sensor is centered in the parking space and that the Bosch logo on the sensor base points towards the access road (see Figure 13 Sensor base installed). Subsequent twisting of the sensor base is not possible. INFORMATION: Once the adhesive in the mixing tube has cured, it cannot be used again.
Parking Lot Sensor | PLS 9 | 18 2.3 Installing the sensor core Warning Defective seals can cause water to get into the sensor and damage it. The functionality of the parking lot sensor is not guaranteed if it is installed incorrectly. ⇒ Make sure that the sealing rings on the cap and sensor are seated correctly! ⇒ Do not install the sensors when it is raining.
Parking Lot Sensor | PLS 10 | 18 The sensor can be screwed into the base after the adhesive has cured. To simplify insertion, the arrow on the bottom of the sensor points towards the Bosch logo (see Figure 14 Installing/screwing in the sensor). After inserting the sensor, it will take approx. 2 minutes until the first measurements are carried out. During this time, the sensor should be completely screwed in to ensure optimum teaching of the sensor.
Parking Lot Sensor | PLS 11 | 18 After the installation of the sensor, the sensor learns about parking changes, which happens in its vicinity. After approx. 10 parking changes, the sensor is in its taught-in state. INFORMATION: During operation, a continuous automatic calibration of the parking lot sensor takes place through "parking" and "exiting parking space'' events. 2.4 Replacing/removing the sensor To replace the parking lot sensor, only the sensor needs to be replaced.
Parking Lot Sensor | PLS 12 | 18 3 Technical specifications Table 1 Device specifications - Parking Lot Sensor PLS with TPS110 sensor core PROPERTIES VALUES Temperature range -30 °C to 65 °C Humidity 0 – 95% Protection class IP67/IPx9K Dimensions ⌀: 145.4 mm H: 30.5 mm Battery life Up to 5 years LoRa frequencies and LoRa Channel Plans (RP002-1.0.0) TPS110 EU: 863-865/868-868.6/869.4-869.65 MHz (EU868) Transmitting power max. 14 dBm ERP Supported channel frequencies: 864.1 MHz, 864.3 MHz, 864.
Parking Lot Sensor | PLS 13 | 18 4 Legal information 4.1 Disposal note Bosch is committed to environmental protection. Recycling save resources and creates jobs. We encourage you to responsibly recycle your Bosch product when it reaches the end of its service life. The sensor, as well as all the individual parts, must not be disposed of with household waste or industrial waste.
Parking Lot Sensor | PLS 4.6 14 | 18 Singapore: Equipment Registration Product type: Parking lot sensor Product name: TPS110 EU The TPS110 EU has been granted an Equipment Registration by the Info-communications Media Development Authority of Singapore (IMDA) under registration Number N0234-20. Product name: TPS110 JP The TPS110 JP has been granted an Equipment Registration by the Info-communications Media Development Authority of Singapore (IMDA) under registration Number N0235-20. 4.
Parking Lot Sensor | PLS 4.11 15 | 18 ISED Canada (IC) Notice Product type: Parking lot sensor Product name: TPS110 US This device complies with Industry Canada license-exempt RSS standard(s) and has been certified. Operation is subject to the following two conditions: (1) this device may not cause harmful interference, and (2) this device must accept any interference, including interference that may cause undesired operation. This Class B digital apparatus complies with Canadian ICES-003.
Parking Lot Sensor | PLS 16 | 18 The following requirements must be met: - The lithium metal batteries are included in the TPS110. The TPS110 and the included batteries are not damaged. - The TPS110 contains the original supplied lithium metal batteries. Replacement of used batteries is not permitted. - The TPS110 is protected by sturdy packaging. - No additional separate batteries may be added to the packaging.
Parking Lot Sensor | PLS © Bosch Connected Devices and Solutions GmbH 2021. All rights reserved, also regarding any disposal, exploitation, reproduction, editing, distribution, as well as in the event of application for industrial property rights.
Parking Lot Sensor | PLS Bosch Connected Devices and Solutions GmbH BCDS Ludwig-Erhard-Straße 2 72760 Reutlingen Germany support@bosch-connectivity.com © Bosch Connected Devices and Solutions GmbH 2021. All rights reserved, also regarding any disposal, exploitation, reproduction, editing, distribution, as well as in the event of application for industrial property rights.