
Instructions / Assembly
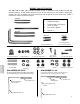
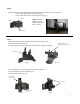
Table Of Contents
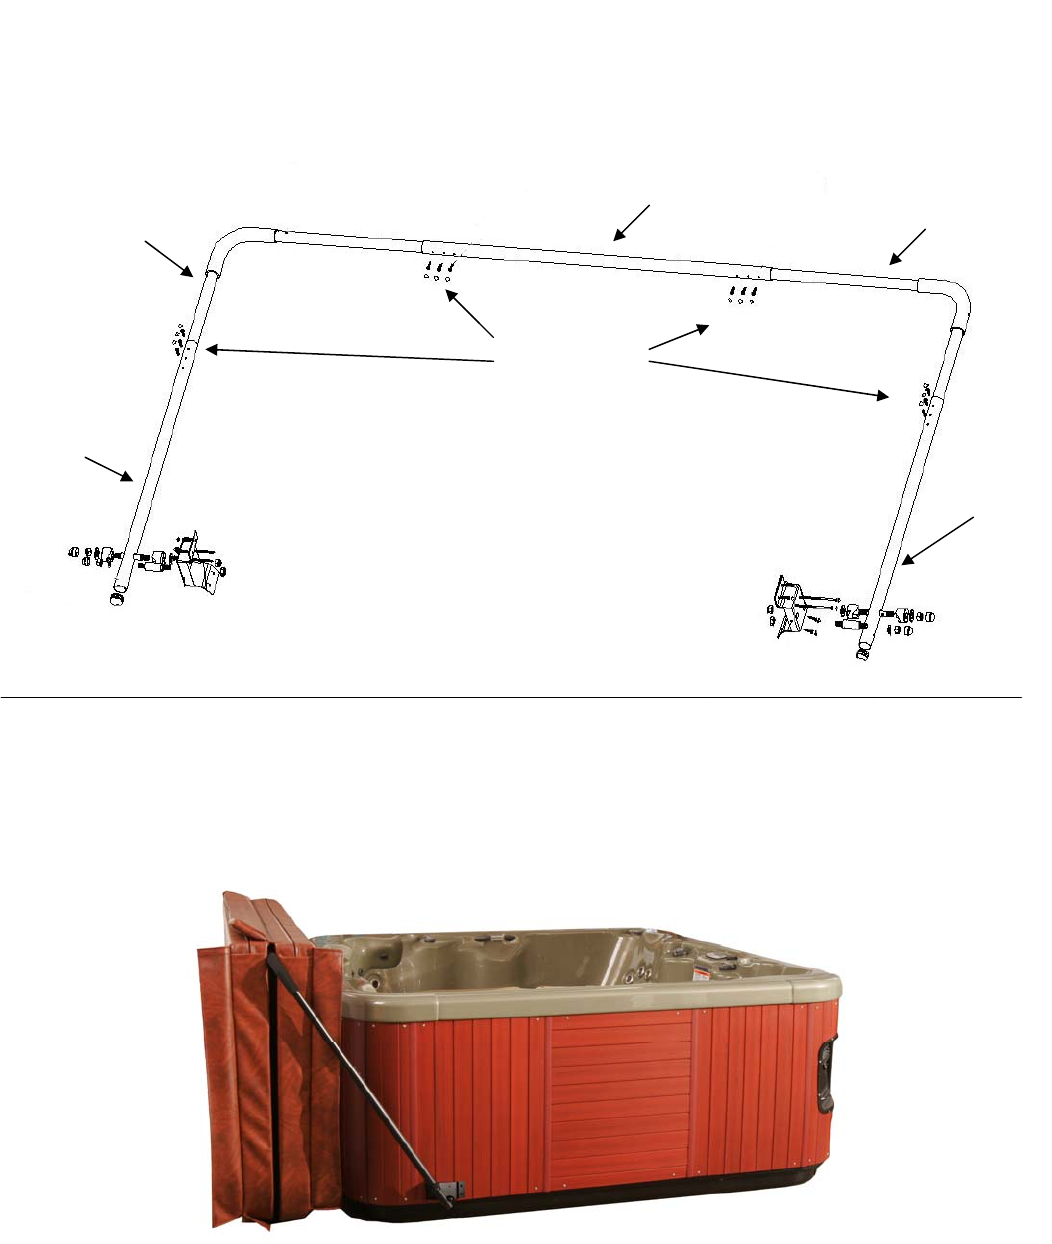
Step 7:
• Adjust the C oupler Piece and Support Arms so that the Coupler Piece is laying paral lel, approximately ½” away
from the fold in the spa cover.
• Once you have the lifter fitted to the size of your spa, pre-drill the holes that connect all the arms together.
• Using the 1” Self Tapping Screws, fasten Support Arms to the Coupler Pieces.
• There will be 3 Self Tapping Scre ws ins erted into each end of the Coupler Pieces a nd 3 Self Tapping Scre ws
inserted into each Cover Support Arm where it connects to the Side Pivot Arm.
• Place Screw Caps on top of all screws.
-6 -
Side Pivot Arm
Cover Support Arm
Coupler
Cover Support Arm
Side Pivot Arm
Self Tapping Screws
To Remove the spa cover with the Coverlift:
• Fold the Spa Cover at the hinge over the Cover Lift
• Using the Coverlift bar, lift the cover up and toward the back of the spa. The cover will slide back and down the
back side of the spa and stop.