
Instructions / Assembly
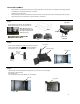
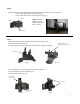
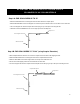
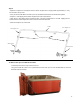
Table Of Contents
(Fig 4-1)
• Attach the left and right Mounting Brackets to the appropriate sides of the spa, 3-5” above the ground*
• Use (4) 1” Mounting Screws for the four outer holes.
• Use (2) 4” Mounting Screws for the two inner holes. (Fig. 4-1)
Step 4:
2 x 4” Screws
-4 -
4 x 1” Screws
*NOTE: To prevent
splitting of the spa
cabinet, pre-drill holes
with a ¼” drill bit.
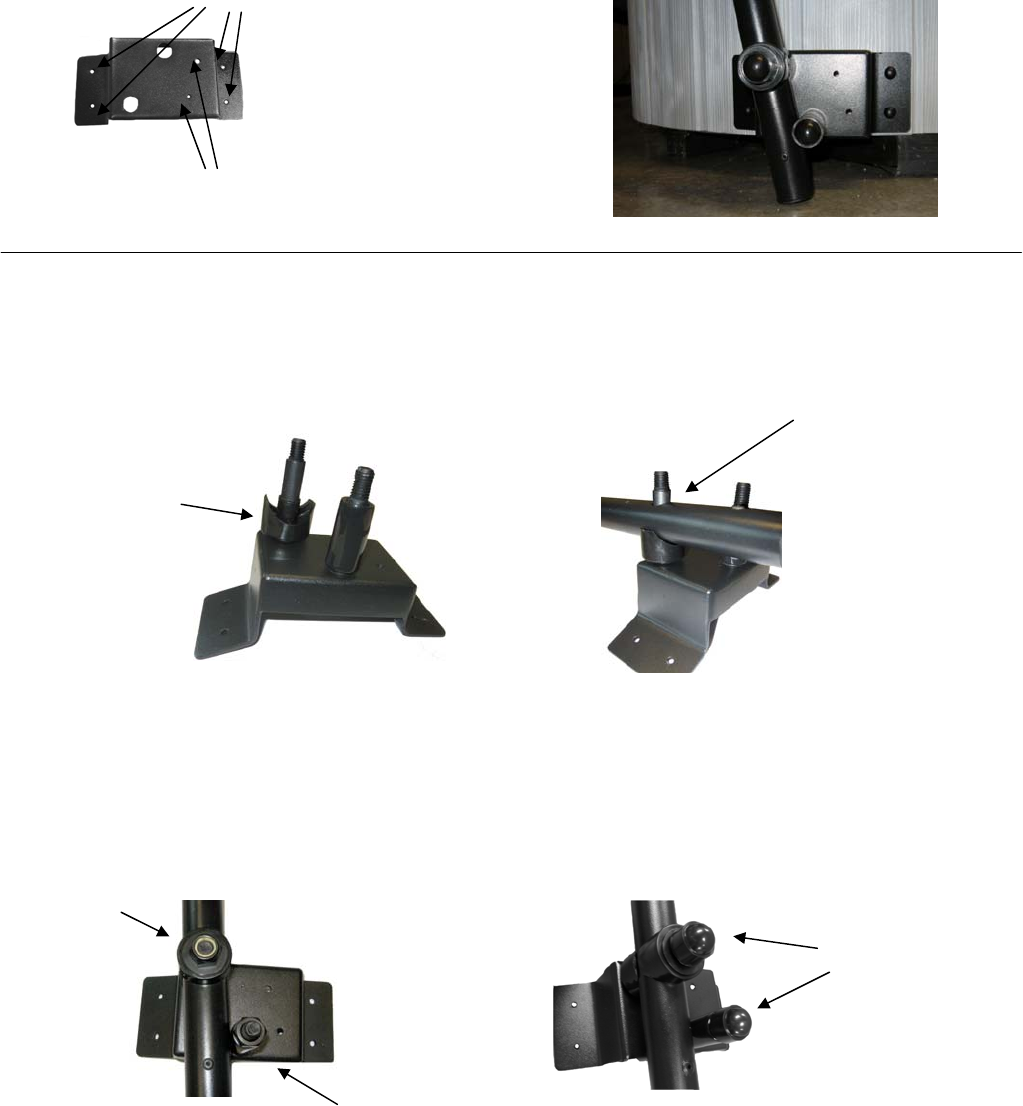
Side Arm Pivot, out er
Spacer Block goes on next
Step 5:
• With bracket mounted on spa, put Spacer Block on Pivot Arm Bolt (Fig. 5-1)
• Slide on the Side Arm Pivot (Fig 5-2)
• Put outer Spacer Block on top of Side Pivot Arm on the Pivot Arm Bolt (not pictured).
(Fig 5-4)
(Fig. 5-1) (Fig. 5-2)
• Put a Large Washer on Pivot Arm Bolt and secure with a Locking Nut.
• Secure a Bolt Nut to Pivot Arm Stopper (Fig 5-3).
• Cover both with Nut Caps (Fig. 5-4).
(Fig. 5-3)
Large Washer
and Locking Nut
Bolt Nut
Nut Caps
Spacer Block