
Instructions / Assembly
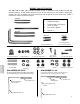
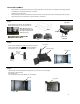
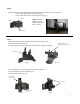
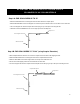
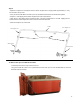
Table Of Contents
• Place all parts in a cleared area and remove the packing materials from the spa shell; do not dispose of the packing materials
until assembly is completed and the spa is in operation.
• Assembly requires two people.
• During assembly, make sure that all parts are oriented as shown in the drawings. Read each assembly step before you begin.
• Tighten all parts as you assemble them, unless instructed to do otherwise.
SET-UP AND ASSEMBLY:
Step 1:
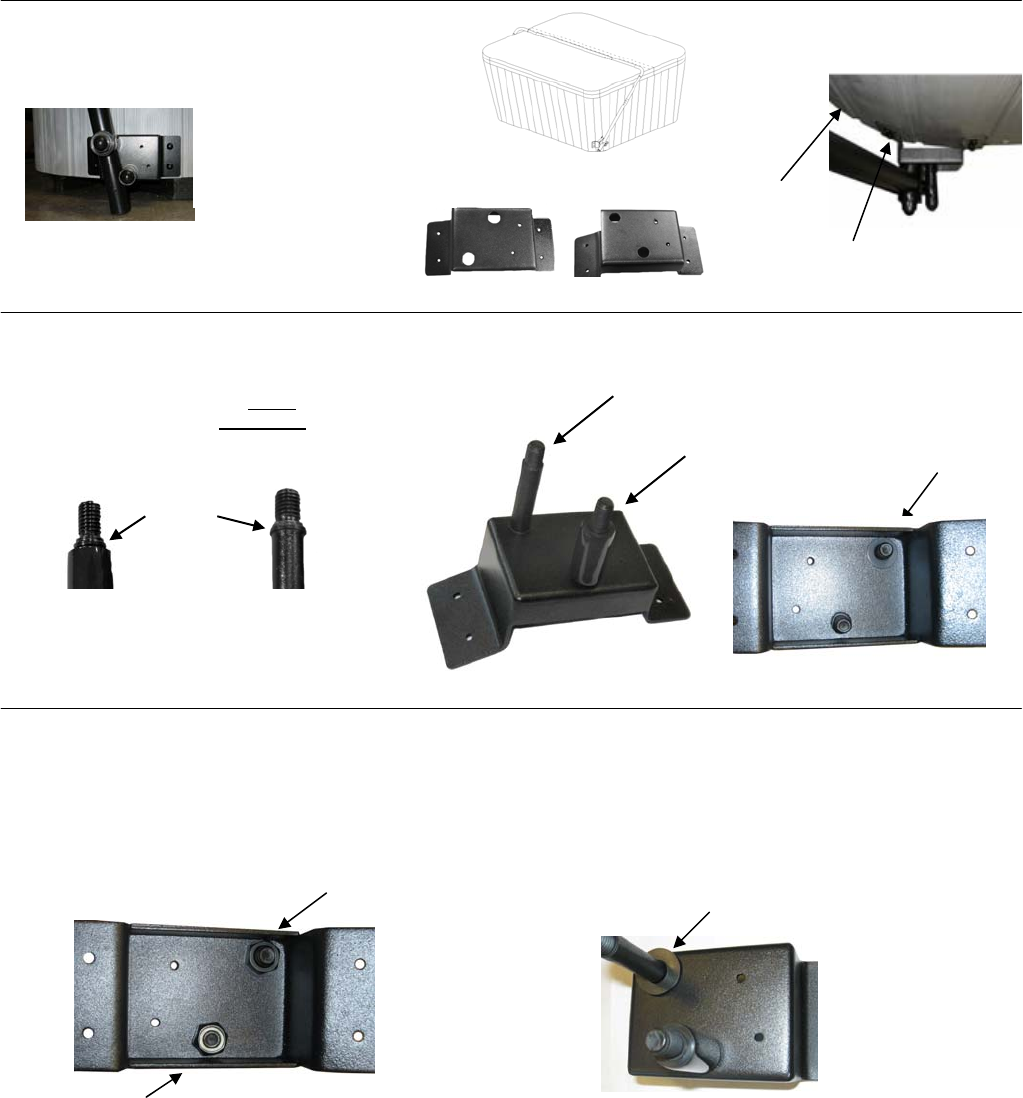
• Insert Pivot Arm Stopper into center hole of Mounting Bracket.
• Insert Pivot Arm Bolt into side corner
of Mounting Brackets.
• Flip bracket over and put small Washer on Pivot Arm Bolt
Step 3:
• With the inside of the Mounting Bracket still facing you, put Locknut on Pivot Arm Stopper.
• Put Bolt Nut on Pivot Arm Bolt.
• Secure both tightly.
• Turn bracket over and put Large Washer on Pivot Arm Bolt.
Mounting Bracket
Pivot Arm Stopper
Pivot Arm Bolt
This end to
mounting
brackets
Pivot Arm
Bolt
Pivot Arm
Stopper
Small washer
Locknut
Bolt Nut
Identify Right Mounting bracket and Left Mounting
Bracket. Repeat Step 2 to 5 for both right and left.
Left
Right
RightLeft
Step 2:
Large washer
Note: Brackets must be
mounted horizontally, with
the angle mounted on the
radius of the spa.
-3 -
NOTE: BRACKETS CANNOT BE
MOUNTED VERTICALLY
Top View
Spa Corner
Angled edge
of Bracket