
User Manual


Table Of Contents
- Getting Started
- Using HyperDeck
- About SSDs
- HyperDeck Utility
- About Ultra HD 4K
- Accessing Your Clips
- Status Indicators
- Using the Display Menu on HyperDeck Studio Models
- Selecting Timecode Source
- SDI Start/Stop Recording
- Timecode Run Recording
- Shuttling with HyperDeck Shuttle
- Jog and Shuttle with HyperDeck Studio Models
- Ref Input
- RS-422 Control
- Installing the HyperDeck Shuttle Mounting Plate
- Using Your Favorite Editing Software
- Using Blackmagic Media Express
- Using Blackmagic UltraScope
- Using Blackmagic Disk Speed Test
- Developer Information
- Help
- Warnings
- Warranty
Using Your Favorite Editing Software
32
Apple Final Cut Pro 7
Select a Blackmagic Easy Setup
Apple Final Cut Pro 7
When you install the HyperDeck Software, Blackmagic Easy Setups are automatically installed to
Final Cut Pro 7.
Setting up
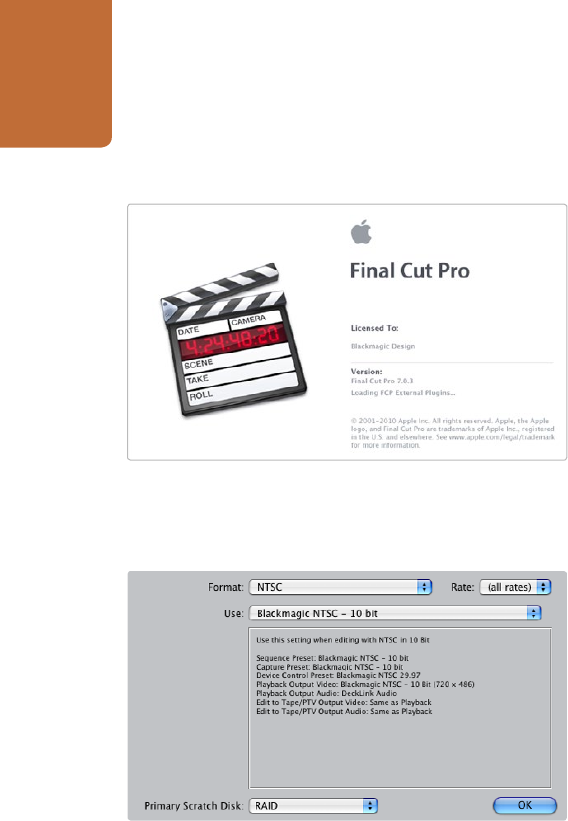
Step 1. Launch Final Cut Pro 7 and the Easy Setup window will appear.
Step 2. Click on the popup menu and select the desired Blackmagic Easy Setup. For each video format
(NTSC, PAL and HDTV) you will find a range of Blackmagic compressed and uncompressed file
formats you can choose.
Step 3. Click on the popup menu named Primary Scratch Disk and select your disk array from the popup
menu.
Step 4. Click OK and the Final Cut Pro interface will appear.
Capturing live via Thunderbolt
To capture video live via Thunderbolt from HyperDeck Studio Pro:
Step 1. Select a Blackmagic Easy Setup. Final Cut Pro will sometimes warn that device control has been
set to “non-controllable device”. This is as expected. Click OK and then create a project with
these settings.
Step 2. Choose File > Log & Capture. (Command + 8).
Step 3. Press play on HyperDeck Studio Pro and then press the Now button in the Log and Capture
window. Final Cut Pro will show you a preview of the video you are capturing.
Step 4. Press esc to stop capturing.
If you can't see an image in your video capture window:
Step 1. Quit Final Cut Pro.
Step 2. Launch Blackmagic UltraScope. Note the output video standard that is displayed on the left side
of Ultrascope's Picture Display. Quit UltraScope.
Step 3. Launch Final Cut Pro and set the project preferences to match the standard reported by
UltraScope.