
User's Manual


Table Of Contents
18 19
3.4 Configuring the device
Before you use the scale for the first time or if
you want to adapt the device to your needs,
you must make a few settings in the settings
menu. To do this, the scale must be in the
so-called configuration mode. To activate
this mode and to set the required parameters,
press the buttons as described below.
You get into the settings menu when you
press the SET button with the device switched
off. The SET button can be found in the front,
underneath the large START and UP/MEM
buttons.
Fig. 3.3: Pressing the SET button
Fig. 3.5
In this settings menu, you have the choice
of whether you want to set common param-
eters for all users (such as date and time) or
your personal data required for determin-
ing the body fat, body water and muscle
percentages. The personal values include
gender, age, height and estimated level of
fitness.
You enter the menu for setting the common
parameters when you press the START but-
ton directly after the user no. 0 is displayed.
If you select another number with the UP/
MEM button, i.e. a number in the range
from 1 to 8, you enter the menu for setting
your personal data.
Attention:
The selected number is your personal user
no. which you should memorise since you
must select this number at the beginning of
every measurement.
Notes:
–
Before starting up your scaleo-comfort
diagnostic scale for the first time, you
should call up the settings menu of
common parameters to be able to
correctly set the date and time and the
unit of weight, or to be able to make
measured values disappear, which you
don’t want displayed during measure-
ment.
– You can tell which parameter in the menu
display can be set at any given time by
its blinking. If you press the SET key after
selecting the set value, you confirm the
set parameter and proceed to the next
settable parameter.
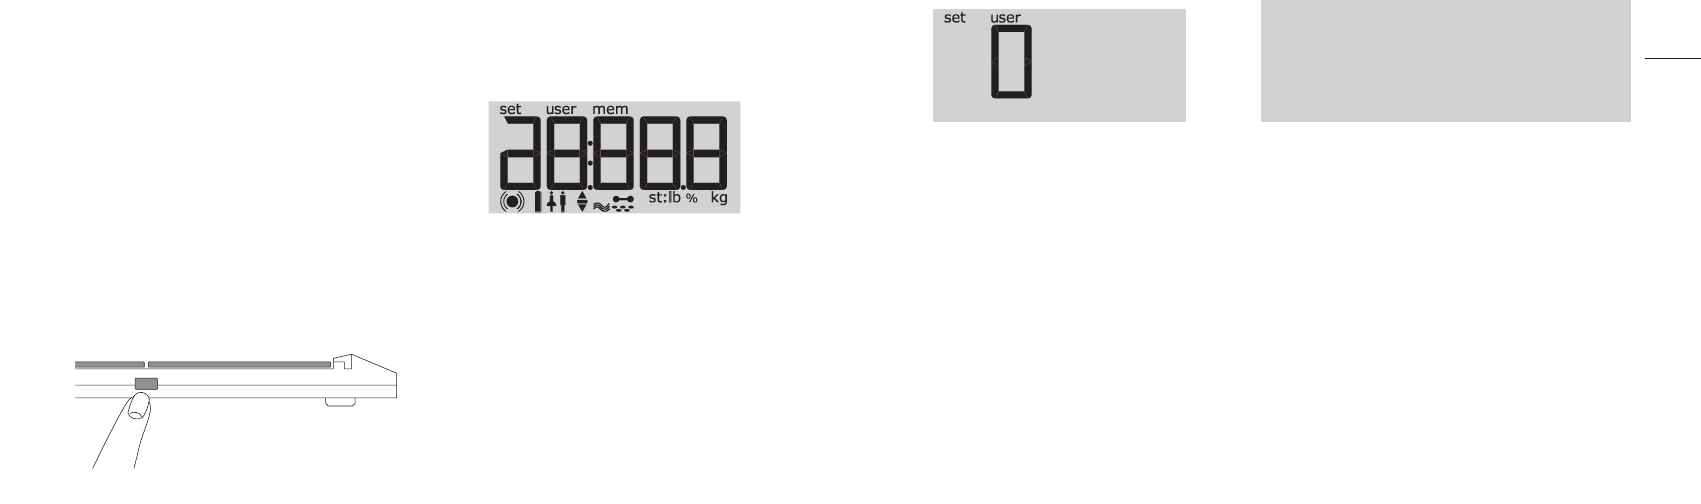
As soon as you have pressed the SET button,
first all display elements appear as a self-test
(Fig. 3.4).
Fig. 3.4
After about two seconds, you get into the
first settings menu for setting the personal
user no., whereby in the upper left field of
the display, the “set” symbol appears, and
under the “user” symbol, the user no. 0 ap-
pears (Fig. 3.5). The “set” symbol remains on
the display as long as the scale is in setting
mode.
Getting started
3