
Operation Manual
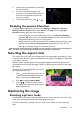
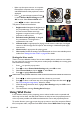
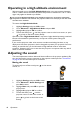
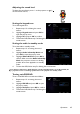
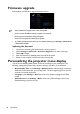
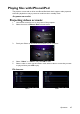
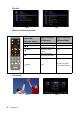
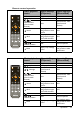
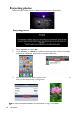
Table Of Contents
- Table of contents
- Important safety instructions
- Introduction
- Positioning your projector
- Connection
- Connecting the power
- Connecting a computer
- Connecting Video source devices
- Connecting an HDMI source device
- Connecting a Component Video source device
- Connecting a Composite Video source device
- Connecting an iPhone/iPod device
- Connecting an external speaker
- Connecting a wireless dongle
- Connecting to an external memory device
- Playing sound through the projector
- Operation
- Starting up the projector
- Switching input signal
- Adjusting the projected image
- Hiding the image
- Securing the projector
- Selecting the aspect ratio
- Optimizing the image
- Operating in a high altitude environment
- Adjusting the sound
- Firmware upgrade
- Personalizing the projector menu display
- Playing files with iPhone/iPod
- Using iPhone/iPod pop-up menus
- Displaying images with PC and Video source devices
- Using PC/ Video pop-up menus
- Displaying files with internal memory, USB Drive and SD card
- Using USB Streaming
- Using Wireless Streaming
- Settings menu
- Shutting down the projector
- Maintenance
- Troubleshooting
- Specifications
- Warranty and Copyright information
Operation
50
Projecting photos
Photo function provides photos in slideshow projection from iPhone/iPod.
Projecting photos
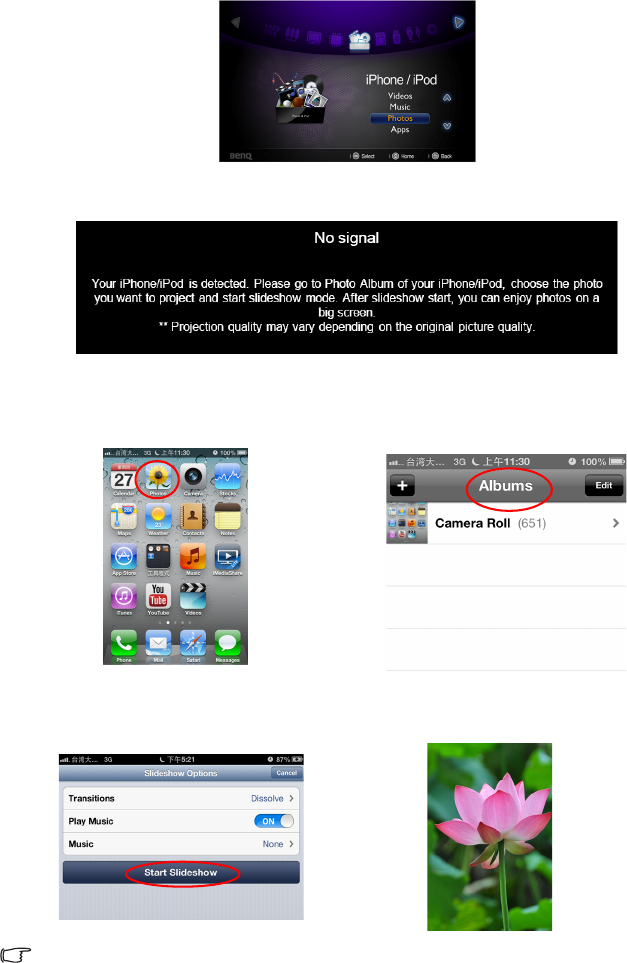
1. Select “Photos” and press OK.
2. Go to “Photos” > “Albums” in iPhone or iPod main menu. Photos can only be
projected as a slideshow. (Here take an example of iPhone 4)
3. Choose the photo you want to project and start slideshow mode. After slideshow
start, you can enjoy photos on a big screen.
For more instructions on Photos, see "iPhone/iPod" on page 13 for details.