PCP TM .357 TM HUNTING RIFLE OWNER’S MANUAL READ ALL INSTRUCTIONS AND WARNINGS IN THIS MANUAL BEFORE USING THIS AIRGUN TM Electro-Pneumatic Intelligent Control Crosman Corporation • 7629 Rts. 5 & 20 • Bloomfield, NY 14469 800-7-AIRGUN • www.crosman.
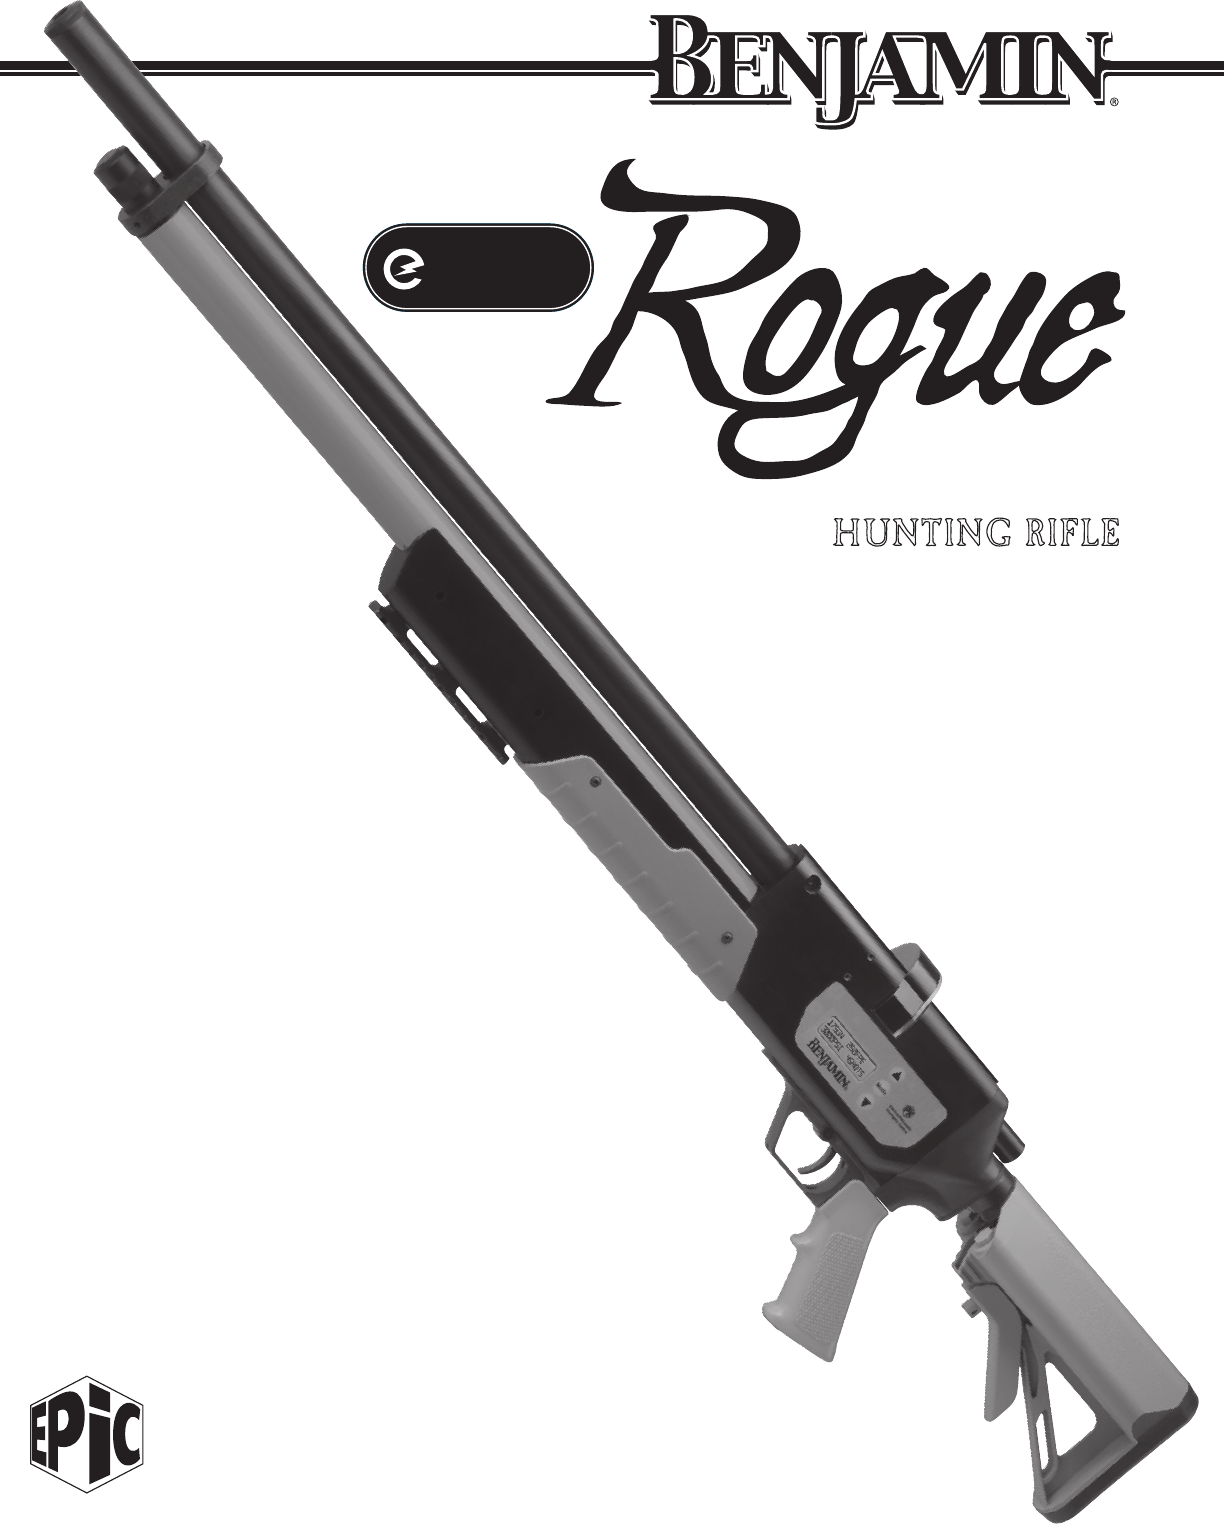
Congratulations! You now own a Benjamin® Rogue™ .357 hunting rifle with ePCP™ technology. Our dedicated Crosman design and manufacturing team carefully crafted this exciting new air rifle right here in Bloomfield, NY, with you in mind. The Rogue .357 air rifle revolutionizes hunting with airguns by offering the most available shots from a charge. Ultimate versatility is provided by allowing YOU to choose the type and size of game you wish to take.
Contents 1.Learning the Parts of your New Airgun 2.Operating the Cross Block Safety A. To Put the Airgun “ON SAFE”: B. To Take the Airgun “OFF SAFE”: 3.Operating the Bolt Activation Lever 4.Installing AA Batteries 5.EPiC™ Display Operation A. Mode Navigation (Bullet Grain/Power) I.Manual Mode (Sol Time) II.Discharge Mode (DISCH) III.Change Foot Pounds of Energy (FPE)/Velocity B. Grain Weight C. Pressure Reading (PSI) D. Shot Counter E. EPiC™ Error Codes F. EPiC™ LCD Backlight Display 6.
Not a toy. This airgun is intended for adult use only. Misuse or careless use may cause serious injury or death. May be dangerous up to 1000 yards (915 meters). Do not brandish or display this airgun in public—it may confuse people and may be a crime. Police and others may think it is a firearm. Do not change the coloration and markings to make it look more like a firearm. That is dangerous and may be a crime. YOU AND OTHERS WITH YOU SHOULD ALWAYS WEAR SHOOTING GLASSES TO PROTECT YOUR EYES.
“ON SAFE” “OFF SAFE” Fig. 2A Fig. 2B Fig. 3A Fig. 3B 2. Operating the Cross Block Safety The words PRESS FIRE and PRESS SAFE are on the top of the trigger guard. The PRESS FIRE and PRESS SAFE indicate the safety condition when pressed flush with the trigger guard (Fig 2A). A. To Put the Airgun “ON SAFE”: • Locate the safety at the top of the trigger guard. • The safety is ON and the airgun is “ON SAFE” when the safety button is pushed from the left to the right (No Red Showing) (Fig 2A). B.
5. EPiC™ Display Operation The EPiC™ display will not display information when the bolt is in the “READY TO FIRE” position. To view the display, you must have the bolt out of the “READY TO FIRE” position. If the bolt is in the “READY TO FIRE” position, move the bolt forward and move the bolt activation lever so the word “DISABLED” is visible and the bolt cannot move. The cross block safety should be “ON SAFE”. Critical halts are displayed when the bolt is in the fire position. See Appendix A.
6. Pressurizing the Airgun Your new airgun is unique because it operates on compressed air or N2. This owner’s manual describes operating the airgun with compressed air and N2 only. CAUTION: Use of CO2 liquid or gas will damage the valve and void your warranty. This airgun is designed for use at pressures between 1,000 psi (69 Bar) and 3,000 psi (207 Bar) depending on how you, as the user, adjust (tune) the airgun to work. Fig. 6F 6G Press and Hold for Backlight Explosion Danger.
B. Electronic Depressurizing Method Performing the following procedure may exhaust air from the barrel at a high rate and fire a bullet from the airgun if one is in the barrel. Therefore, make certain the airgun is pointed in a SAFE DIRECTION. Failure to follow these instructions may result in serious injury or death. Fig. 8C Fig. 8D Fig. 9A • Move the cross block safety to “ON SAFE”. • Keep the airgun pointed in a SAFE DIRECTION. • Remove the clip.
Fig. 10 • Do not shoot at hard surfaces or at the surface of water. The bullets may bounce off or ricochet and hit someone or something you had not intended to hit. • Always choose your target carefully. It is best to only shoot at paper bulls eye targets that are attached to a safe backstop made of an energy absorbing material like dirt or sand. • Your airgun is designed for target shooting and hunting and is suited for outdoor use only. Always remember to place your target carefully.
Fig. 13A 13. Maintaining Your Airgun Apply a moly graphite Extreme Pressure (EP) grease to the sliding bolt mechanism every 3 months or 500 shots, whichever occurs first (Figs. 11A – B). Keep all petroleum-based lubricants away from the high pressure air fill nipple. Petroleum-based lubricants MUST NOT be introduced into the high pressure reservoir. Explosion Danger. Do not introduce petroleum based products into the high pressure reservoir, or it may cause an explosion.
Adjustment of trigger screw (A) could inhibit proper function of the safety lever (C). Thus, always check for full engagement and smooth function of the safety lever upon completion of any changes to the trigger screw. If you are not sure if the safety is engaging and operating properly, take your airgun to an experienced gunsmith. Fig.19 A Spring Adjuster Fig.19 B Trigger Fig.19 C Safety Fig. 19 Fig. 20 • Trigger pull spring adjustment using an .125 in.
• Your backstop should be checked for wear before and after each use. All backstops are subject to wear and will eventually fail. Replace your backstop if the surface is worn or damaged or if a ricochet occurs. • DO NOT attempt to disassemble or tamper with your airgun. Use an Authorized Service Station. Using unauthorized repair centers or modifying the function of your airgun in any way may be unsafe and will void your warranty. • Store airgun in a secure location.