BAUM FLEXIFOLD 1st STATION INSTALLATION & OPERATION MANUAL FOR INSTRUCTION MANUALS IN GERMAN, SPANISH AND FRENCH GO TO WWW.BAUMFOLDER.
© 2004 Baumfolder All Rights Reserved WARNING • Do not operate this machine without all guarding in place. • Do not make adjustments or perform maintenance on this machine with power on. • Keep the machine and the work area clean and free of spills to prevent accidents. • Be sure to replace any safety decals that may have been detached for any reason.
TABLE OF CONTENTS FUNDAMENTAL SAFETY INSTRUCTIONS .......................................................................... 5-20 (English,German,Spanish,French) 1.0 INTRODUCTION ......................................................................................................................21 2.0 SPECIFICATIONS .....................................................................................................................21 3.0 INSTALLATION ........................................................
TABLE OF CONTENTS 11.0 COUNTER OPERATION .........................................................................................................30 11.1 Resetting the Total Count .............................................................................................................30 11.2 Programming the Batch Counter..................................................................................................30 11.3 Resetting the Batch Couter .....................................................
FUNDAMENTAL SAFETY INSTRUCTIONS! The diagrams and descriptions used in these instructions are not necessarily applicable to the specification of the machine supplied. Modifications, made for reasons of technical or operational improvement, are embodied without notice.
FUNDAMENTAL SAFETY INSTRUCTIONS! 1.0.3 These operating instructions are designed to familiarize the user with the machine and its designated use. The instruction manual contains important information on how to operate the machine safely, properly and most efficiently. Observing these instructions helps to avoid danger, to reduce repair costs and downtimes and to increase the reliability and life of the machine.
1.1.9 Report any accident that occurs due to a malfunction of the machine though all prescribed safety precautions were observed directly to our agency. 1.2 Selection and qualification of personnel - Basic responsibilities 1.3.2.1 Always press the emergency (Not-Stop) button first, if you stop the machine for adjustments or maintenance work which must not be done while the machine is in operation. 1.3.2.2 For extensive maintenance or repair work, turn off the main power supply. 1.3.2.3 1.2.
1.4.1.3 Warning! The electrical equipment of machines/plants is to be inspected and checked at regular intervals. Defects such as loose connections or scorched cables must be rectified immediately. To avoid bruising, keep hands away when operating moving machine parts! 1.4.1.4 Necessary work on live parts and elements must be carried out only in the presence of a second person who can cut off the power supply in case of danger by actuating the emergency shut-off or main power switch.
GRUNDLEGENDE SICHERHEITSHINWEISE! Die in diesen Hinweisen verwendeten Diagramme und Beschreibungen gelten nicht notwendigerweise für die gelieferte Maschine. Änderungen, die aus technischen Gründen oder für einen verbesserten Betrieb durchgeführt wurden, werden ohne Vorankündigung übernommen.
GRUNDLEGENDE SICHER HEITSHINWEISE! Die vorliegende Bedienungsanleitung dient dazu, dass sich der Anwender mit der Maschine und deren Einsatzzweck vertraut macht. Die Bedienungsanleitung enthält wichtige Informationen über den sicheren, bestimmungsgemäßen und wirkungsvollen Betrieb der Maschine. Bei Beachtung dieser Anweisungen werden Gefahren vermieden, Reparaturkosten und Stillstandszeiten verringert sowie die Zuverlässigkeit und die Lebensdauer der Maschine erhöht.
1.1.8 Ersatzteile müssen die vom Hersteller festgelegten technischen Anforderungen erfüllen. Stammen Ersatzteilen von OEM-Herstellern, kann davon ausgegangen werden, dass diese Anforderungen erfüllt werden. 1.1.9 Unserer Vertretung jeglichen Unfall sofort melden, zu dem es aufgrund einer Störung der Maschine gekommen ist, obwohl alle vorgeschriebenen Sicherheitsmaßnahmen beachtet wurden. 1.2 Auswahl und Qualifikation des Personals - Grundlegende Verantwortung 1.2.
1.4.1 Elektrische Energie 1.4.1.1 Nur Original-Sicherungen mit der angegebenen Nennleistung verwenden. Die Maschine/Anlage sofort ausschalten, falls es zu Störungen im elektrischen System kommt. 1.5 Beschreibung und Definition der Sicherheitsaufkleber und Piktogramme auf der Maschine Beschädigte Piktogramme durch neue ersetzen. Die entsprechenden Referenznummern sind angegeben. 1.4.1.
INSTRUCTIONS FONDAMENTALES SUR LA SÉCURITÉ Les schémas et les descriptions utilisés au cours de ces instructions ne sont pas nécessairement applicables aux spécifications de la machine fournie. Les modifications, réalisées pour des motifs techniques ou d’amélioration du fonctionnement sont intégrées sans avis préalable.
INSTRUCTIONS FONDAMENTALES SUR LA SÉCURITÉ qu’implique le fonctionnement de la machine/de l’installation. Tous défauts fonctionnels, particulièrement ceux pouvant affecter la sécurité de la machine/l’installation, doivent être de ce fait immédiatement réparés. Ces instructions de fonctionnement sont conçues afin de familiariser l’utilisateur avec la machine et l’utilisation pour laquelle elle a été conçue.
1.1.7 Ne procédez jamais à aucune modification, ajout ou transformation qui pourrait affecter la sécurité sans l’approbation du fournisseur. Ceci s’applique aussi à l’installation et au réglage des dispositifs et des vannes de sécurité ainsi que des soudures sur les éléments porteurs. 1.1.8 Les pièces détachées doivent être conformes aux spécifications techniques publiées par le fabricant. Les pièces détachées d’origine des fabricants de l’équipement peuvent être utilisées en toute confiance. 1.1.
1.3.2.8 Veuillez informer le personnel d’exploitation avant de commencer des opérations spéciales ou de maintenance, et désignez une personne pour surveiller ces tâches. 1.3.2.
INSTRUCCIONES FUNDAMENTALES DE SEGURIDAD Los diagramas y descripciones que se utilizan en estas instrucciones no son necesariamente aplicables a la especificación de la máquina suministrada. Las modificaciones hechas con el fin de introducir mejoras técnicas o de funcionamiento se incorporan sin aviso.
INSTRUCCIONES FUNDAMENTALES DE SEGURIDAD Estas instrucciones de funcionamiento están diseñadas para que el usuario se familiarice con la máquina y su uso indicado. El manual de instrucciones contiene información importante sobre cómo manejar la máquina de manera segura, correcta y eficaz. La observación de estas instrucciones contribuirá a evitar peligros, reducir el coste de las reparaciones y los tiempos de inactividad, y aumentar la fiabilidad y la vida útil de la máquina.
1.1.9 Notifique directamente a nuestra agencia cualquier accidente que se produzca debido a un mal funcionamiento de la máquina, pese a haberse observado todas las precauciones de seguridad prescritas. 1.2 Selección y cualificación del personal – Responsabilidades básicas 1.2.1 Emplee únicamente personal entrenado o instruido y exponga claramente las responsabilidades individuales del personal en cuanto al manejo, instalación, mantenimiento y reparación.
1.4.1.3 Advertencia El equipo eléctrico de máquinas/plantas debe inspeccionarse y controlarse a intervalos regulares. Los defectos como conexiones sueltas o cables quemados deben corregirse inmediatamente. Para evitar magulladuras, mantenga las manos alejadas al manejar las piezas móviles de la máquina. Advertencia 1.4.1.4 No toque las cintas transportadoras.
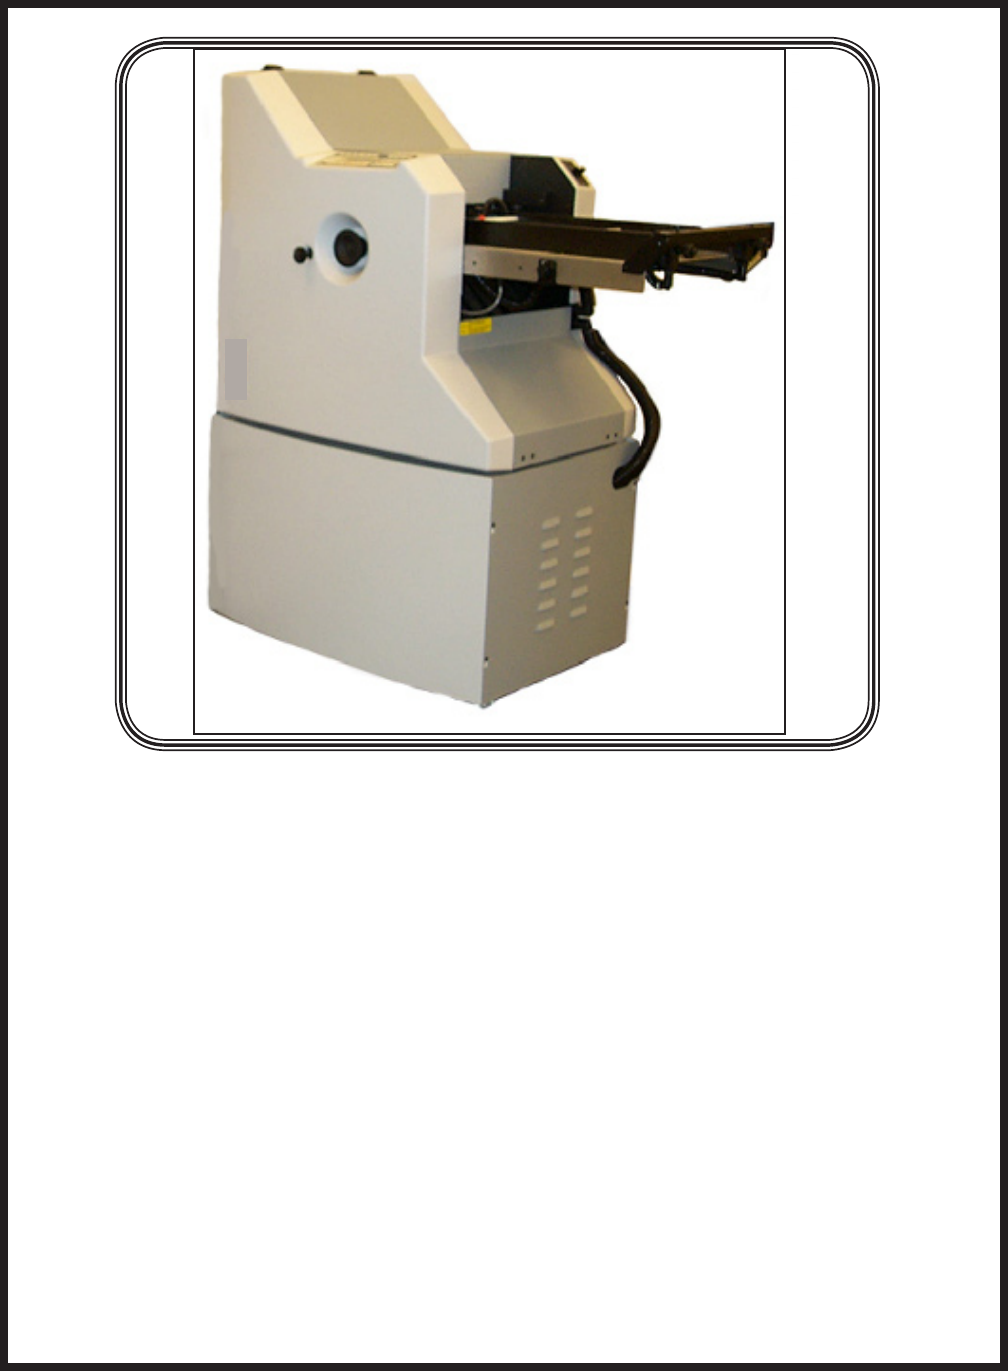
1.0 INTRODUCTION Your new Flexifold Air Feed Modular Folder has been designed to give you many years of useful service provided it is installed, maintained, and operated according to the instructions in this manual. Your Flexifold Air Feed is a unique and versatile paper folding machine, capable of folding paper measuring between 3 x 5 inches (7.6 x 12.7 cm) and 14 x 20 inches (35.5 x 50.8 cm), at speeds up to 27,600 sheets per hour of 8 1/2 x 11 (21.6 x 27.9 cm) and up to 41,000 sheets per hour of 3x5 (7.
4.3 Pump Hose Connections WARNING Do not plug the power cord into an AC outlet until the Flexifold Air Feed is fully assembled, adjusted and ready to use. Unplug the Flexifold any time disassembly is required. Two hoses come with your Flexifold Air (See Figure 4.3-1) 4.0 ASSEMBLY Air 4.1 Main Unit Vacuum To assemble the Flexifold Air Feed unit, first remove the four bolts holding it to the skid. Place the folder on the stand (See Figure 4.1-1). For Pump Hoses Figure 4.3-1 4.
Feed Table Hoses The center notches should seat on the second set of locating pins. Pivot the fold plate hold-downs back into position to secure the fold plates. Turn the handwheel to be sure that the fold plates are properly installed and not rubbing on the fold rolls. Air Plug the fold pan connectors into the side frame. (See figure 4.6-1) Vacuum Pump Hoses Figure 4.5-1 Figure 4.6-1 Plug the feed table into the side of the frame. (See Figure 4.5-2) 5.
6.0 FEED TABLE SETUP Tighten the locking knobs to secure the paper guides in position. (If Applicable) 6.1 Gap Adjustment With the machine running, insert two sheets of paper between the tab and the sucker wheel. Turn the gap knob counterclockwise until there is a slight drag on the paper. Remove the paper. The correct gap is now set. (See Figure 6.1-1) When you load the actual job, you may have to move these guides slightly to take care of variations in sheet size.
Main Power/Reset Switch Blow Vacuum Figure 7.1-1 Figure 6.3-1 left to obtain more blow on the left side and lessen the front blow. With the folder and pump running, depress the “SHEET START” button. Gradually increase the vacuum (Figure 6.3-1) setting untiil the sheet is pulled from the feeder. 7.2 Loading of Feed Table Before you can load the paper on the feed table, you must determine which way the paper is to be loaded by running a few sample sheets.
7.5 Use of Handwheel The handwheel is used to help clear jams and for setup. To use the handwheel, shut off the folder, pull out the handwheel and turn it in either direction. Fold Stop Guide Figure 7.4-1 8.0 OPERATOR PANEL 8.
9.0 START UP When power is applied, the system will first test all LEDs, memory and display characters for 3 seconds. I I I I I I I I I I I I I I I I I I I I I I I I I I I I I I I I I I After the self diagnostic phase, the display will show the version number for 3 seconds. If there are no error messages the display will go to the jam detector screen if one of the jam detectors is disabled. If none are disabled or after depressing enter, the display will go to the initialization screen.
When the “ENTER” button is pressed, the fold plates and stacker will move to their new position. While the motor(s) are running, a PLEASE WAIT message will be displayed. When the motors have stopped, one of two screens will be displayed. PLEASE WAIT SINGLE SHEET MODE If the sheet length data was changed, the single sheet mode screen is displayed. If the sheet length data was not changed, the count screen will be displayed.
Accept the displayed sheet length by pressing the “ENTER” button. This will activate the single sheet mode. · 2.) Do nothing. After 5 seconds, the count screen will be displayed. TOTAL COUNT ####### BATCH ### ##### 10.2 Setting up a special fold. This machine has 3 memory locations that can be used to store special fold settings. These will store the plate settings, the stacker wheel location, and the speed setting for a fold. 10.2.1 To save a nonstandard fold in a memory location.
Start sheet (press “SHEET START”). Notes: If the wrong “FOLD TYPE” button is pressed, you can either press the “RESET” button instead of the “ENTER” button or press the correct “FOLD TYPE” button, then the “ENTER” button. After every new set up the machine speed will always be reset to 60%. The fold type status LED, when lit constantly, indicates that the fold plates are set for this type of fold.
1. Using the numerical buttons ( ) enter the desired batch size; one, two or three digits (maximum setting is 999). SET BATCH ### #.# 2. Using the “+” and ”-“ buttons, enter the desired feed interrupt time (0.3 to 9.9 seconds). This gives the separation. When stop is displayed, pressing the “SHEET START” button will feed a batch and stop. Press the “SHEET START” button to process the next batch. TOTAL COUNT ####### BATCH ### ##### 11.3 Resetting the batch count.
12.0 FOLDER OPERATION 12.1 Time The “TIME” button will display the time since the last total count reset and the total hours that the main drive has been on, the customer can not reset this meter. Both hour meters will increment only when the folder is running. The pump operation or the main power will have no affect on these meters. JOB RUN TIME #### TOTAL HOURS ###### NOTE: If a button is not pressed within 2 minutes the machine will return to the operating mode.
12.4 Speed The speed of the machine can be changed by pressing the “SPEED” button while the main drive motor is running or stopped. Using the “+” and “-” buttons, to adjust the speed. The “+” button will increase the speed gradually, as long as the button is depressed. Once the folder reaches it’s maximum speed a message will be displayed until the ENTER button is pressed. SPEED 60% CHANGE WITH +/NOTE: If a button is not pressed within 2 minutes the machine will return to the operating mode.
Pressing the “+” button once will increment the plate stop 0.25mm. Holding it down for more than 2 seconds will increment the plate stop continuously at slow speed. Holding the “+” button down for more than 5 seconds will increment the plate stop continuously at high speed until you release the button or the plate stop hits the home position switch. Pressing the “-” button once will decrement the plate stop position 0.25mm.
played for 5 seconds after the “+” is released. Pressing the “-” button will decrement the stacker wheels position at slow speed. Holding the “-” button down for more than 2 seconds will decrement the stacker wheels position at high speed until you release the button or the stacker wheels hit the home position. Once the stacker wheels have reached the home switch the drive is disabled and a message will be displayed for 5 seconds after the “-” is released.
Display shows: FEEDER JAM ENABLED DISABLE ? (+) YES (-) NO OR FEEDER JAM DISABLED ENABLE ? (+) YES (-) NO 2) When the “+” or “-” button is depressed, Display shows: EXIT JAM ENABLED DISABLE ? (+) YES (-) NO OR 3) When the “+” or “-” button is depressed, Display shows: TOTAL COUNT ####### BATCH ### ##### TP10494 PAGE 36 EXIT JAM DISABLED ENABLE ? (+) YES (-) NO
13.0 PERFORATING, SCORING & SLITTING In addition to folding, your Flexifold Air Feed can perforate, score and slit. WARNING Unplug power supply before working on equipment. Be careful when handling perforator and slitting blades. They are extremely sharp. 13.1 Perforating Slide the perforator collar and blade holder to the desired position on the slitter shaft. Re-install the pullout tire assemblies on the right end of the upper and lower shafts.
The Flexifold can be used to score a sheet and deliver it flat, or to score a sheet after a fold or folds have been made. NOTE: Slitting accessories are optional on your Easyfold and can be ordered from BAUMFOLDER. To ensure accuracy in making right-angle folds, always score the sheet where the fold is to be made. This applies in all instances when a perforator cannot be used. The Flexifold can be used to cut folded or flat sheets apart. The general setup for blades and collars is shown in (Figure 13.3.1).
14.1 Maintenance and Care of your EASYFOLD 14.4 Photo Eyes The Flexifold Air Feed has been designed to give you years of useful service, provided you maintain it according to these instructions. cloth. 14.2 Cleaning of Fold Rolls The fold stop guides should be cleaned once a week with a dry cloth to keep the plate moving properly. Periodically wipe off the rubber surface of the fold rolls using a solvent that is non-alcohol based. 14.
15.0 LANGUAGE SELECTION Switch location, on the electronic board, for language and voltage selection settings.
16.0 DISPLAY MESSAGES The following are other display messages that may appear. KEYBOARD MISSING HOME NOT REACHED PRESS RESET BAD KEYBOARD OUT OF RANGE PUMP THERMAL CONTACT PAPER SIZE INCORRECT PRESS RESET OR PUMP DISCONNECTED PUMP OVERLOAD PRESS RESET NO PAPER FOLDER OVERLOAD PRESS RESET OUT OF PAPER NO TACH. CHECK MOTOR, BELTS, ENCODER INSTALL DELIVERY OR PRESS RESET JAM 2nd STATION INSTALL PLATE NO.1 OR PRESS RESET START SHEET INSTALL PLATE NO.
17.0 BASIC THEORY OF BUCKLE FOLDING If a sheet of paper is laid on a flat surface and driven into a stationary object, a buckle or series of buckles will form along the surface of the sheet. If the sheet of paper is pushed into a narrow channel before butting up against the stationary object, the buckles that form within the channel will be of a much smaller size than free-forming buckles. At the end of the channel, however, larger buckles will again start to form.
If the channel is angled to produce a downward pressure, and two folding rollers, spinning as indicated, are placed close to the end of the channel, the larger buckles that start forming there will always be formed downward and be pulled into the rollers, compressing into a fold.
On a buckle folder, the sheet is laid flat on a feed table and then enters the fold plate assembly where it comes to a stop against the stationary sheet stop. A series of buckles then forms throughout the sheet. The buckles whithin the fold plate are kept very small by the narrow channel design. The buckles at the end of the fold plate, however, will be larger.
SUREWASH 17.0 MATERIAL SAFETY DATA SHEET NOTICE: Surewash is a product of RBP Chemical Corporation, 150 S. 118th St., P.O. Box 14069, Milwaukee, Wisconsin 53214-0069. Tel. 414/258-0911, 800/558-0747.
Baumfolder has authorized dealers located throughout the United States. Call toll free, 1-800/543-6107 for parts or the number of your nearest authorized dealer. BAUM BAUMFOLDER CORPORATION 1660 Campbell Road Sidney, Ohio 45365-0728 Phone: 937/492-1281 or 800/543-6107 Fax: 800/452-0947 Internet: www.baumfolder.com E-mail: baumfolder@baumfolder.