
User manual


Table Of Contents
- 1. SAFETY
- 2. GENERAL
- 3. PHYSICAL INSTALLATION
- 4. PROJECTOR PARTS AND FUNCTIONS
- 5. GETTING STARTED
- 5.1 RCU & Local keypad
- 5.2 Remote Control and OSD Lite on Screen
- 5.3 Power on projector
- 5.4 Switching to standby
- 5.5 Power off projector
- 5.6 Range of effective remote control signal reception
- 5.7 Source selection
- 5.8 Changing OSD language
- 5.9 Adjusting the lens by horizontal and vertical lens shift
- 5.10 Introduction the OSD Lite on screen
- 6. ADVANCED OSD MENU
- 7. INPUT
- 8. IMAGE
- 9. LAYOUT
- 10. LAMP
- 11. ALIGNMENT
- 12. CONTROL
- 13. SERVICE
- 14. MAINTENANCE
- 15. PROJECTOR SPECIFICATION
- 16. ENVIRONMENTAL INFORMATION
PJWU-101B 17/10/2014
46
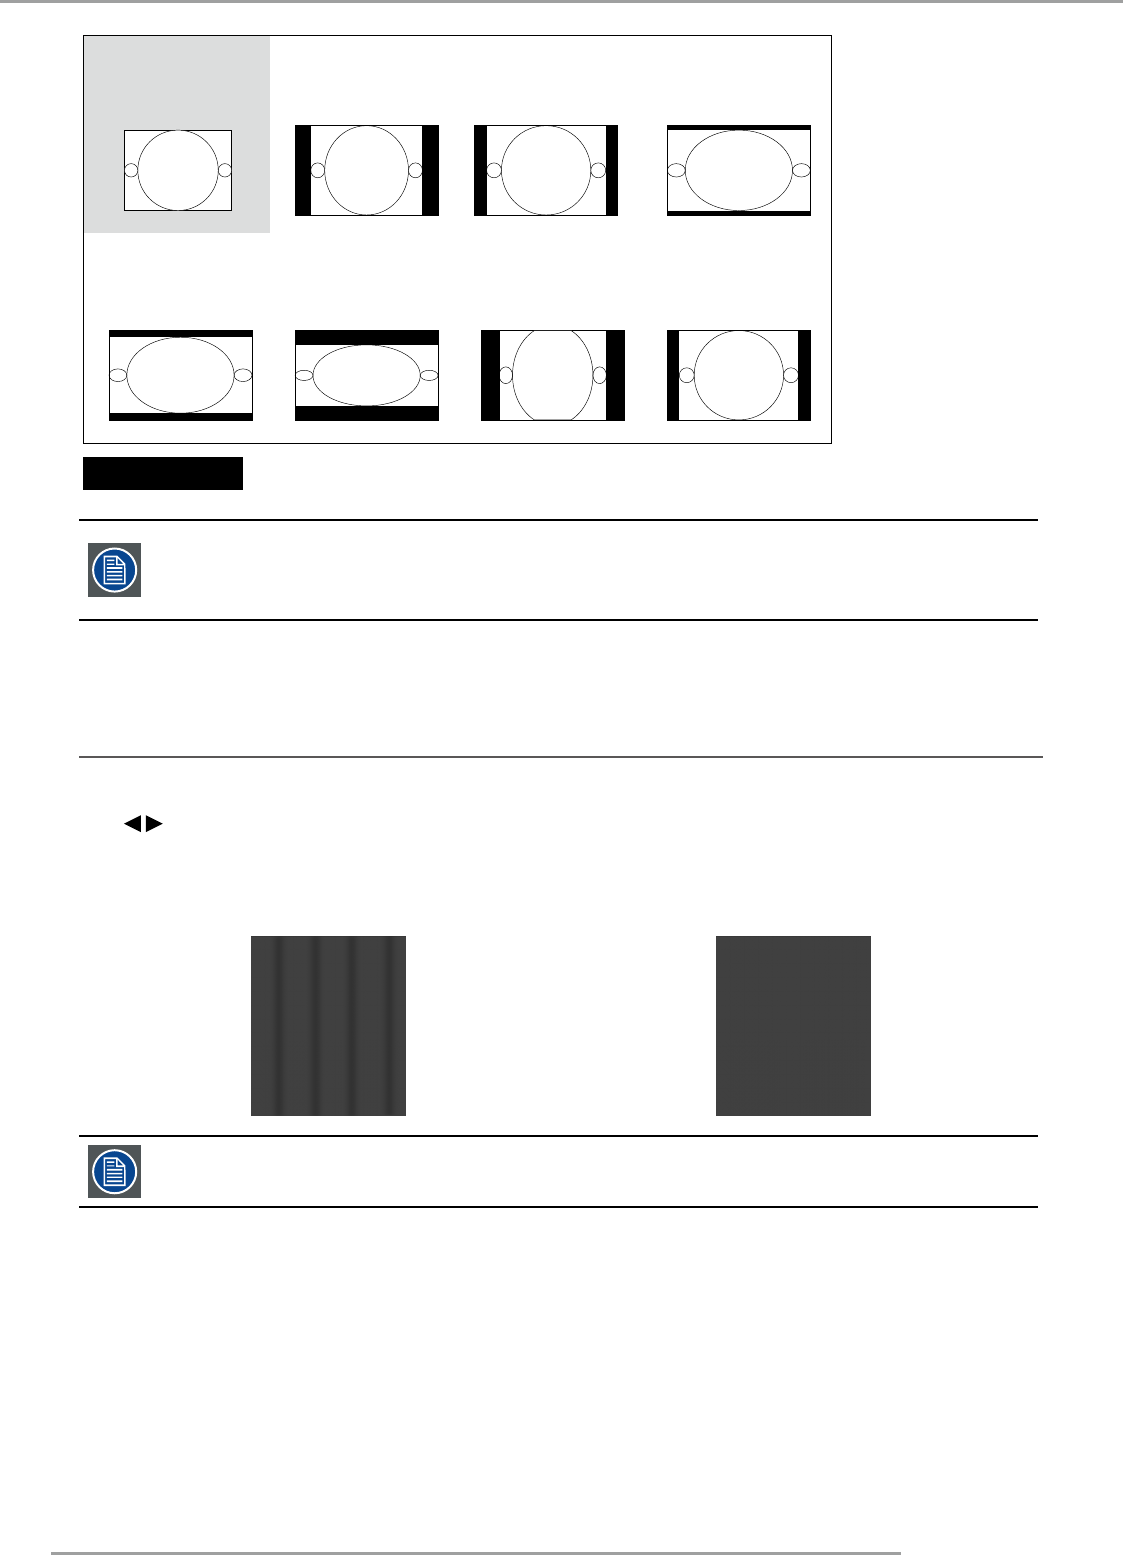
8.Image
Native input
4:3
Output aspect ratio
16:9
Output aspect ratio
1.88
Output aspect ratio
2.35
Output aspect ratio
5:4
Output aspect ratio
4:3
Output aspect ratio
Native
Output aspect ratio
Letterbox
Cropped portion of the image
that when used for commercial purposes, including: projection of image in movie theatres, hotels, cafeteria
and other public venues, compression or extension of image achieved through the change of aspect
ratio may constitute copyright infringement to the rightful owner of the image. Please do so at your own
discretion.
8.9 Timings
H Total
Press to adjust the horizontal total.
Use this function to adjust the clock frequency of pixel sampling (horizontal pixel frequency of the analog input source
generated by the ADC). If you notice flickering or verticle lines in the image, it means that the pixel sampling frequency is
insufficient. You can use this function to adjust the frequency to achieve consistent image quality.
The following image is an example of test image from an external signal source:
Adjust image quality by changing the
value of horizontal total to smoothen
the image.
In order to adjust timings the pattern should be used is pixel (on/off)