
User manual


Table Of Contents
- 1. SAFETY
- 2. GENERAL
- 3. PHYSICAL INSTALLATION
- 4. PROJECTOR PARTS AND FUNCTIONS
- 5. GETTING STARTED
- 5.1 RCU & Local keypad
- 5.2 Remote Control and OSD Lite on Screen
- 5.3 Power on projector
- 5.4 Switching to standby
- 5.5 Power off projector
- 5.6 Range of effective remote control signal reception
- 5.7 Source selection
- 5.8 Changing OSD language
- 5.9 Adjusting the lens by horizontal and vertical lens shift
- 5.10 Introduction the OSD Lite on screen
- 6. ADVANCED OSD MENU
- 7. INPUT
- 8. IMAGE
- 9. LAYOUT
- 10. LAMP
- 11. ALIGNMENT
- 12. CONTROL
- 13. SERVICE
- 14. MAINTENANCE
- 15. PROJECTOR SPECIFICATION
- 16. ENVIRONMENTAL INFORMATION
PJWU-101B 17/10/2014
42
8.Image
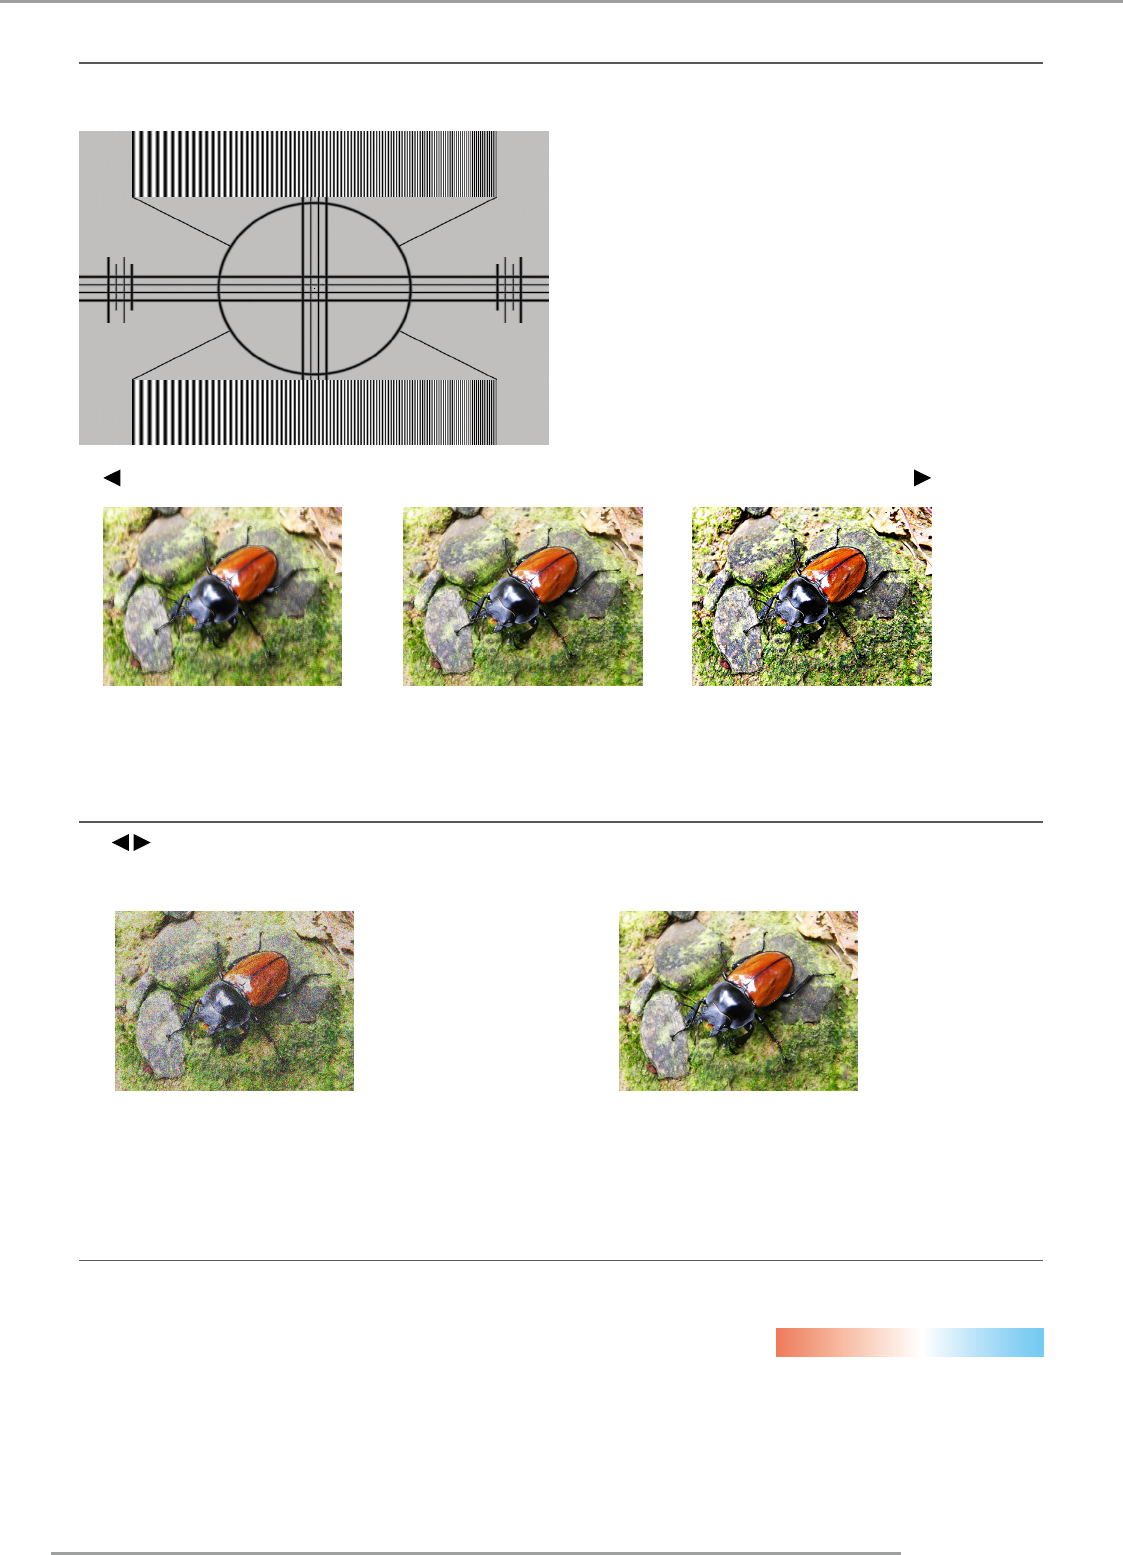
8.4 Sharpness
The adjustment of sharpness primarily changes the value of high frequency detail. You can connect the projector to an
external image source to display an image resembling the one shown below to adjust the image sharpness.
The following image illustrates the results of direct sharpness adjustment using a random image:
Reduced sharpness
Enhancedsharpness
Original image
8.5 Noise Reduction
Use to adjust the noise of the projected image. This function is suitable for the elimination of image noise from
interleaving SD input.Generally speaking, reducing image noise will lower the value of high frequency detail and make the
image appear more mellow.
→
noise reduction
8.6 Color Temperature
You can choose from 3200K, 5400K, 6500K, 9300K and Native.
Color temperature refers to the change in light color under different energies that is perceived by the naked eye.The change of
color temperature from low to high for visible light goes from orange red white blue
The projector’s default color temperature is set at Native. As color temperature rises, the image will appear to be more blue;
as it decreases, the image will appear redder.When you choose “Native”, the projector will disable the white adjustment
function of the input device.