
User manual


Table Of Contents
- 1. SAFETY
- 2. GENERAL
- 3. PHYSICAL INSTALLATION
- 4. PROJECTOR PARTS AND FUNCTIONS
- 5. GETTING STARTED
- 5.1 RCU & Local keypad
- 5.2 Remote Control and OSD Lite on Screen
- 5.3 Power on projector
- 5.4 Switching to standby
- 5.5 Power off projector
- 5.6 Range of effective remote control signal reception
- 5.7 Source selection
- 5.8 Changing OSD language
- 5.9 Adjusting the lens by horizontal and vertical lens shift
- 5.10 Introduction the OSD Lite on screen
- 6. ADVANCED OSD MENU
- 7. INPUT
- 8. IMAGE
- 9. LAYOUT
- 10. LAMP
- 11. ALIGNMENT
- 12. CONTROL
- 13. SERVICE
- 14. MAINTENANCE
- 15. PROJECTOR SPECIFICATION
- 16. ENVIRONMENTAL INFORMATION
PJWU-101B 17/10/2014
6
2.General
Main Power requirements
The PJWU-101B projector operates from a nominal mono phase power net with a separate earth ground PE.
Projector Power requirements
PJWU-101B
AC INPUT 100-130V 11.6A 50/60Hz
AC INPUT 200-240V 5.6A 50/60Hz
The power cord required to connect the projector with the power net is delivered with the projector.
Projector weight
Do not underestimate the weight of the PJWU-101B projector. The projector weights about ±33 kg (±72.75lb.) without lens.
Be sure that the pedestal or ceiling mount on which the projector has to be installed is capable of handling five (5) times the
complete load of the system.
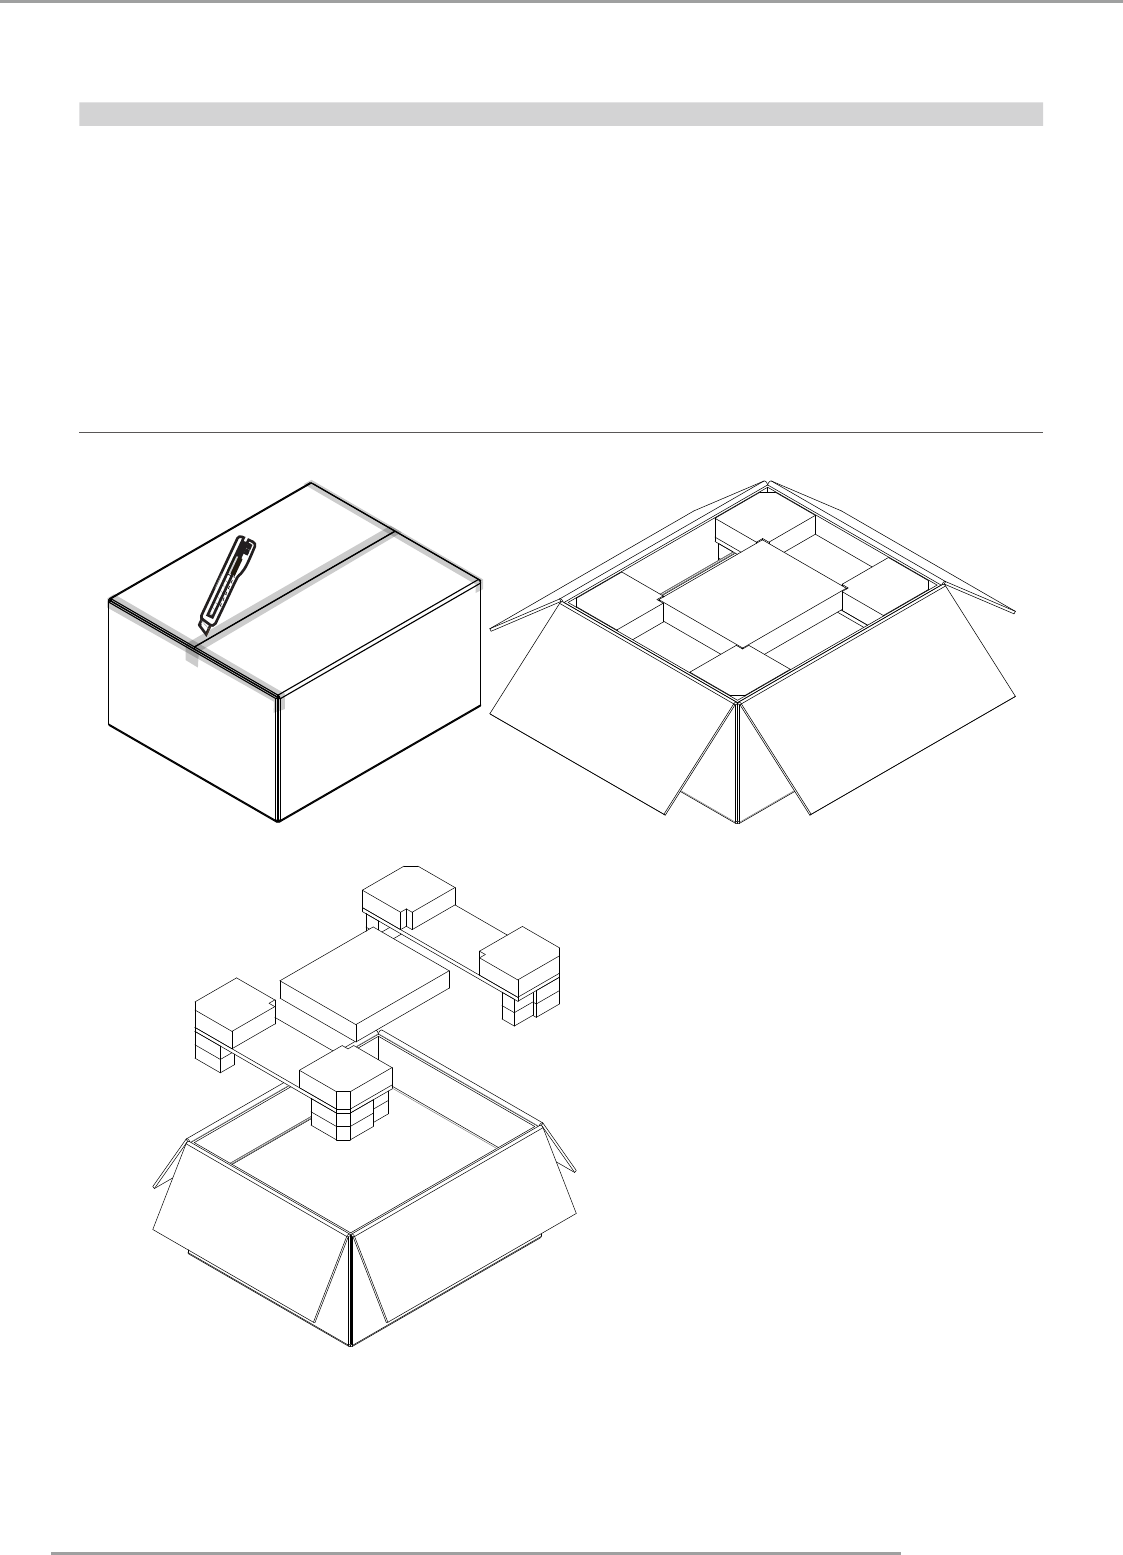
2.2 Unpacking the projector
1. Remove the tape around the carton box, then open the box.
2. Take out the foam upper the projector.